How to Create a Board and Batten Accent Wall
29.12.21
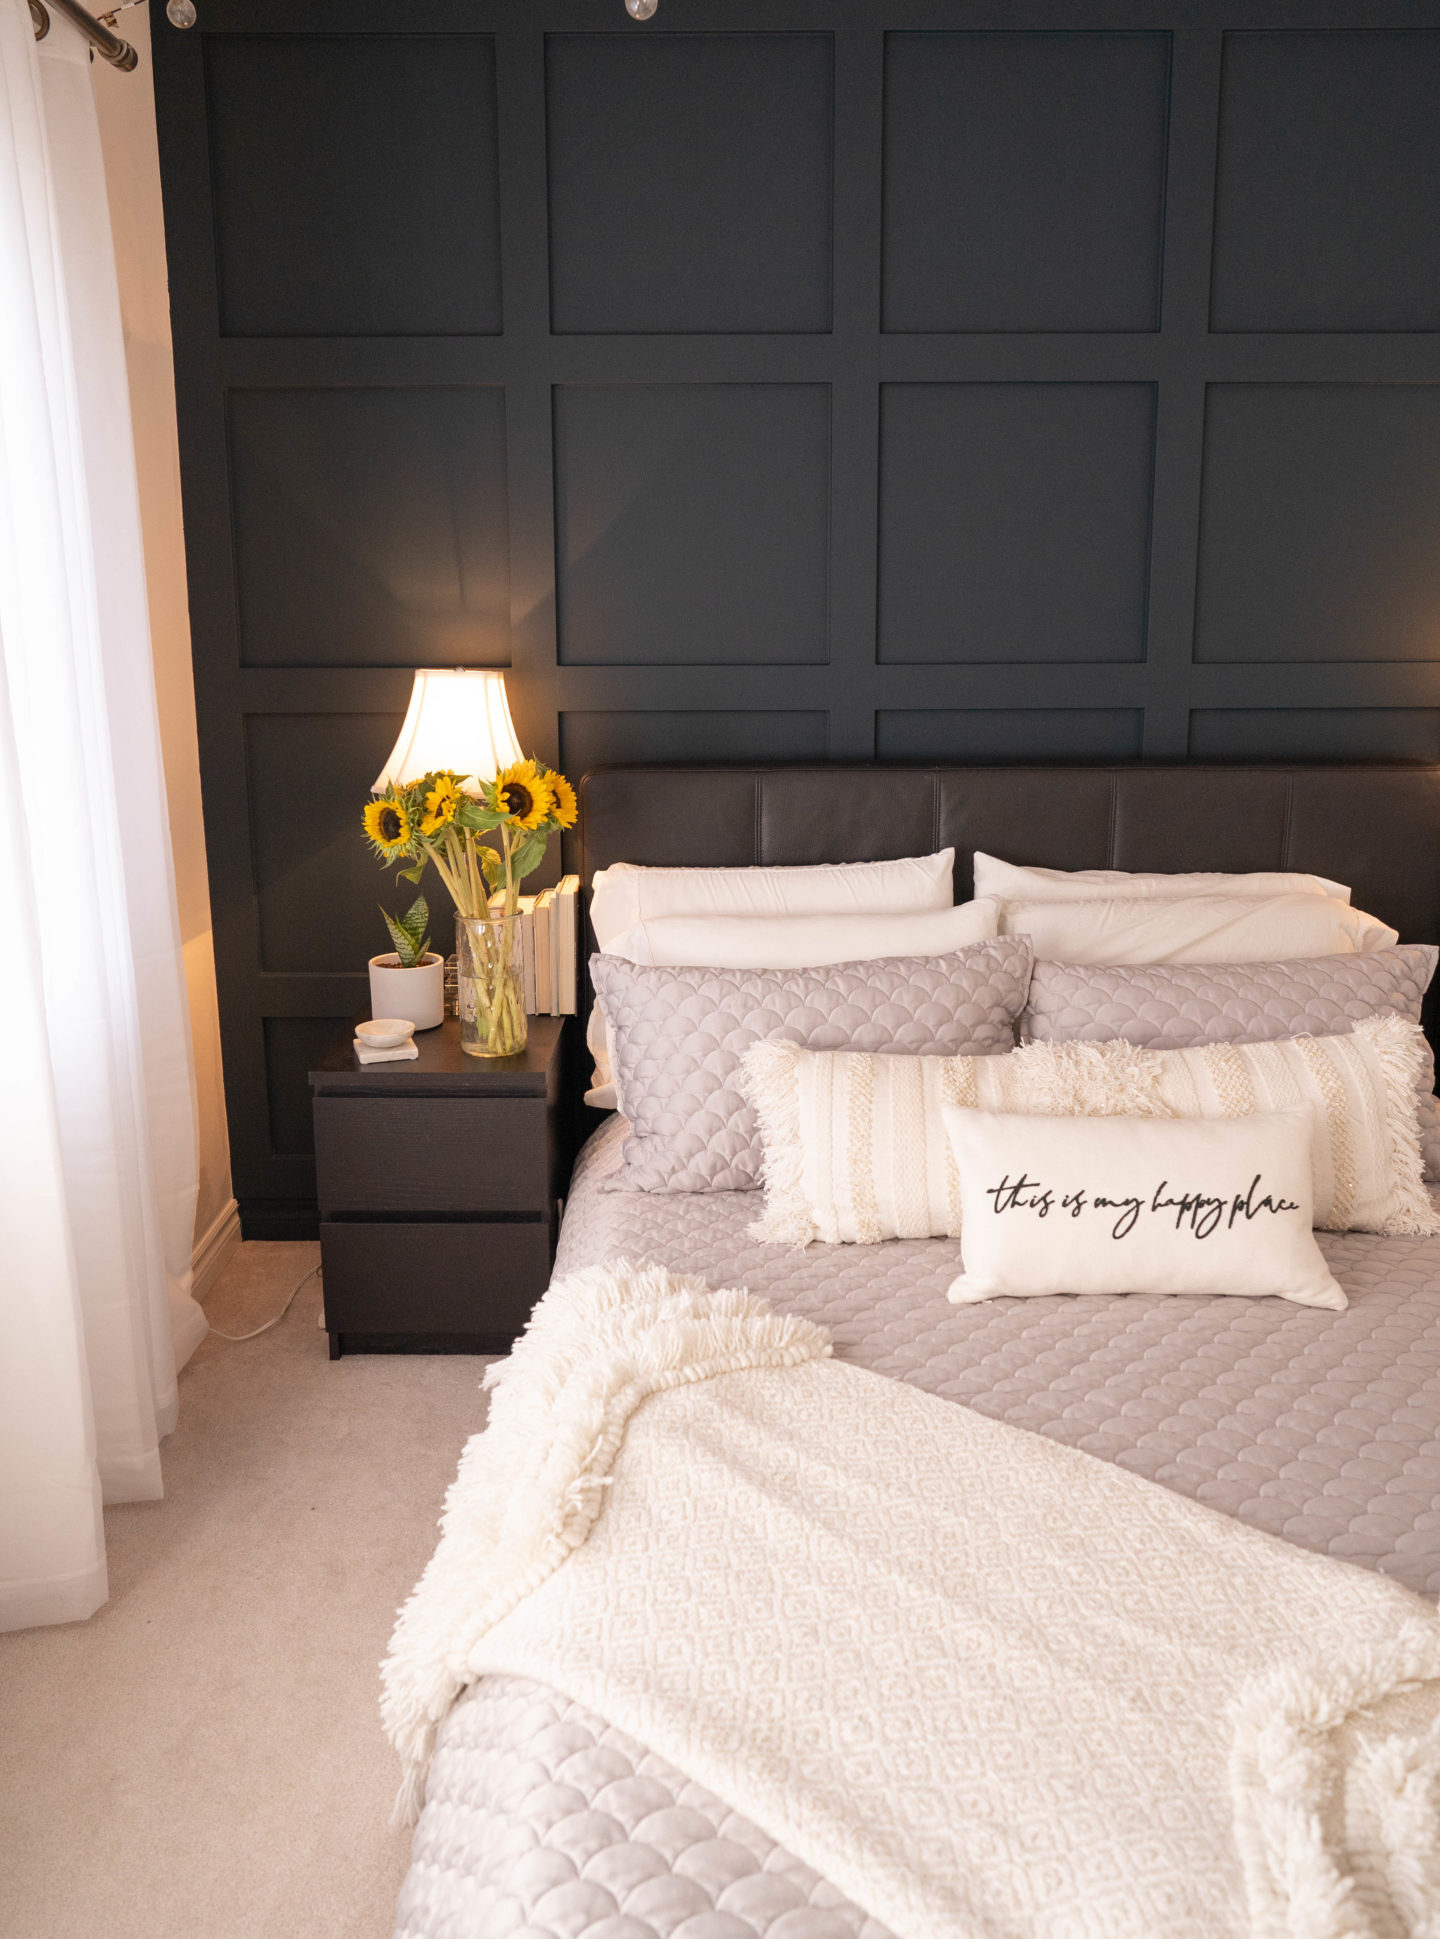
Trendy or traditional? For me creating a board and batten wall in our bedroom has elevated our home in just 3 days. Psst, you can do this too!
My fiancé, Scotty and I had been talking about trying to add a board and batten wall to our bedroom for several months now. You know, one of those classic, we should do this DIY to our home one day. But one day quickly turned into weeks and then months and we never found the time to spruce up our sleeping quarters. That is until Rona came calling and offered us a dream collaboration. So here’s how you can DIY any wall in your house and update it with a modern textured look.
What does board and batten mean?
It’s a type of siding where thin strips of wood molding—or “battens”—are placed over the seams of panel boards. The result is an aesthetic that is both rustic and chic, with the strong vertical lines providing shadows and textures to the home exterior. (https://lpcorp.com/)
What materials are used for board and batten?
Where to Find Uplifting Home Design Inspiration
The Inspiration
Before starting your creative project I always suggest getting really clear about your expectations for the final result. For me this means creating endless Pinterest boards and planning out my project visually. This is especially helpful when I’m working alongside my Dad so he can get an idea of exactly what I am thinking. Here are the bits I pulled from some incredible design websites for inspiration.
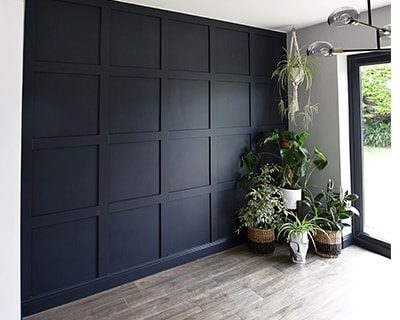
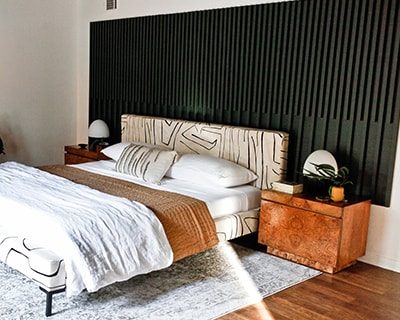
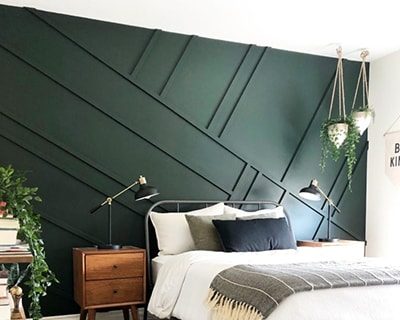
Photo left sourced from: https://fromevijawithlove.com/, Photo middle sourced from: https://carmeonhamilton.com/, Photo right sourced from: https://angelarosehome.com/ | Check out their sites for more DIY inspiration. All photos originally sourced from Pinterest.
How to Prepare Your Board and Batten Wall
Like we mentioned, we chose a 3.5-inch-wide MDF and for our project bought 10 of the 8-foot boards and 3 of the 12-foot boards.
You need to measure your wall first to figure out where the slats are going. There are a couple of things you must keep in mind when you are measuring. Generally, homes and the walls that make them up are not perfect. You must measure the top of the wall, the middle of the wall and the bottom of the wall. The goal here is to find out how much material you will need and how you will plan on incorporating the design on the wall.
We needed to find out how many rectangles would fit up and across the wall while keeping space for the frame. The moulding we bought is 3.5 inches wide and we knew we wanted to frame our wall with a border as well. So, for us, after all our measuring it turned out to be five squares horizontally and four squares vertically.
We won’t get too deep into the details on the exact measurements because every wall is different. We recommend checking all your measurements twice and then writing it all down on a piece of paper so you can visualize and plan what you will need.
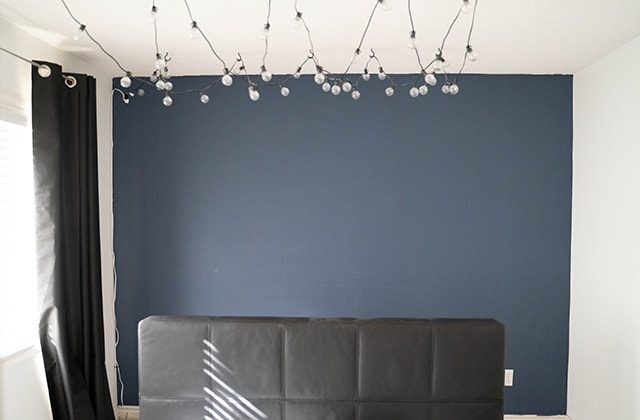
Before the Accent Wall
Before I moved in Scotty had painted his bedroom wall a deep navy. We loved the idea of keeping the wall rich in colour but spicing it up with a new tone (Photo below).
Pro Tip
Always bring home more wood from the store than you need as you can always bring it back (you never want to run out halfway through your project).
Rob Weldon
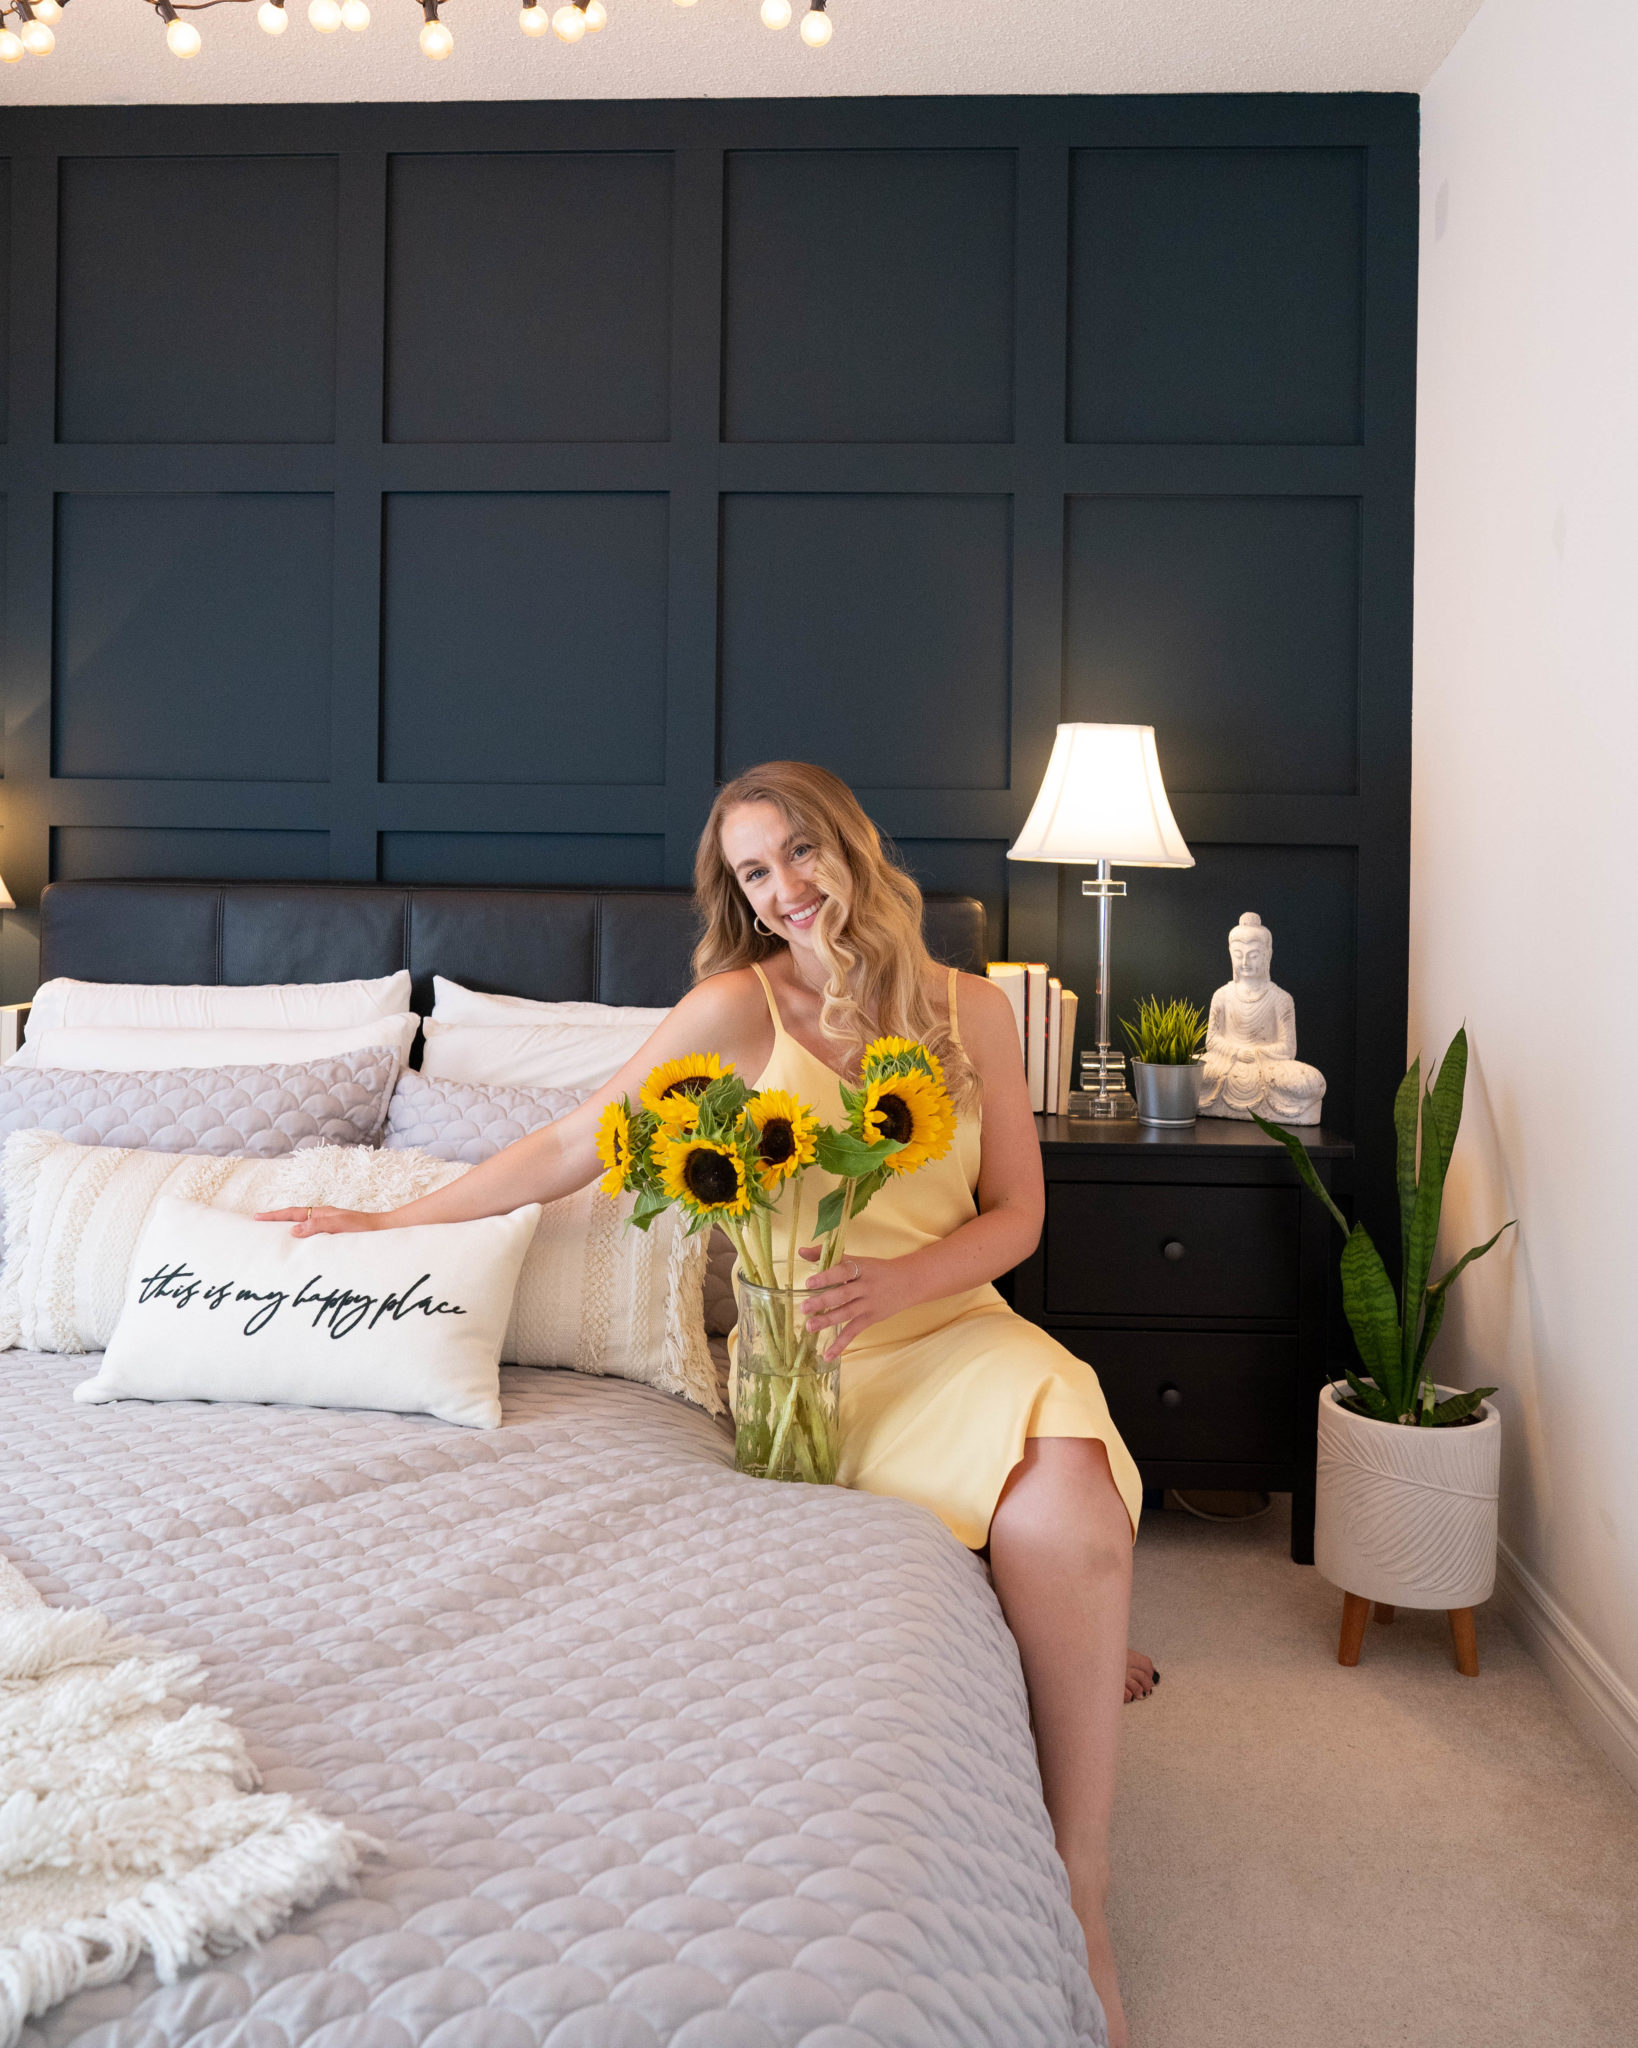
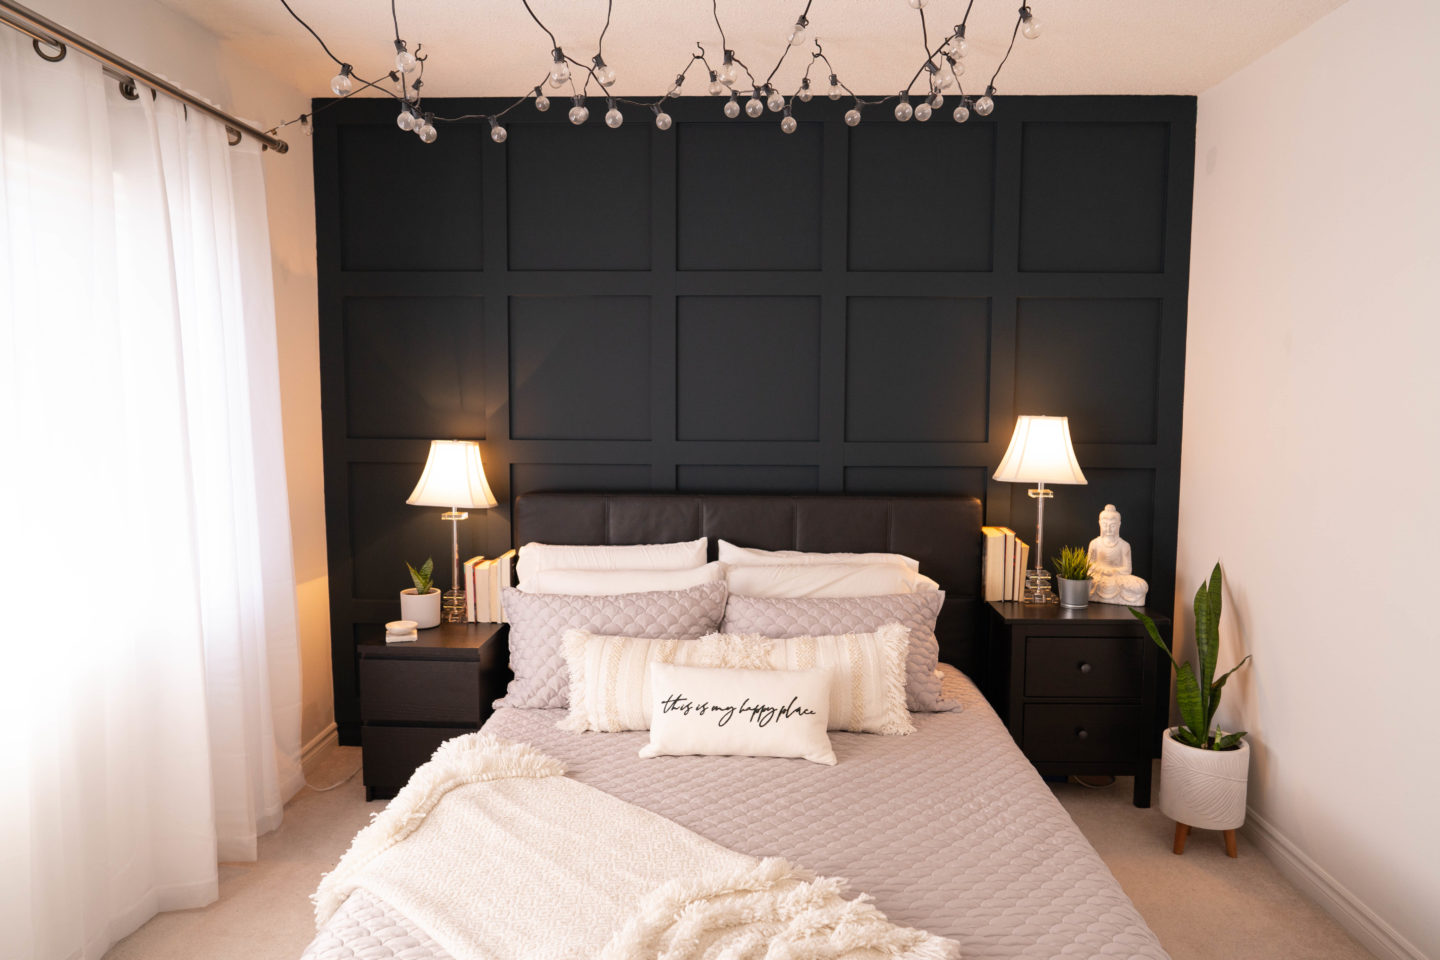
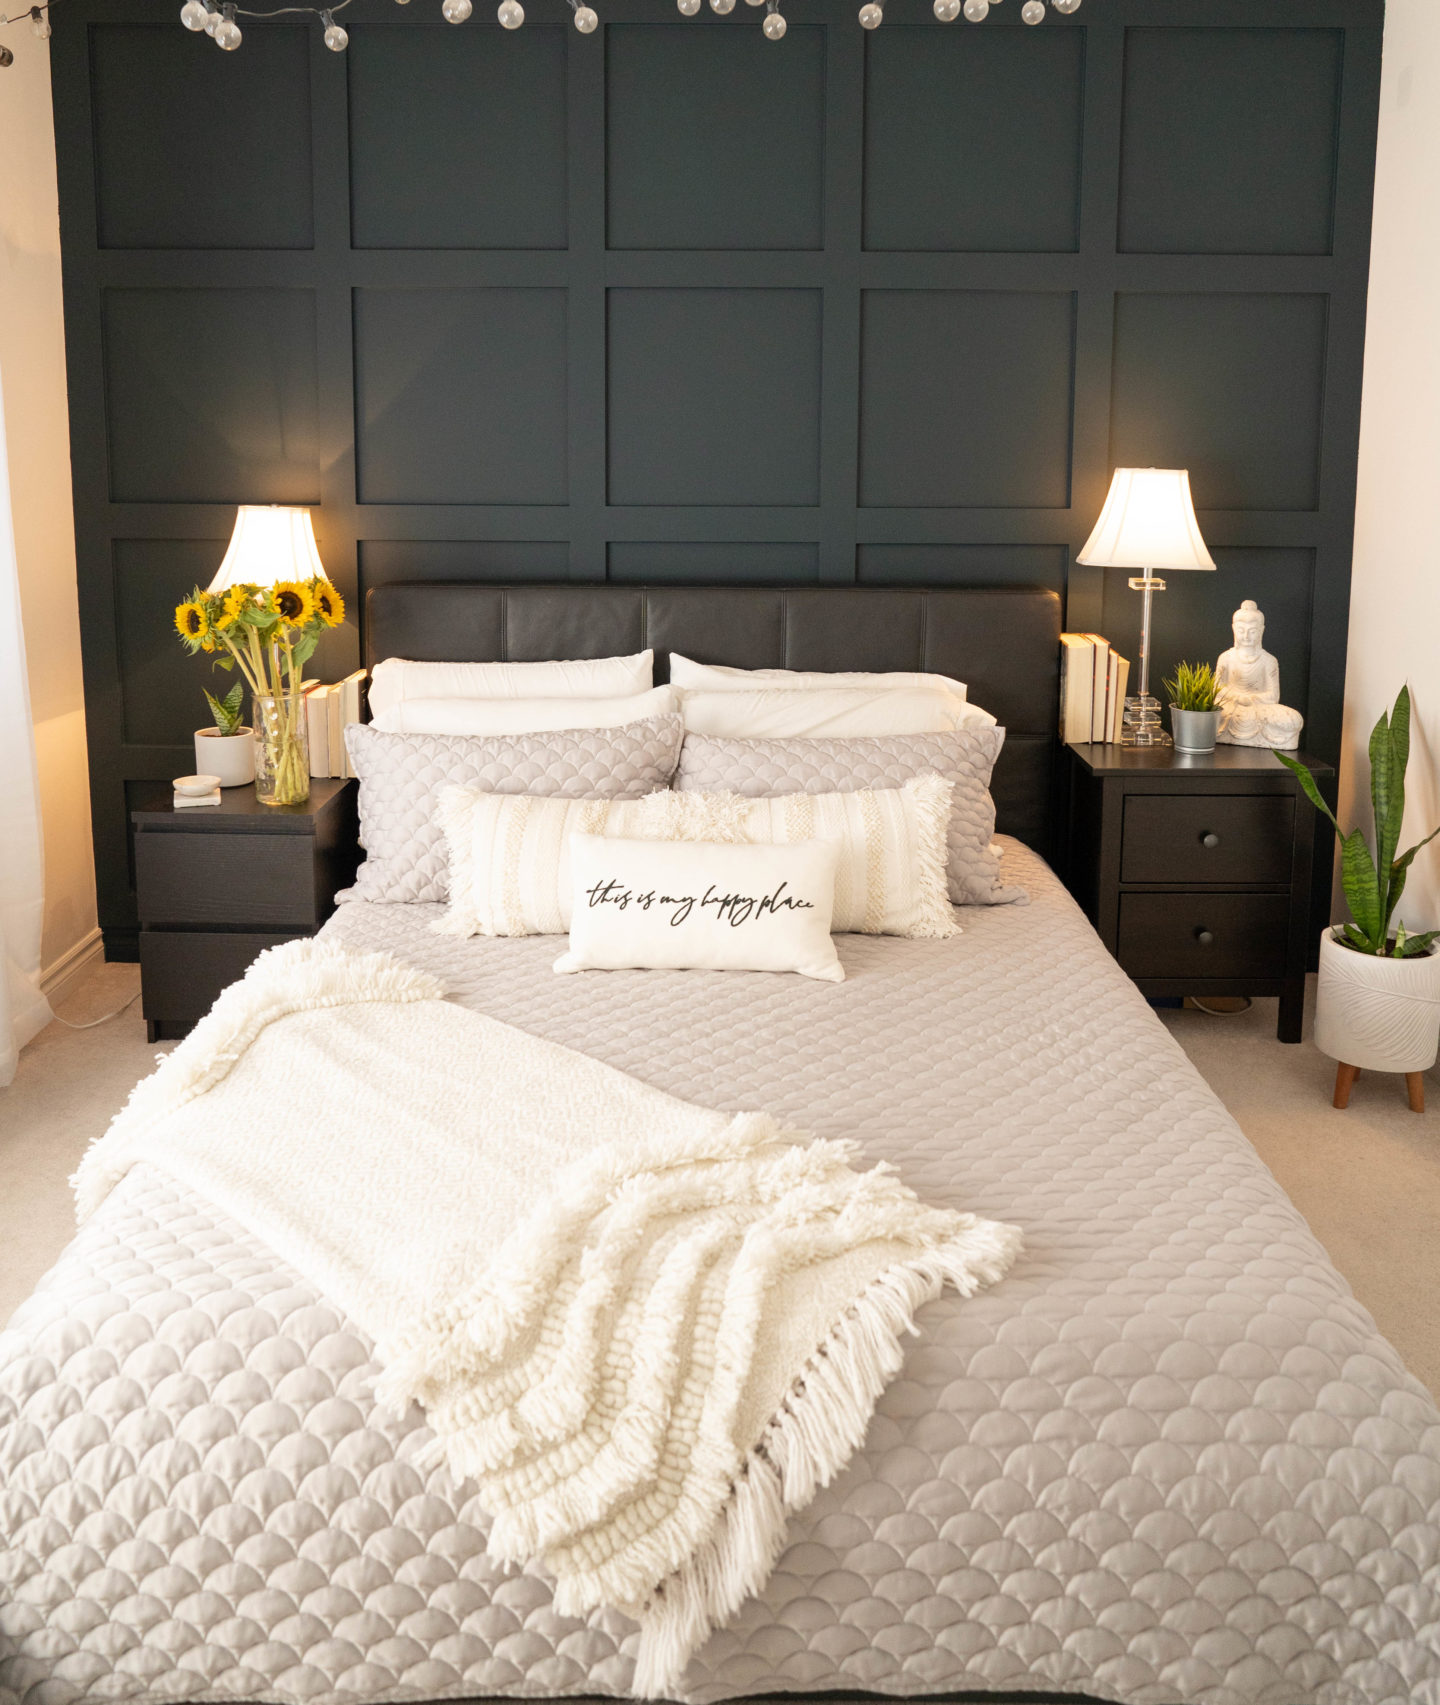
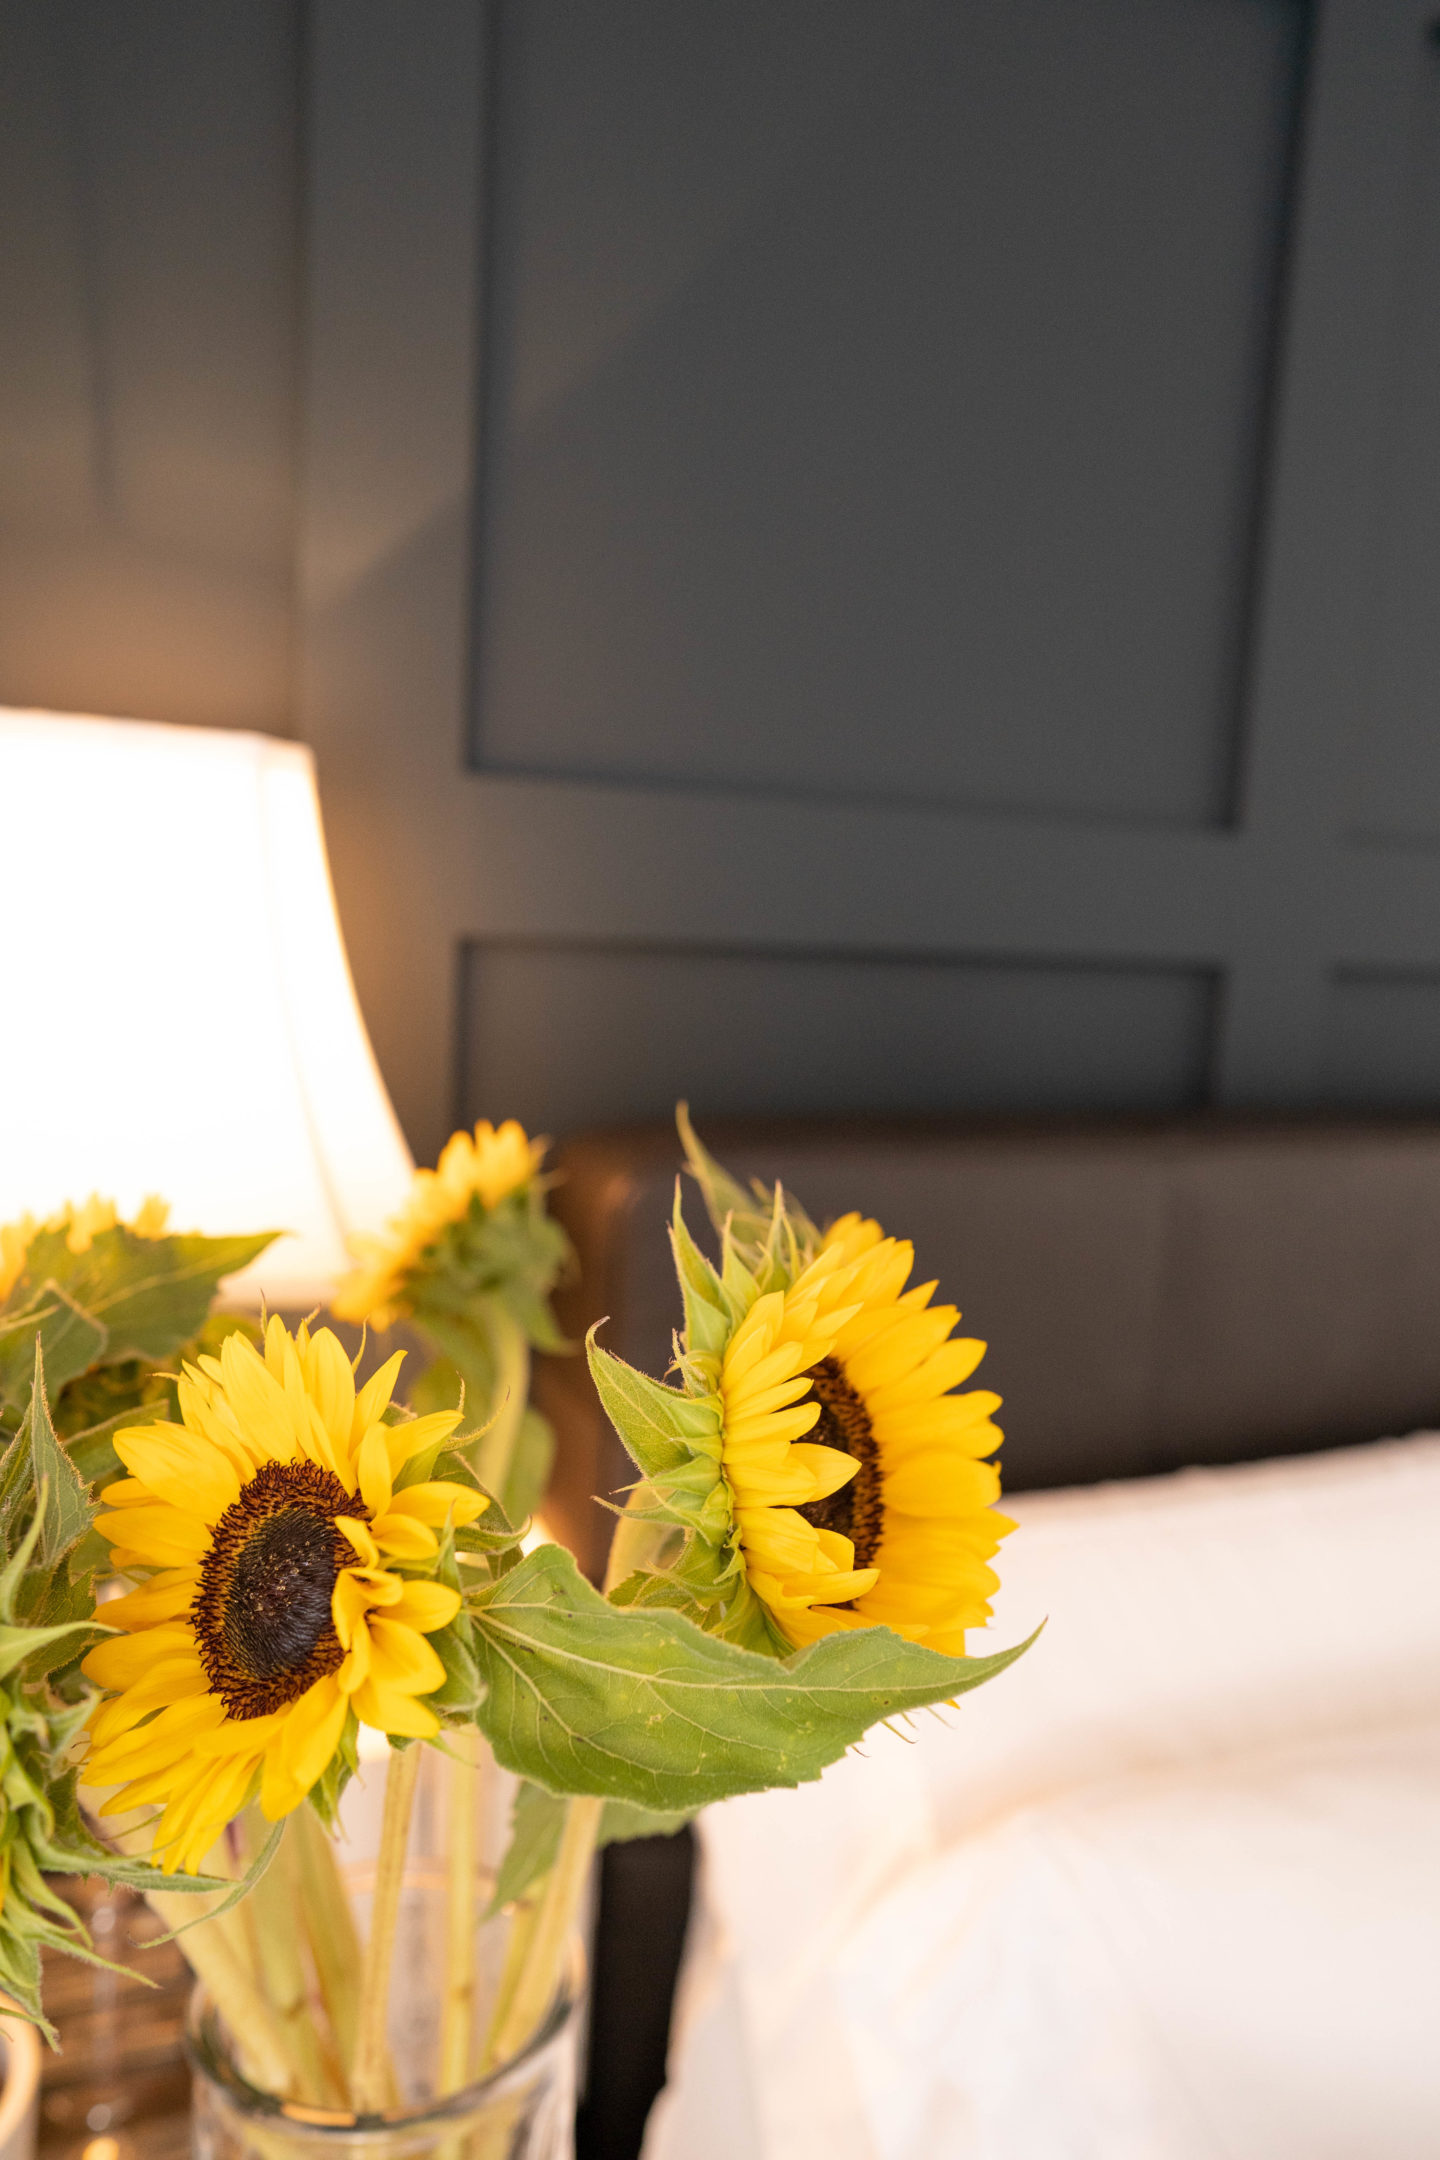
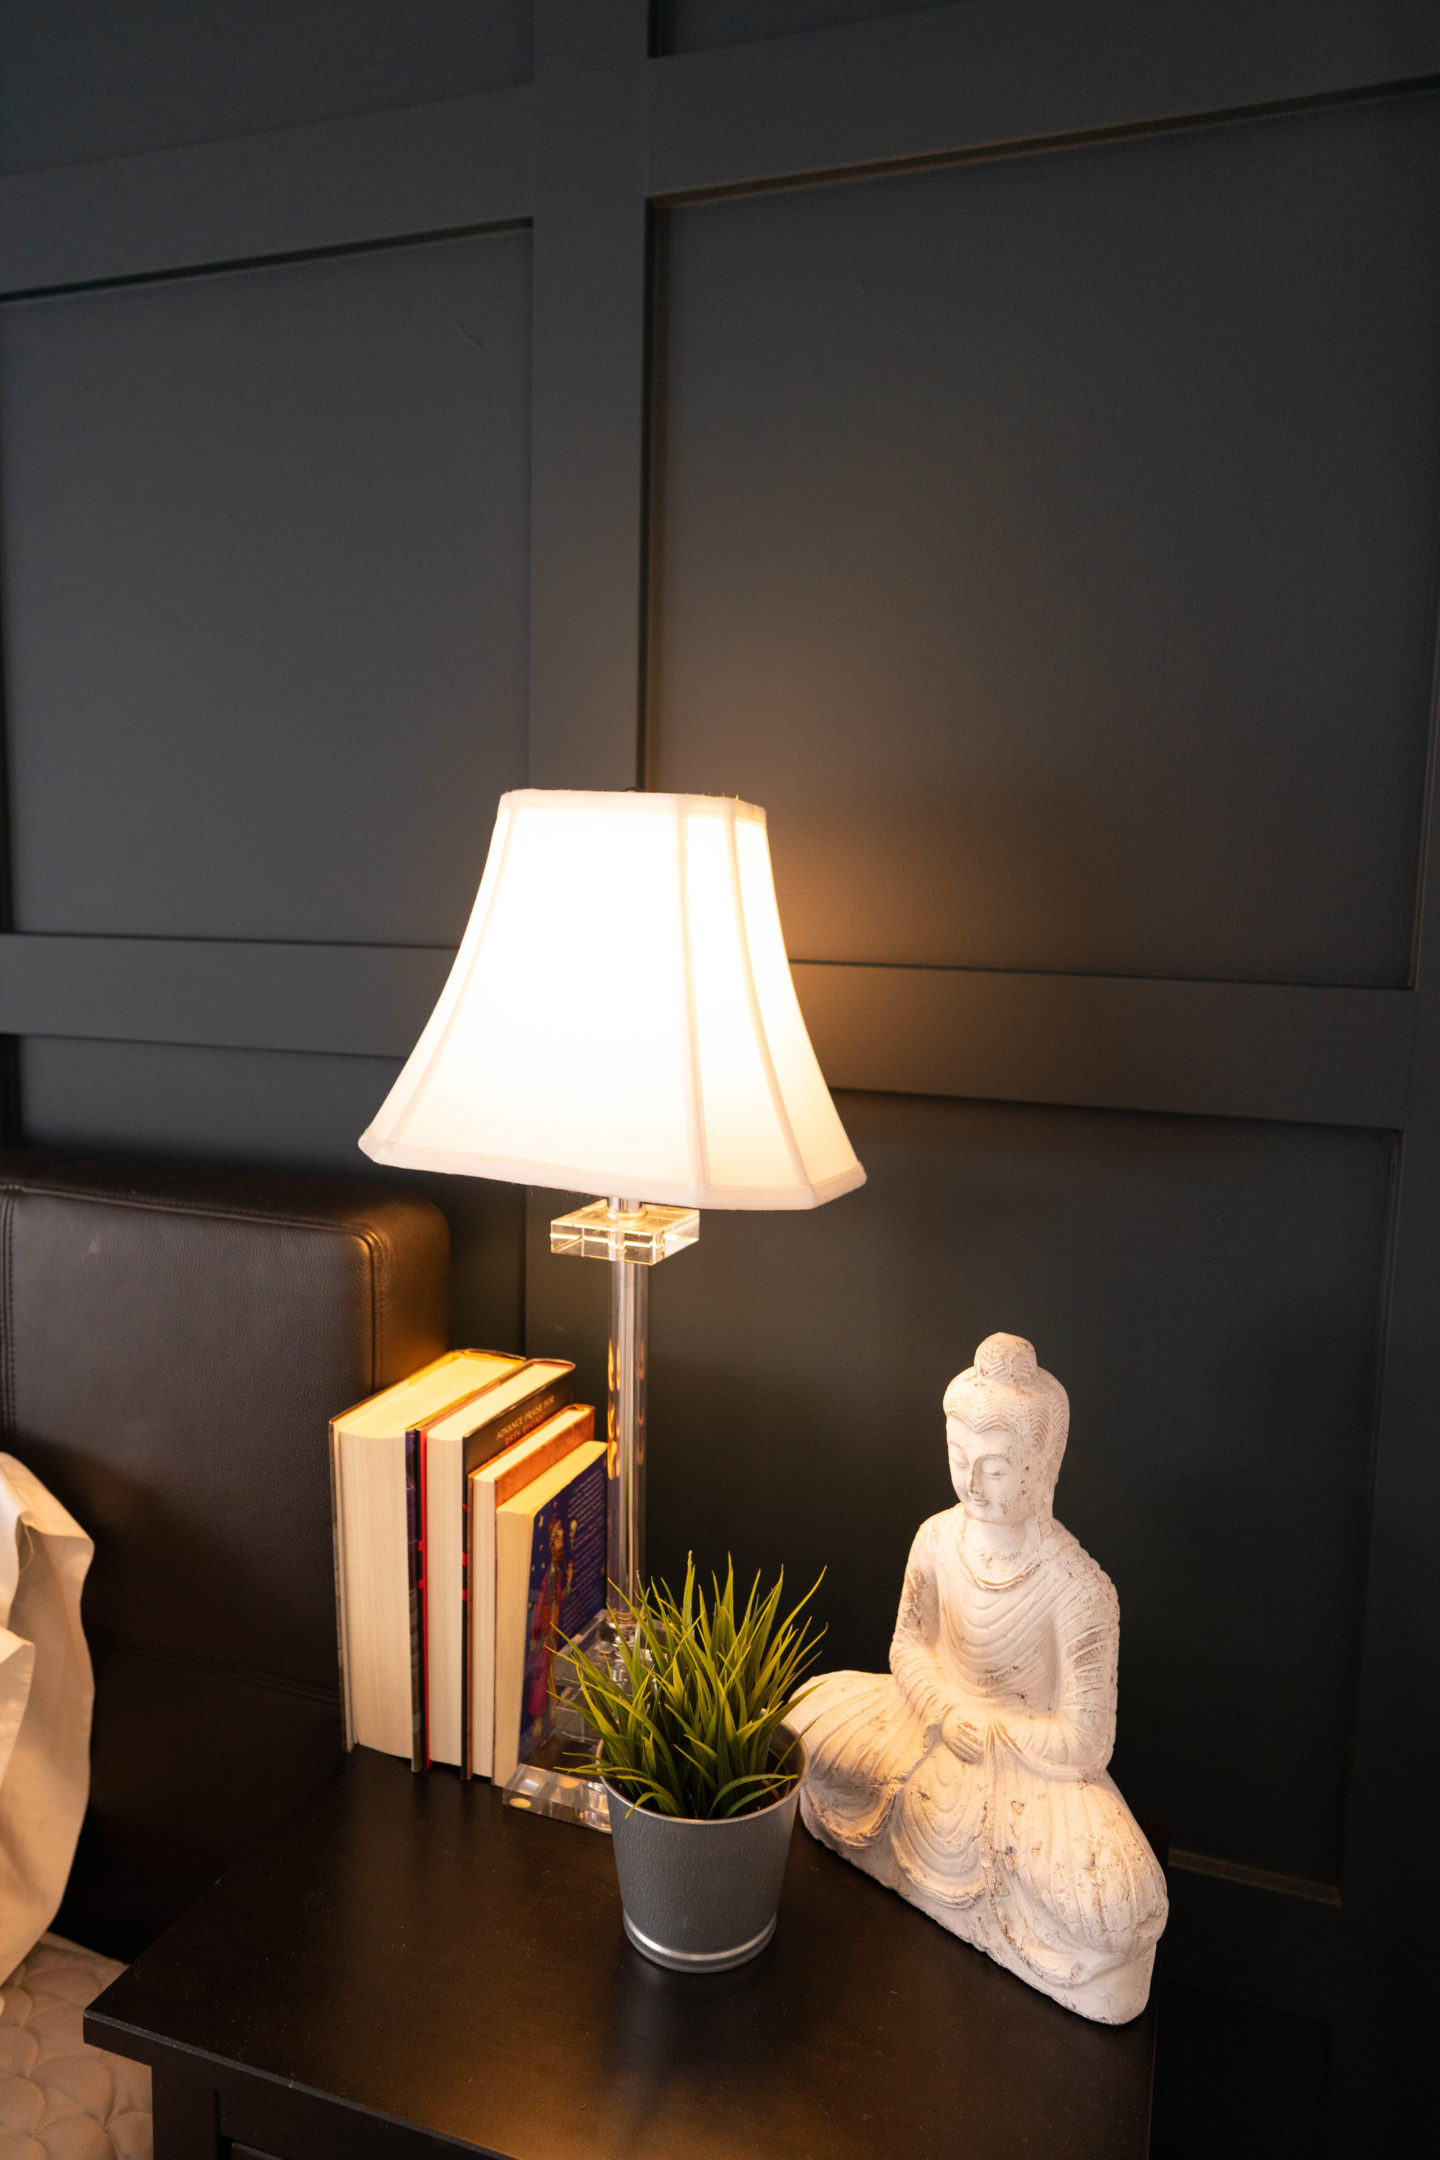
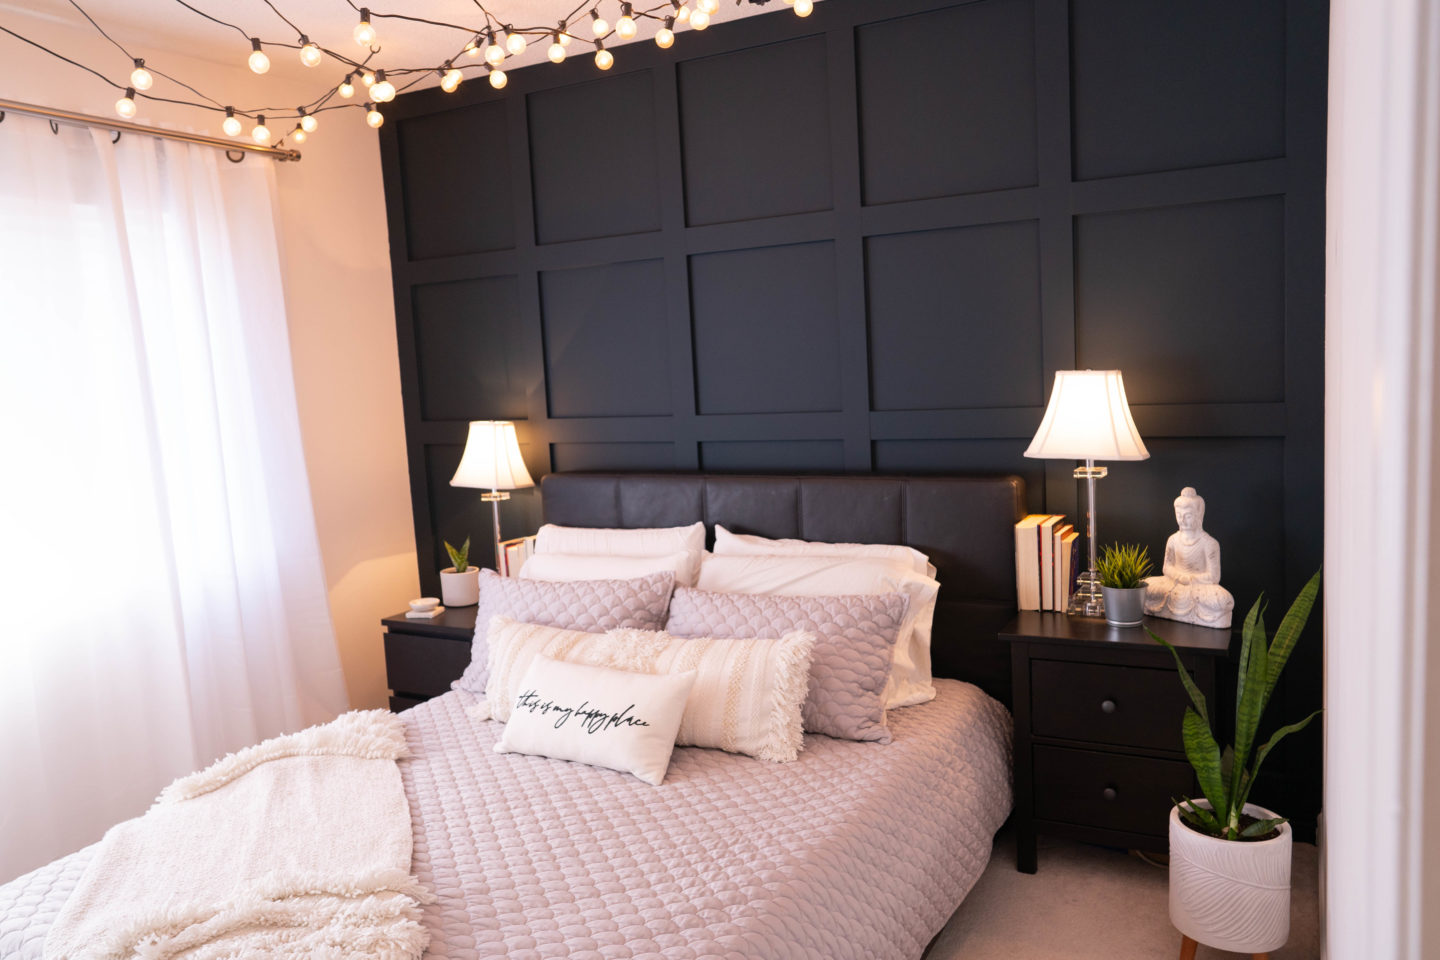
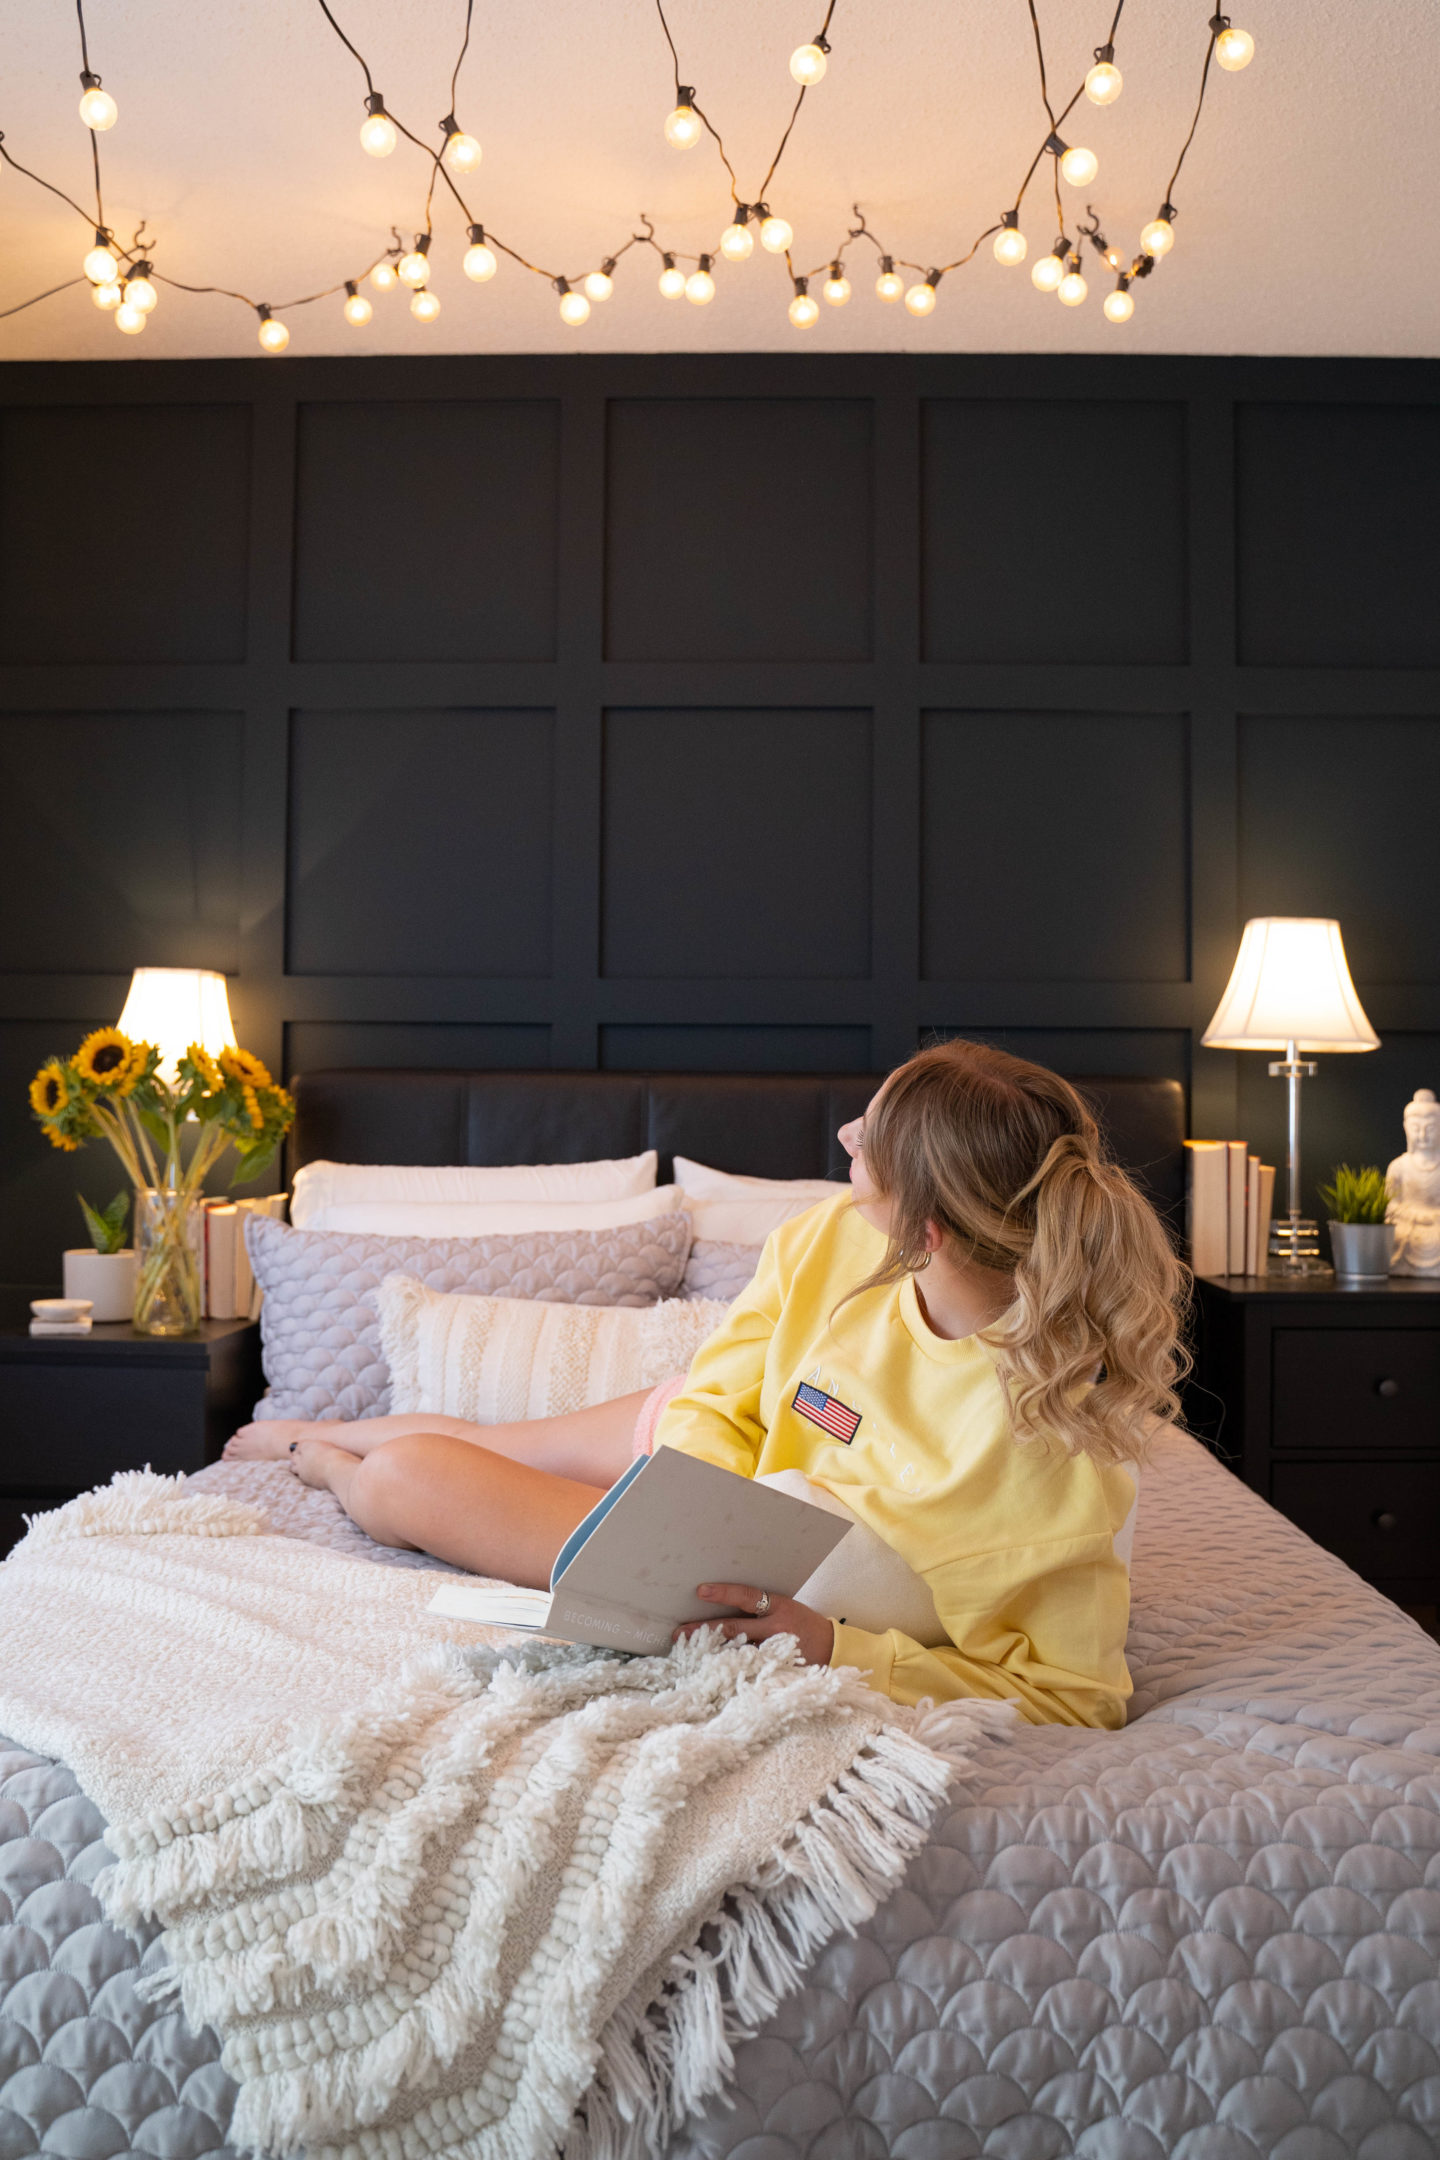
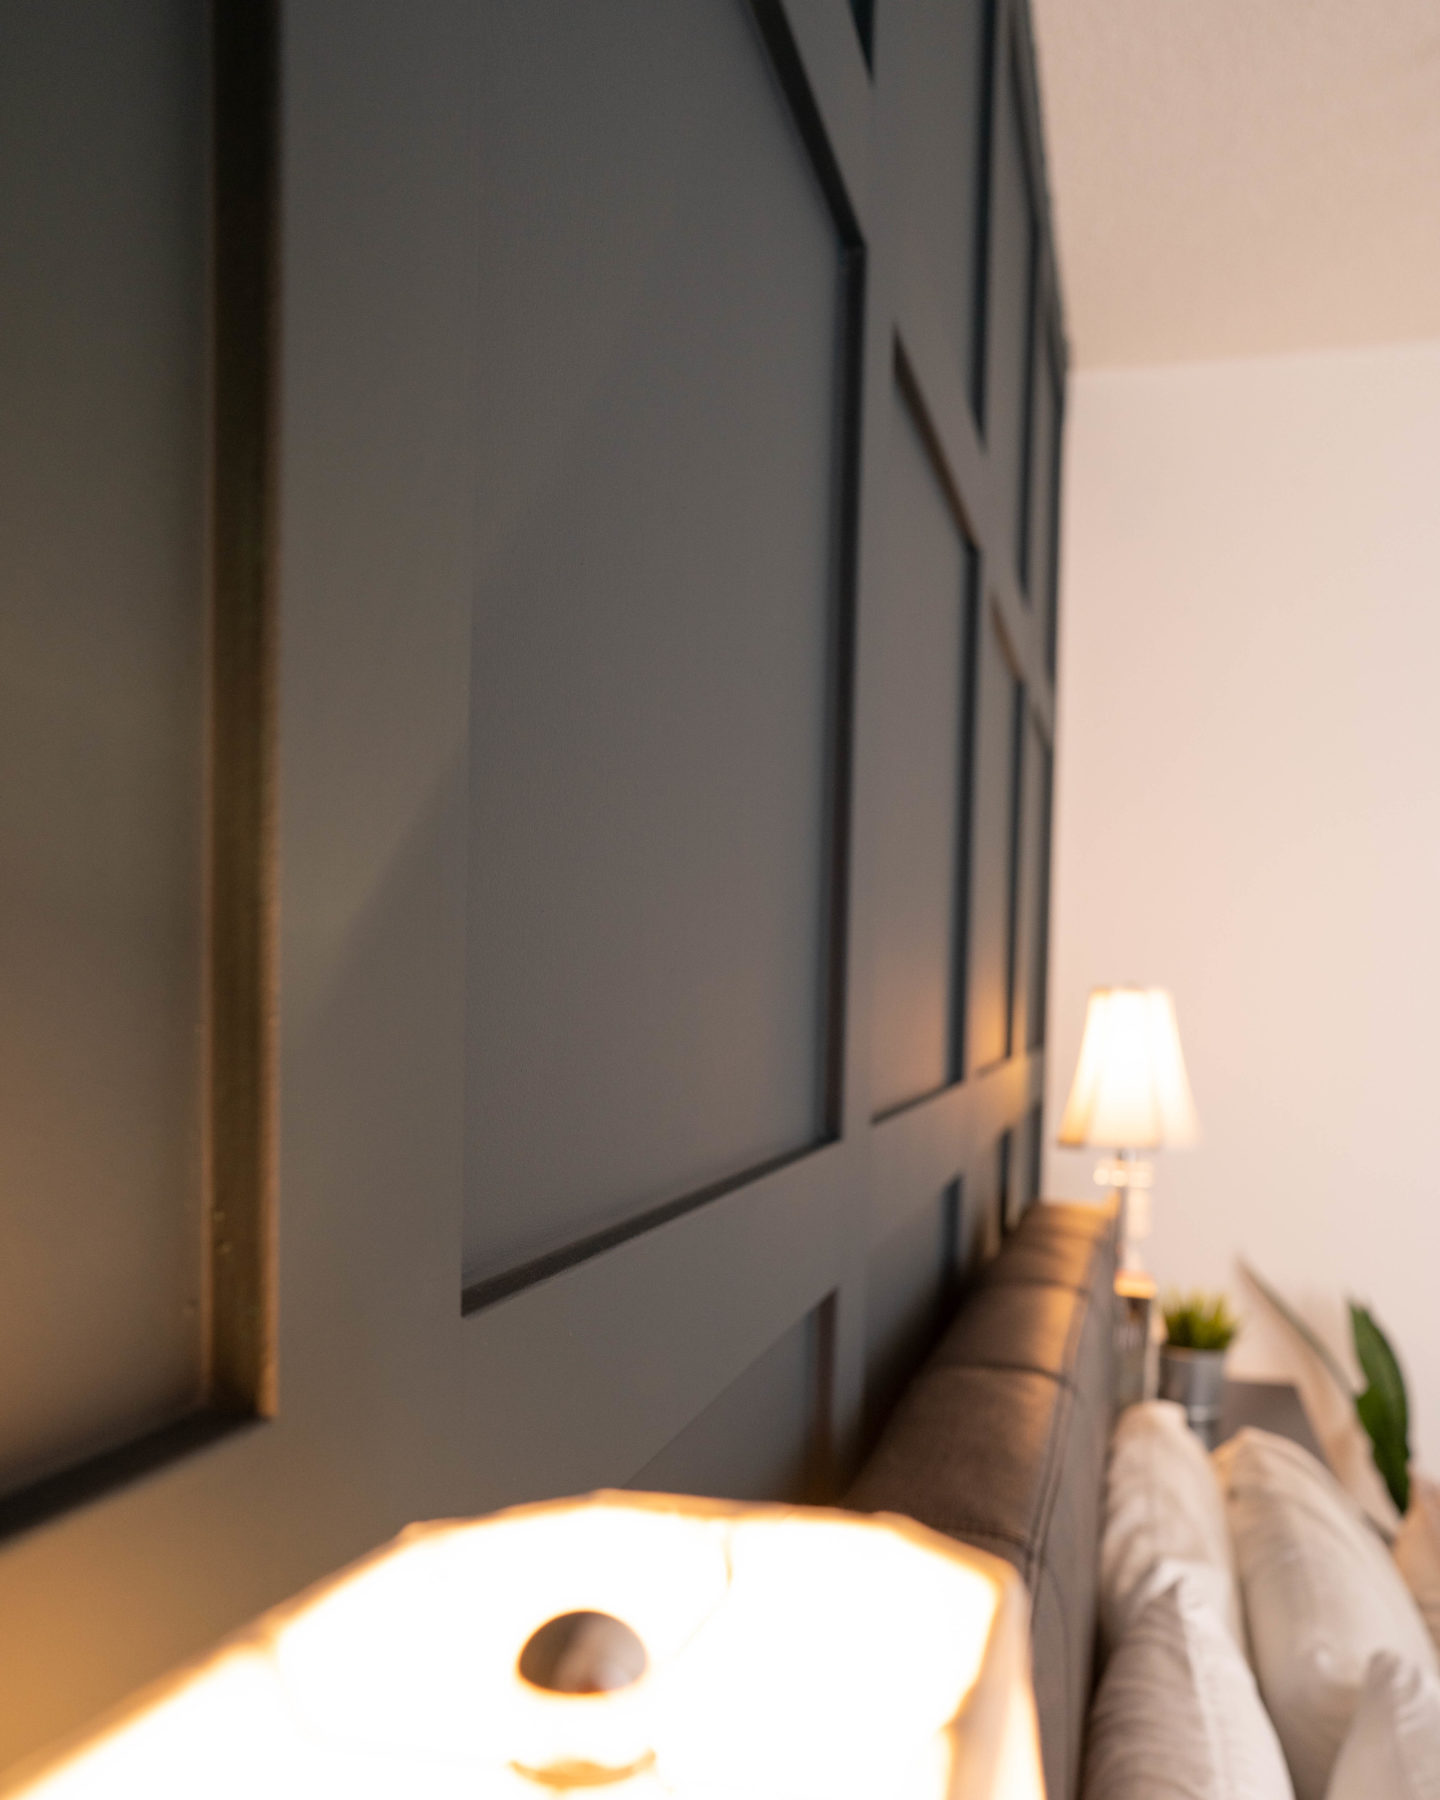
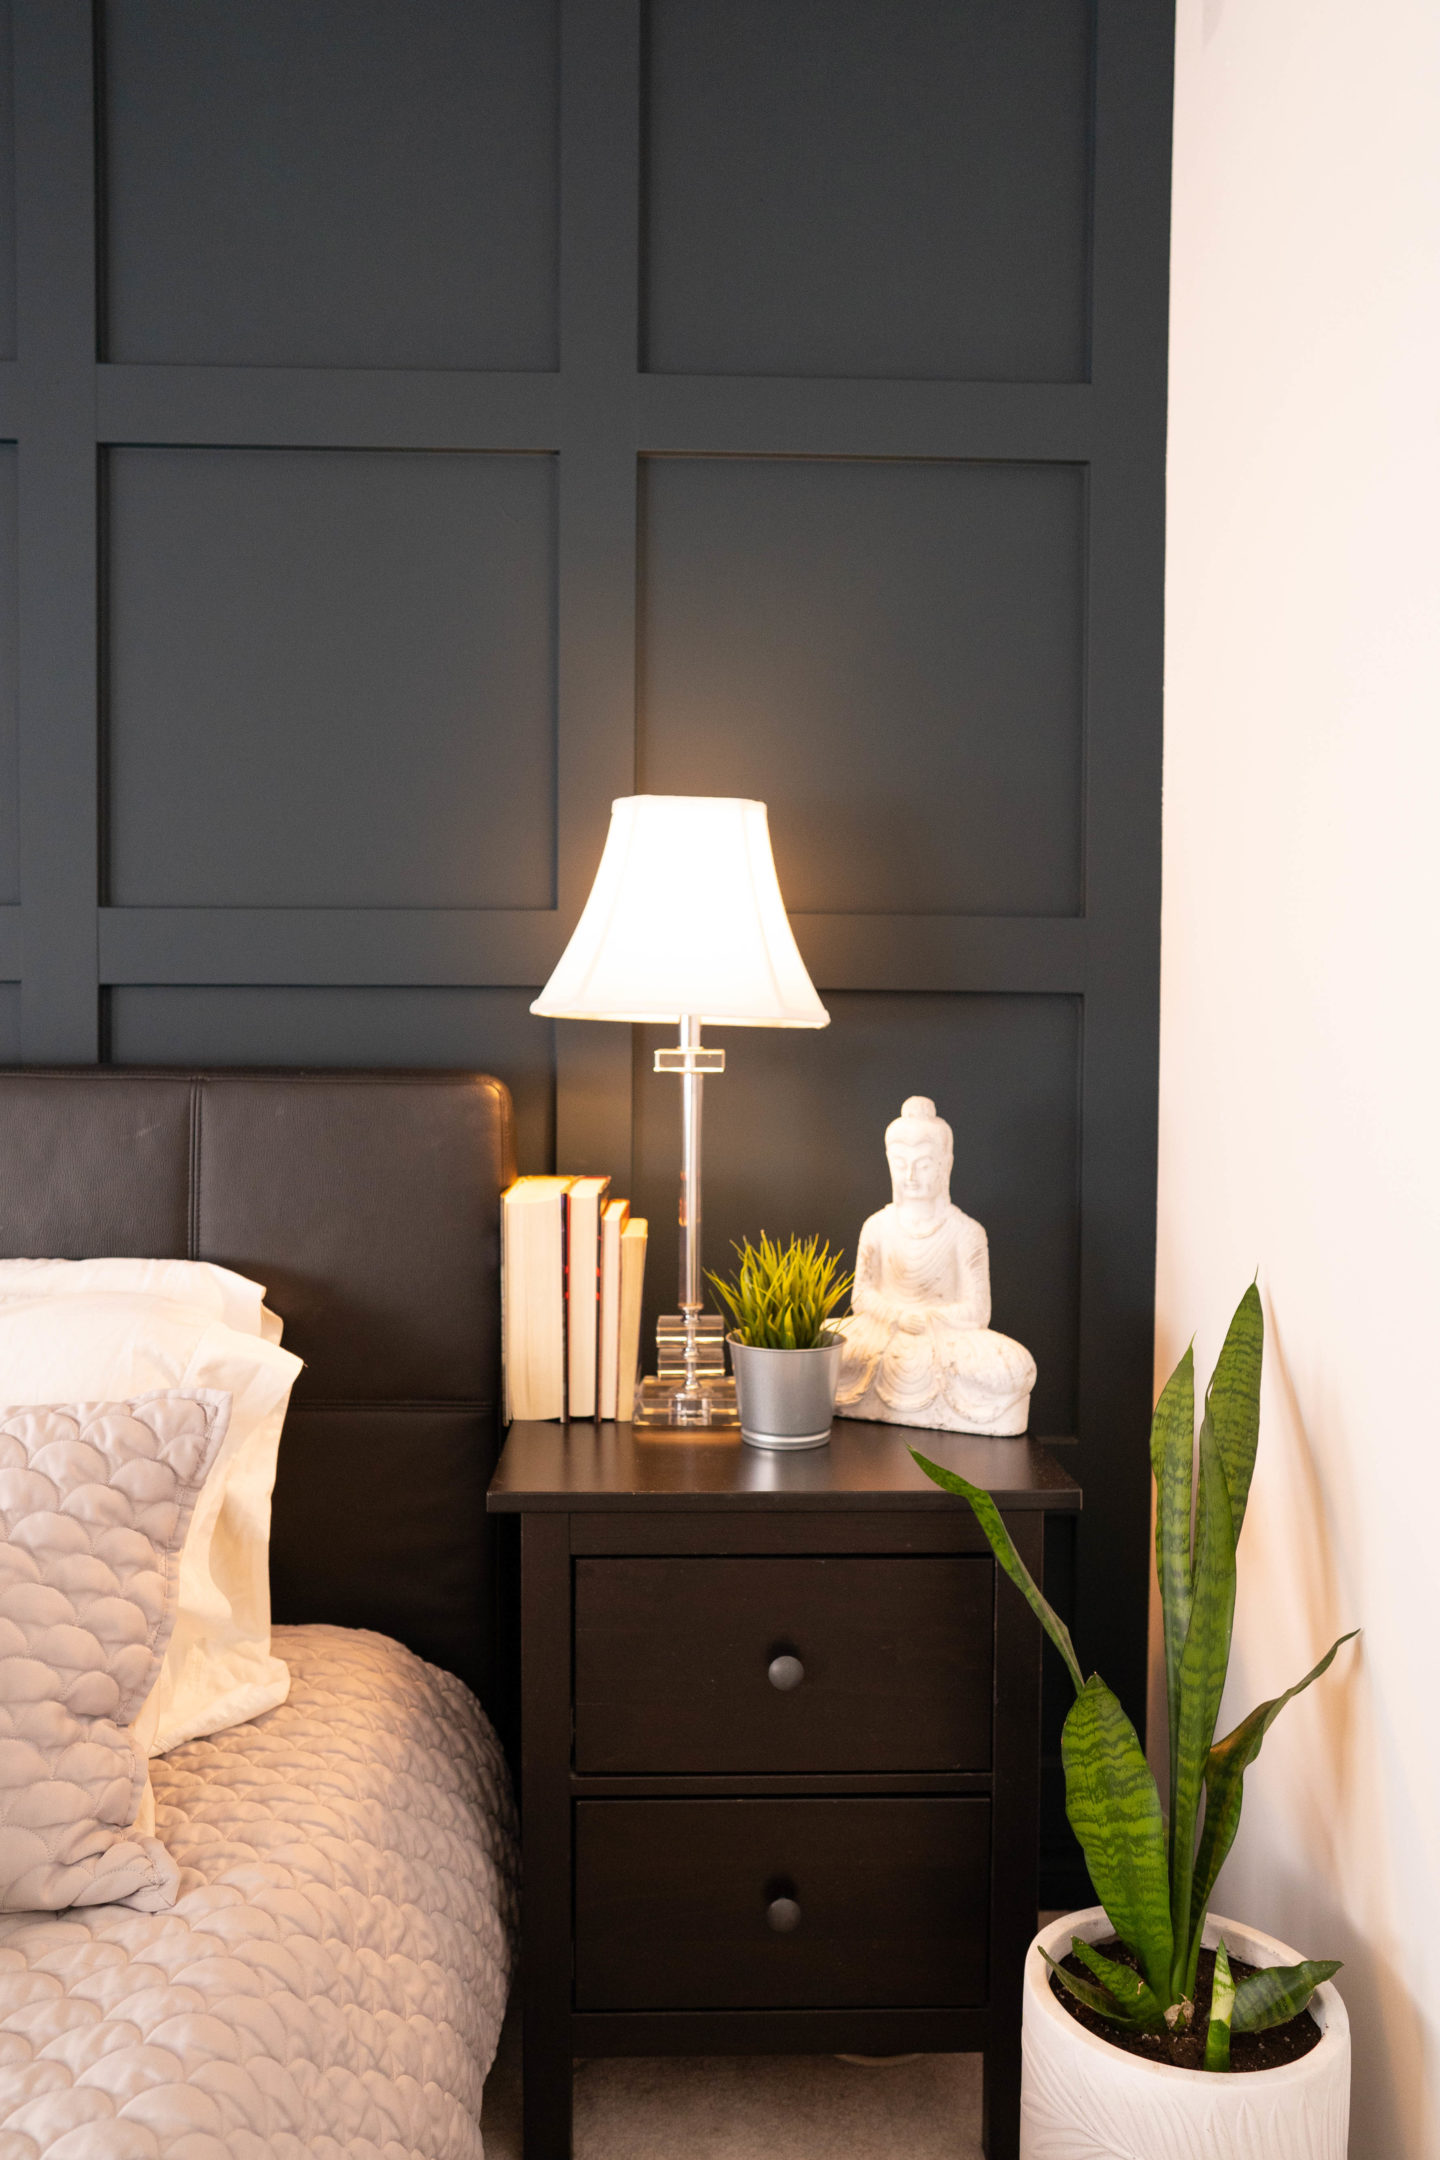
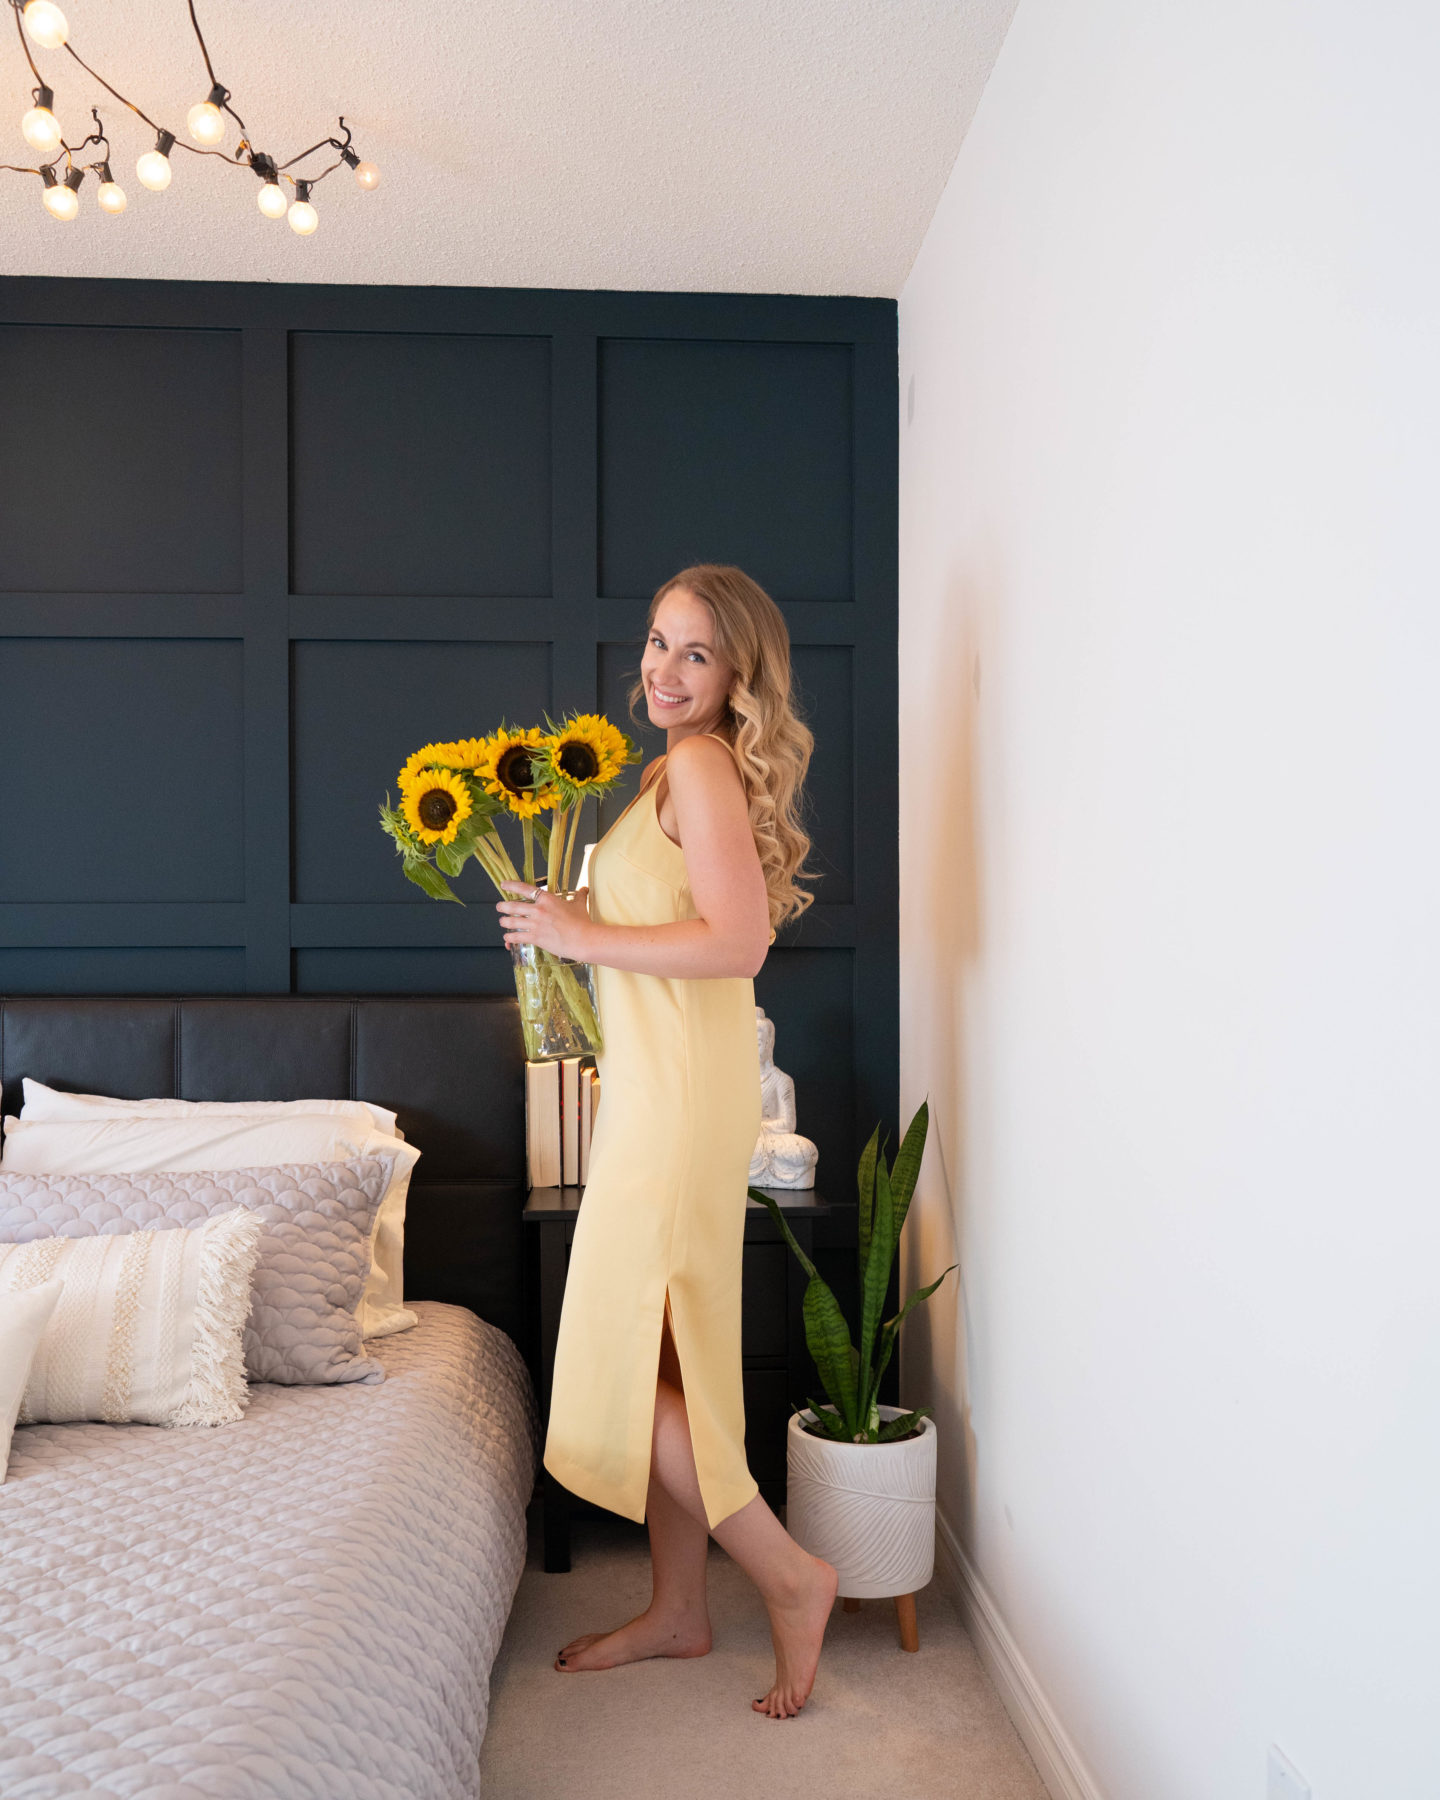
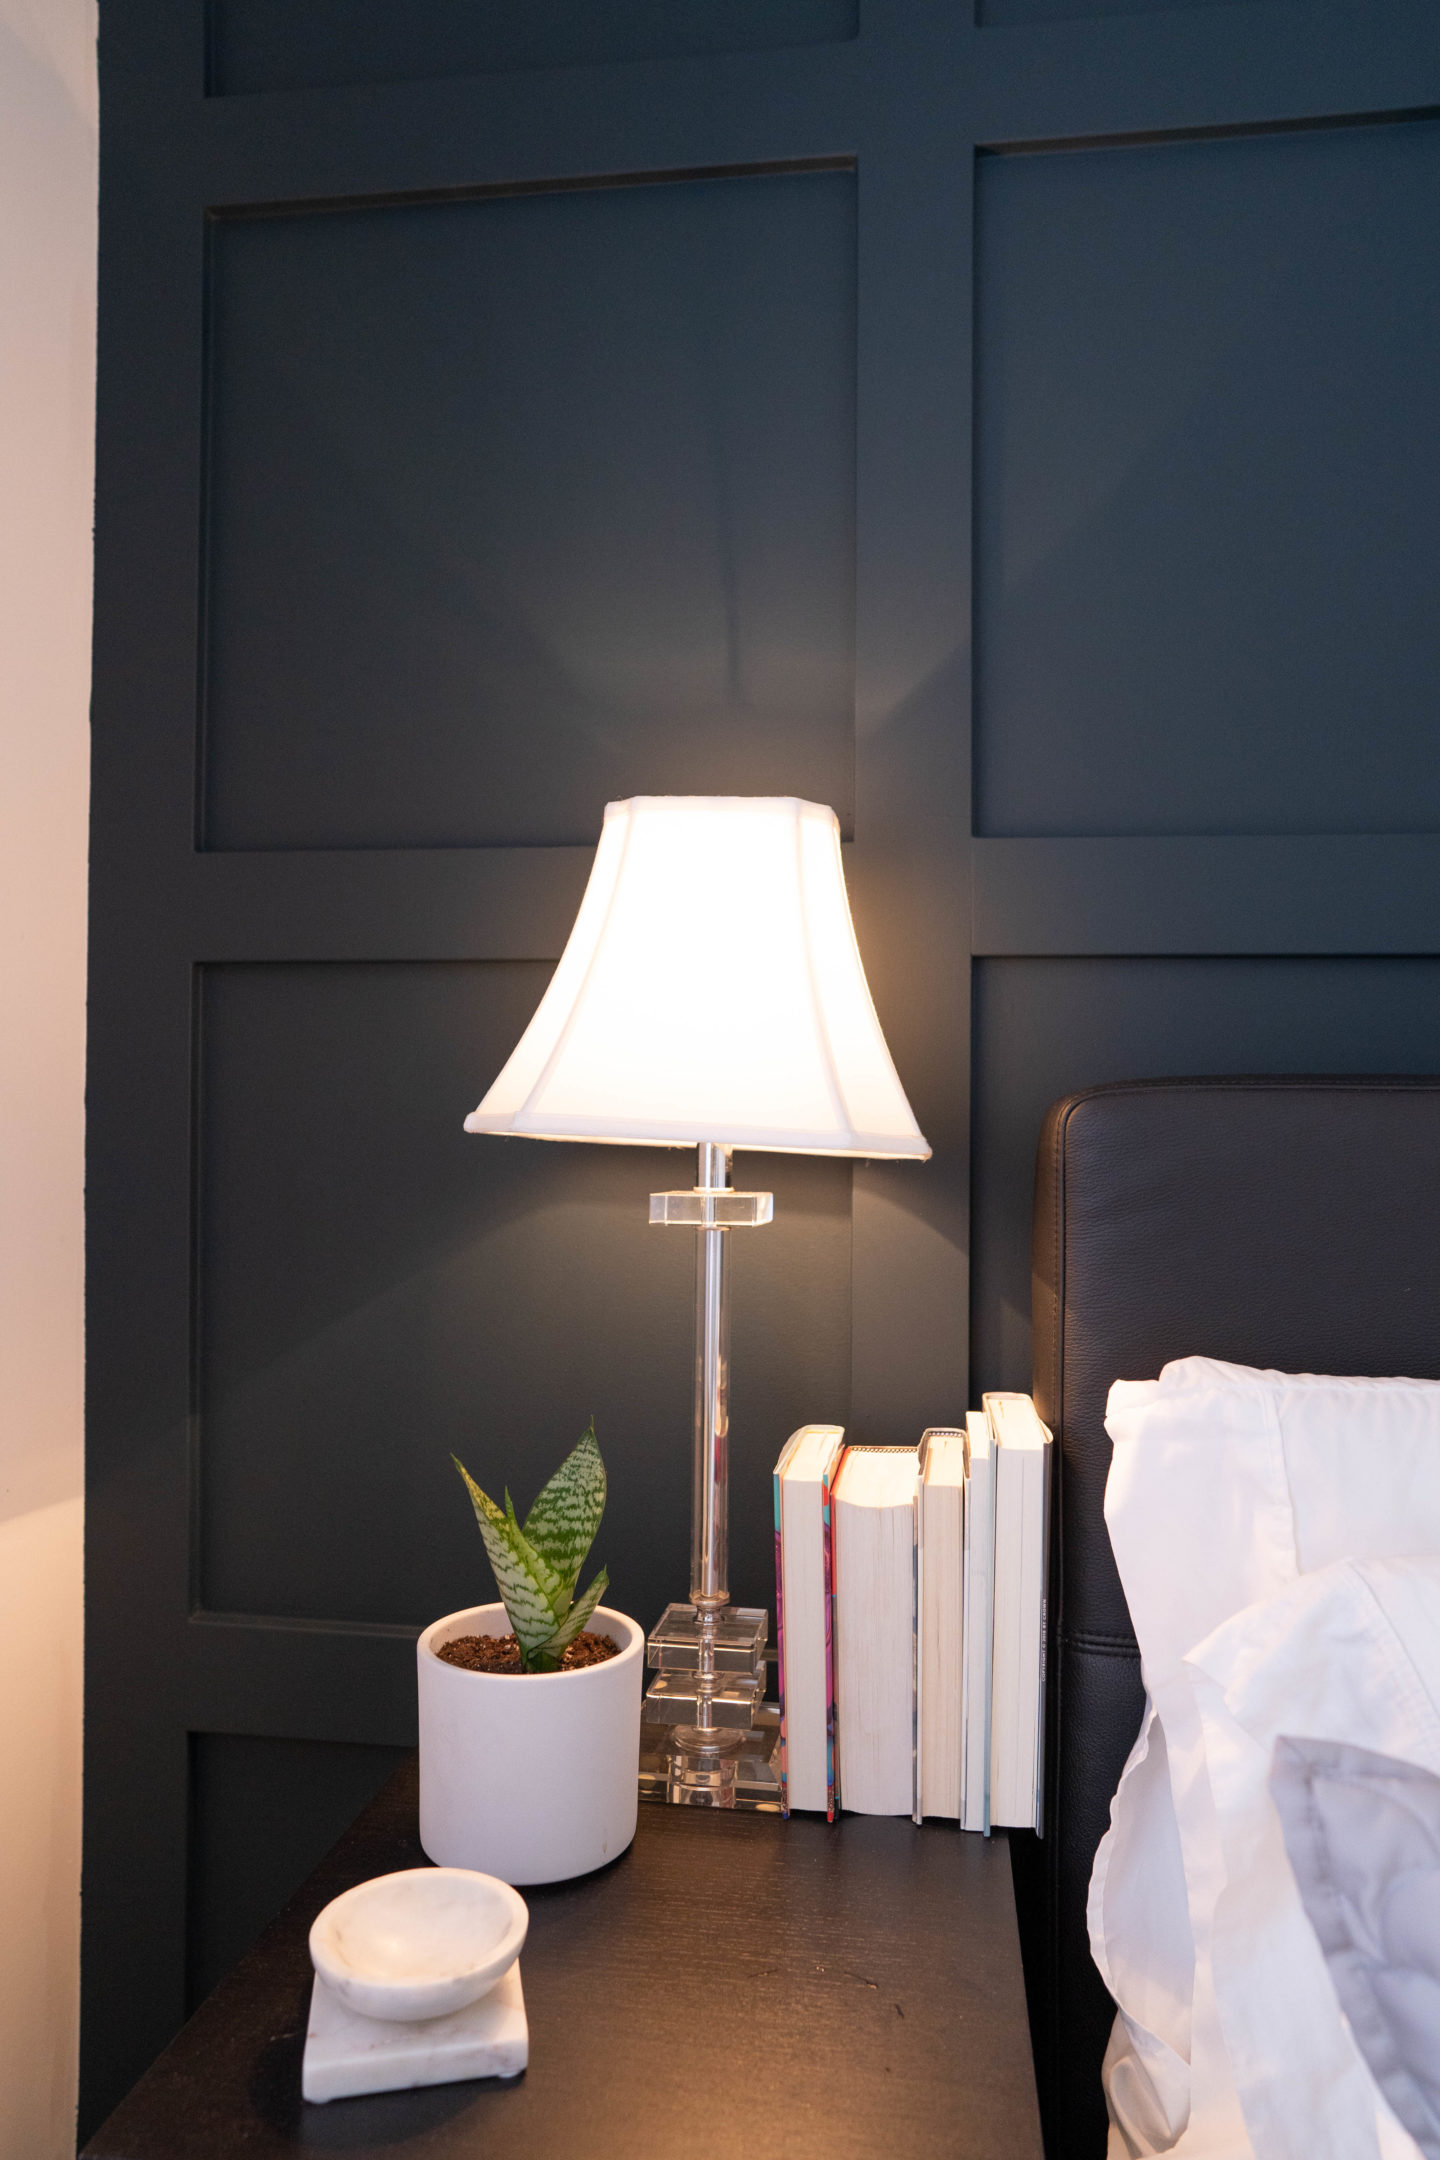
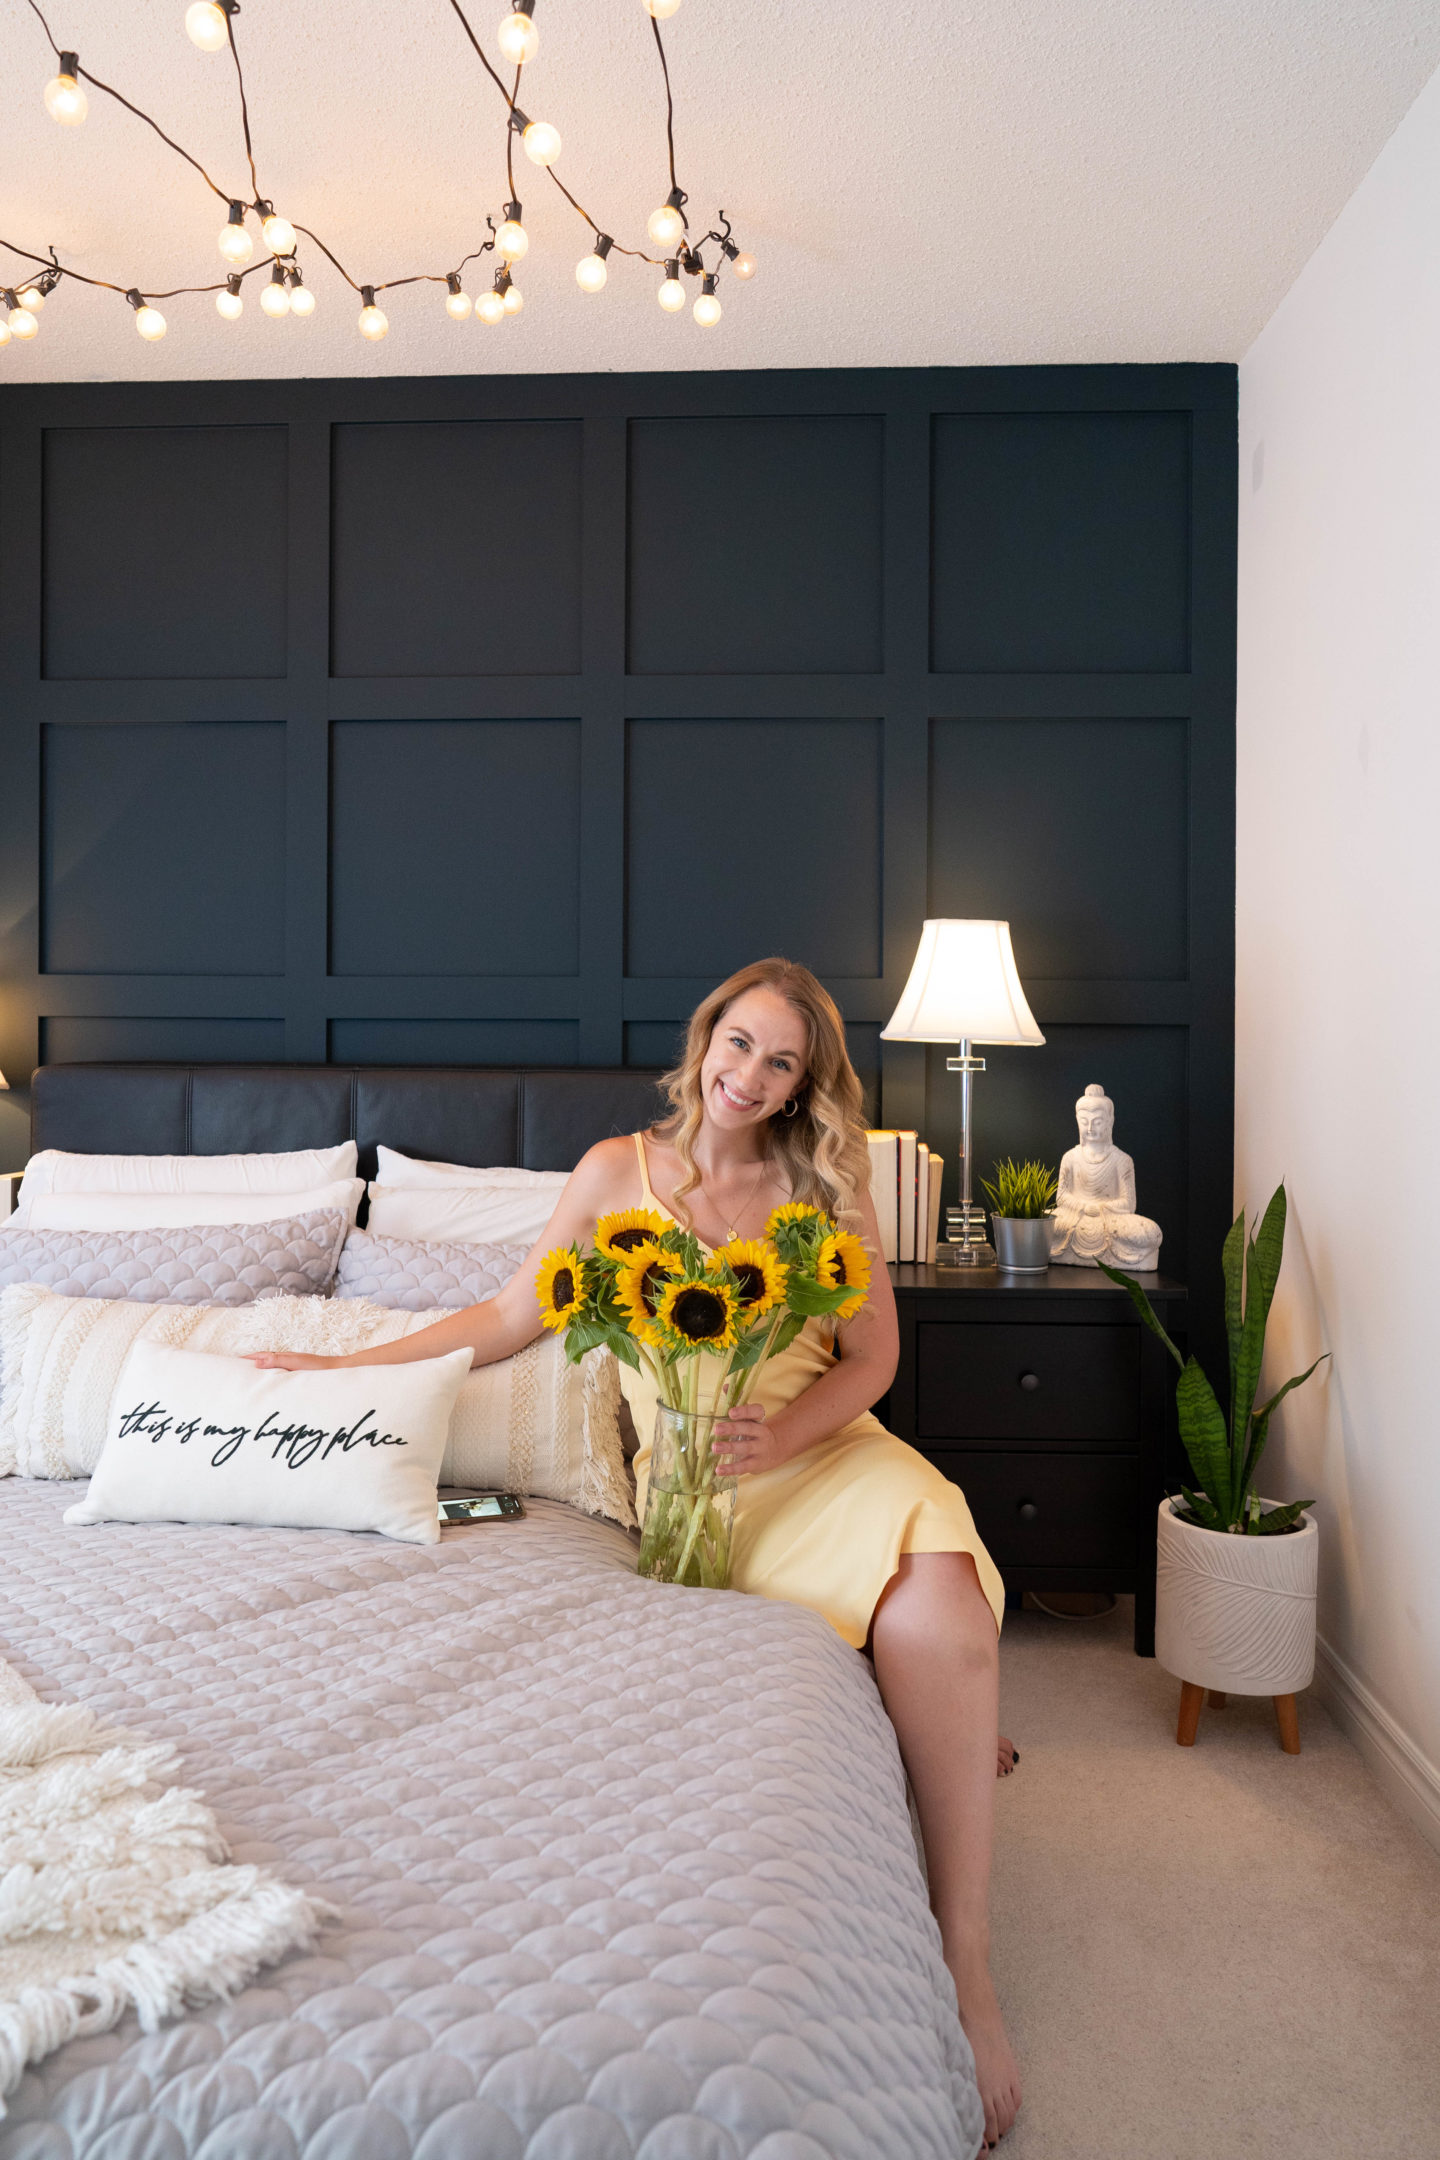
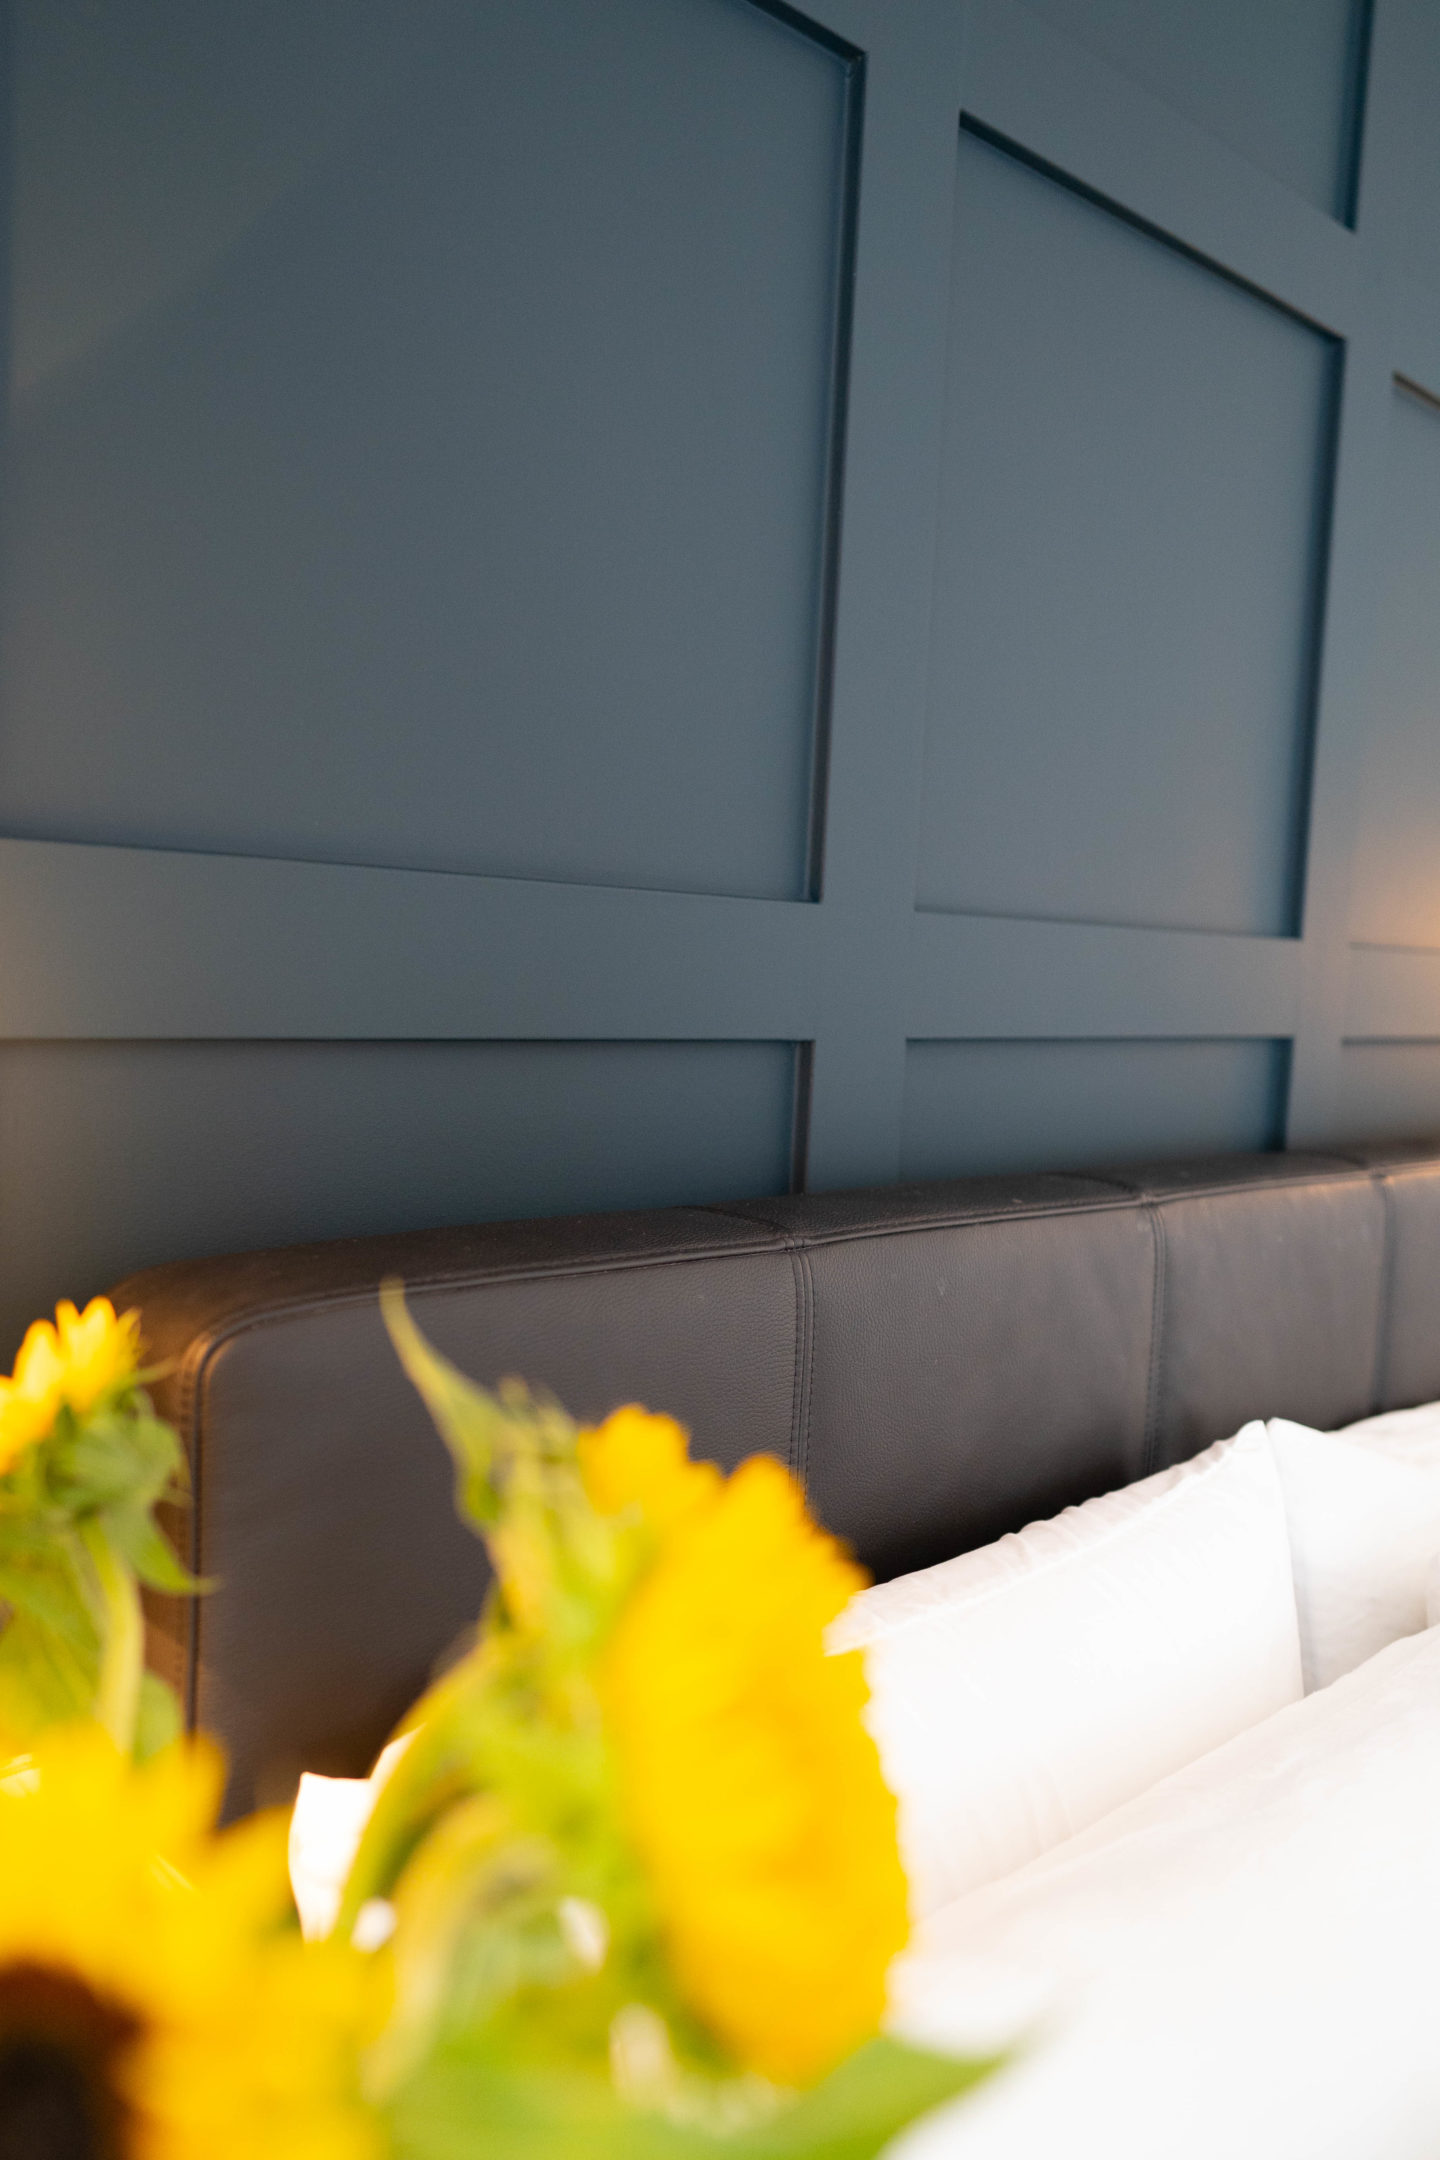
The final look of our installation – Scroll to the bottom for more!
How is Board and Batten Installed?
The Construction
We started with the framing of our wall. Make sure the largest boards were cut to the right size and then prepped them for the wall. For our construction adhesive, we used No More Nails glue and applied a strip to the board then pressed it to the wall. We wanted to make sure these boards were very secure, so we also used an air brad gun to put nails into the boards as well.
It is not absolutely necessary to secure the boards to a stud in the wall but we wanted the peace of mind to know it was very secure. So we used a stud finder and made sure that we used nails along those sections (Rob tip: studs are normally 16’’ apart).
Progress Shots
Here are some of our progress shots. We applied our glue as well as nails to apply the boards and chose not to pre-paint the wall and board though this is certainly an option. It is paramount to purchase the pre-primed boards for a more seamless project.
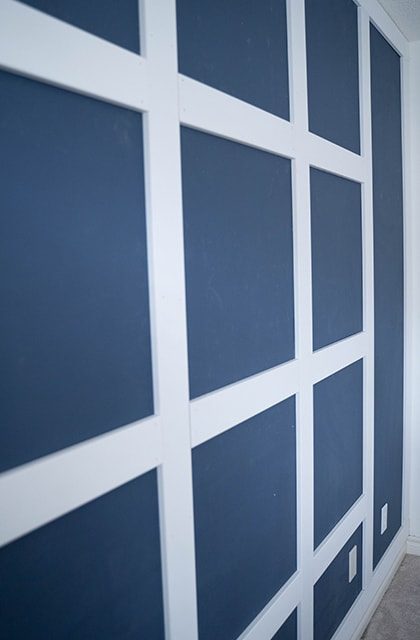
Once the frame was up, the next step was to do the vertical slats! We measured once again from each side of the frame to the other and doublechecked our measures to make sure we were on track. We then marked the wall where each of the boards would go, measured the distance between them and when we were satisfied it was evenly spaced started the whole process of affixing them to the wall.
After we finished the vertical boards, it was time to do the horizontal ones (if that’s what your design calls for). We used two spare boards cut to the exact size we needed to evenly space out our squares all the way down. That made our life so much easier by always placing the two boards affixed to the frame above and then affixing the next board just beneath them. A simple trick that saved us a lot of time.
Don’t precut the horizontal boards ahead of time as like we mentioned earlier, not all walls are evenly spaced out. You must measure the width you need each time you are ready to affix a new board and then cut it to the exact size.
The Final Touches to Your Board and Batten Wall
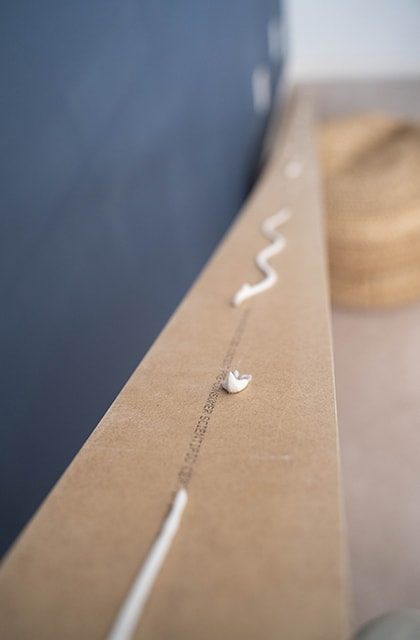
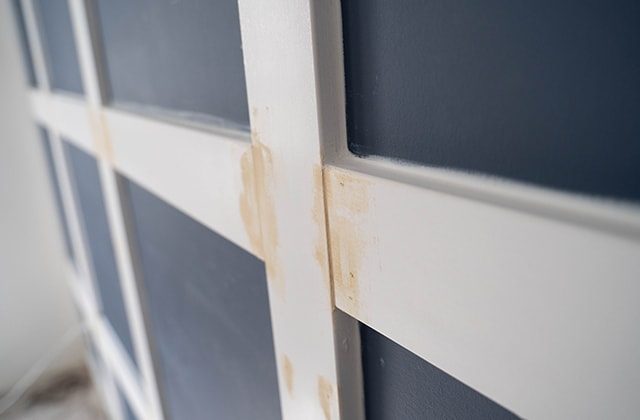
You are not done yet! You need to put wood filler along the cracks of wherever the boards are meeting. After doing that you need to use caulking along the edges of every board. Don’t over do it here, just a nice thin line to seal the board to the wall. After all of that is dry, it is time to sand. You want to make sure the MDF board is smooth as the next step after this will be painting.
Finally, we decided to prime the wall because the colour beneath our frame was very dark. This also ensured that any extra little holes were filled. We ended up putting two coats of Benjamin Moore’s Regal Selection in an ulti-matte finish. For our colour we went for Pacific Sea Teal. If your local RONA store doesn’t have the Benjamin Moore brand, we suggest SICO paint and Labrador Sea colour. You can also use the colour selector by SICO, to choose, online, the desired paint colour and finish.
Wood Filling the Boards
You need to put wood filler along the cracks of wherever the boards are meeting. After doing that you need to use caulking along the edges of every board.
Final Thoughts
This project is extremely satisfying in all sorts of ways. First of all it truly looks like a custom installation and elevates the room. I find now my eye is drawn upward immediately making the room look and feel taller. The rich colour adds to the cozy, hygge vibes in the room and immediately give off the feeling of calm. If you are thinking about taking on this project I suggest you start with an easier pattern. Learn the technique and the steps involved before trying something really geometric. I was so delighted to find so many amazing examples online for this project. I can’t wait to have a full home we can transform but for now our bedroom will certainly do!
If you haven’t watched the full how-to video yet please do give it a watch. There is even more information within the video and in some steps it is most certainly easier to show you how it’s done. Big shoutout to RONA for helping me out with the project and of course Papa Weldon.
Thanks for reading and best of luck with your project! Check out some after shots just below!
Amanda xo
Gallery of Our Complete Board and Batten Wall


where to next?
OLDER POSTS
NEWER POSTS