How to Create a Floral Arrangement with Longo’s Flowers
05.02.25
Create a beautiful DIY Valentine’s floral arrangement using fresh flowers from Longo’s Floral Department with these simple steps!
Valentine’s Day is the perfect excuse to fill your home with fresh, beautiful blooms. I don’t know about you but as soon as February hits I immediately start thinking about spring! However, instead of spending hundreds on a pre-made bouquet, I’m going to show you how to create your own DIY floral arrangement using fresh flowers from Longo’s Floral Department. With these steps you’re going to be able to create a professional-looking bouquet easily at home!
Whether you’re designing a centrepiece for a romantic dinner, gifting a loved one, or simply treating yourself, I hope this step-by-step guide helps you create a floral arrangement that feels effortlessly elegant!
Choosing Your Colour Palette and Flowers
To create a well-balanced and visually appealing bouquet, it’s important to choose a cohesive colour palette and a variety of flowers that offer different shapes, textures, and scents.
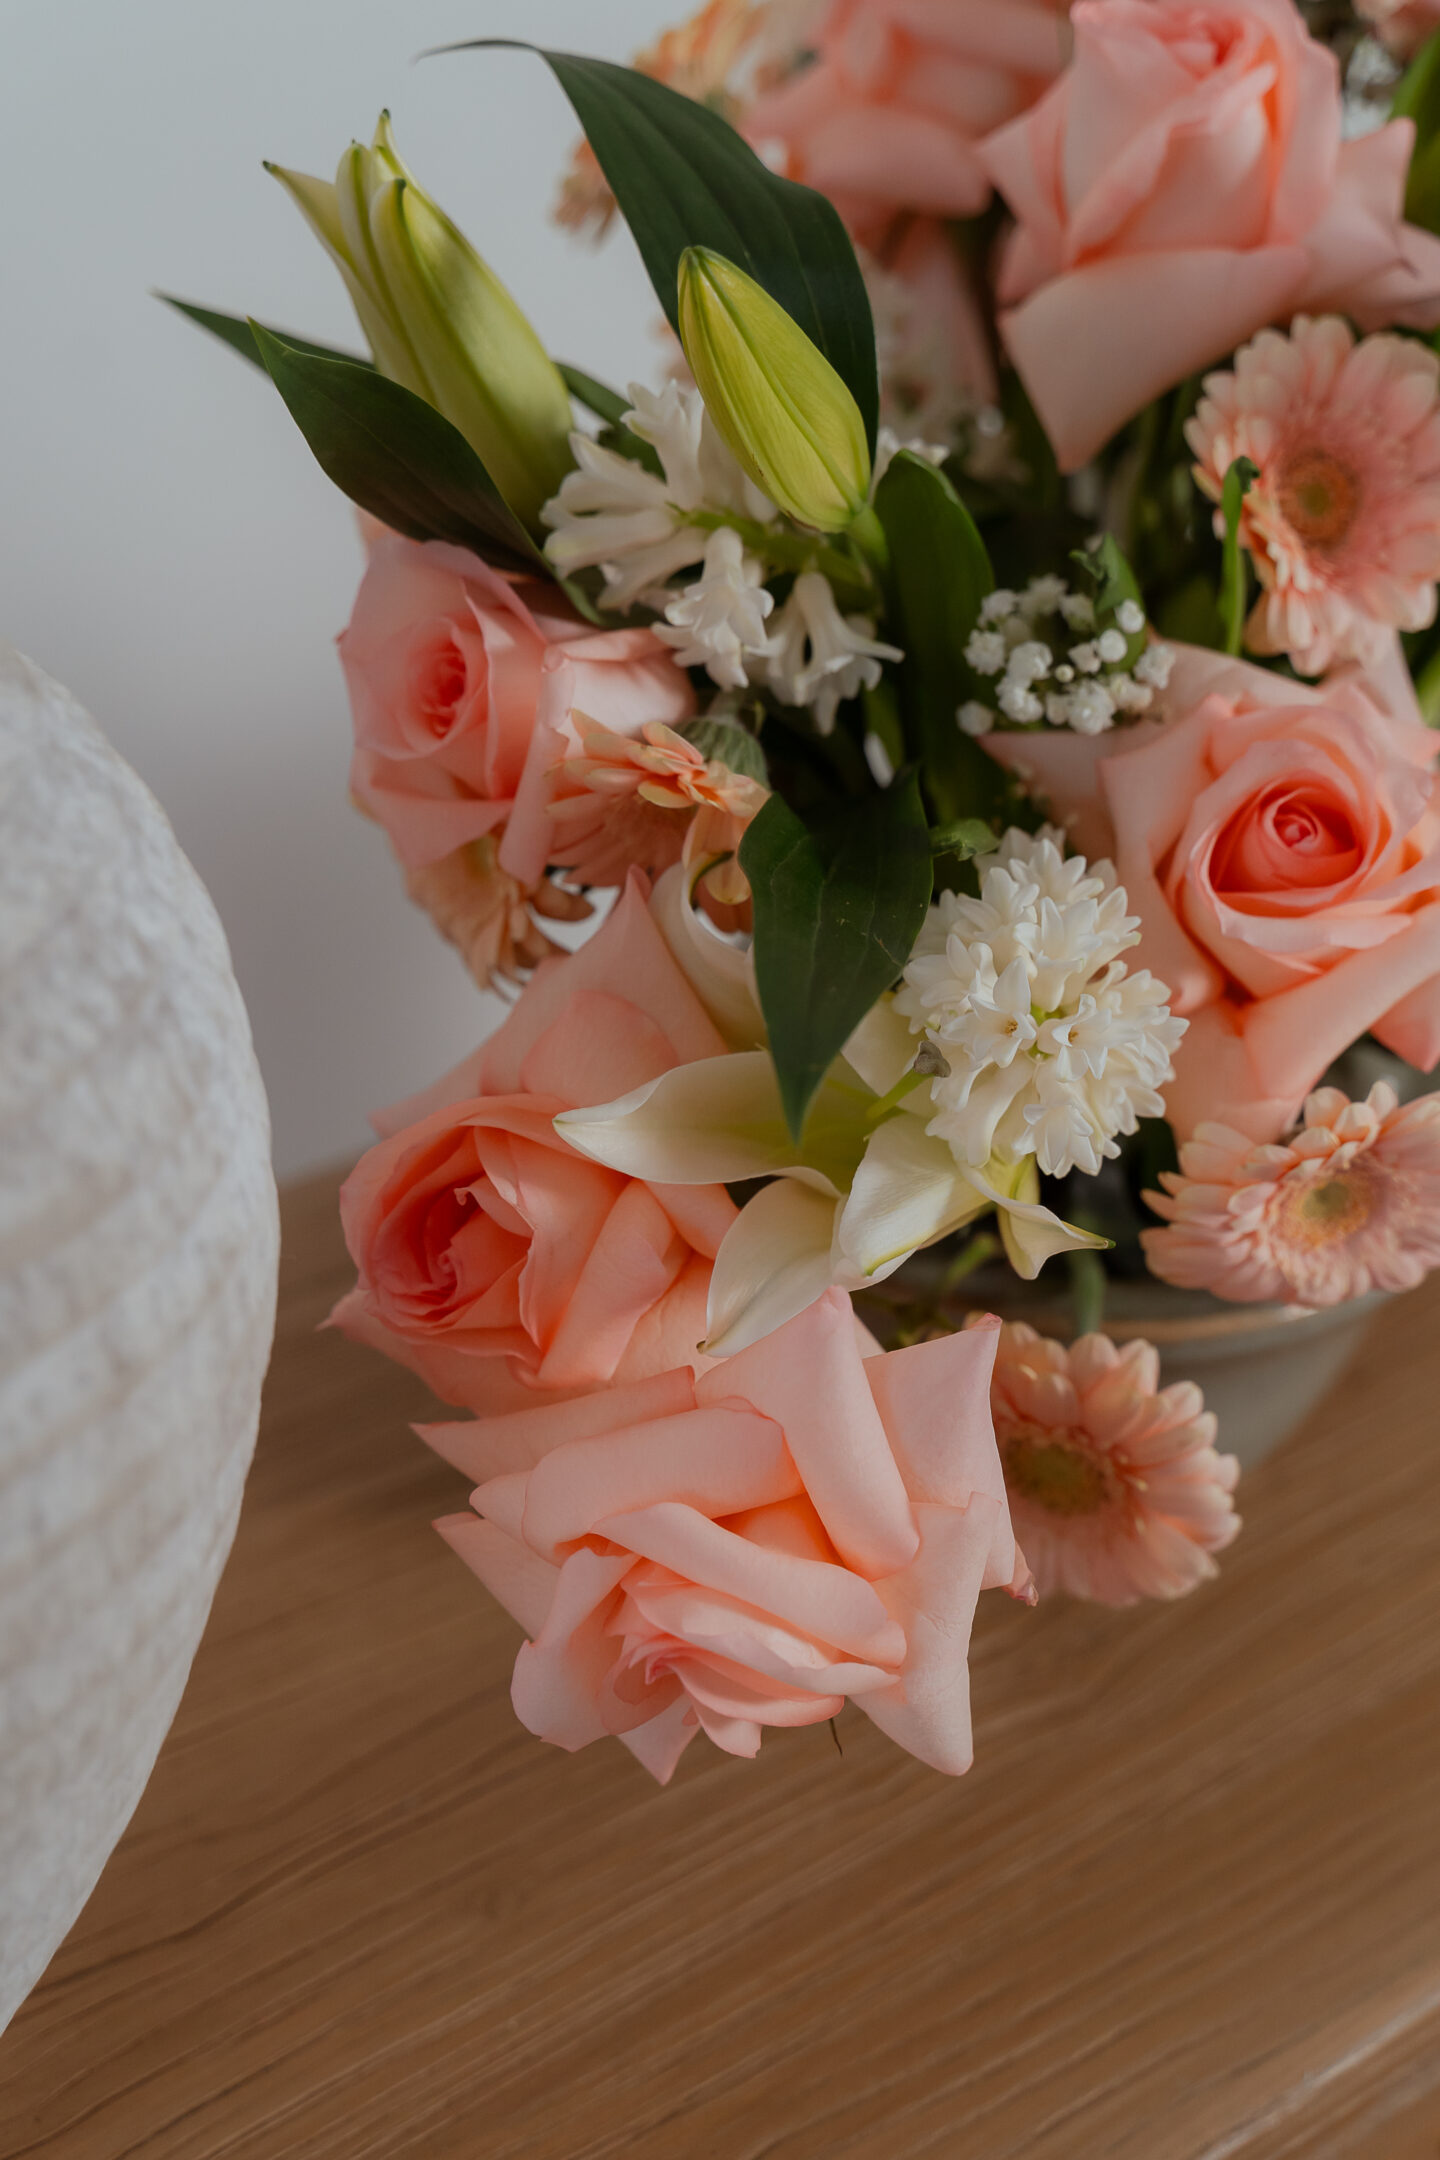
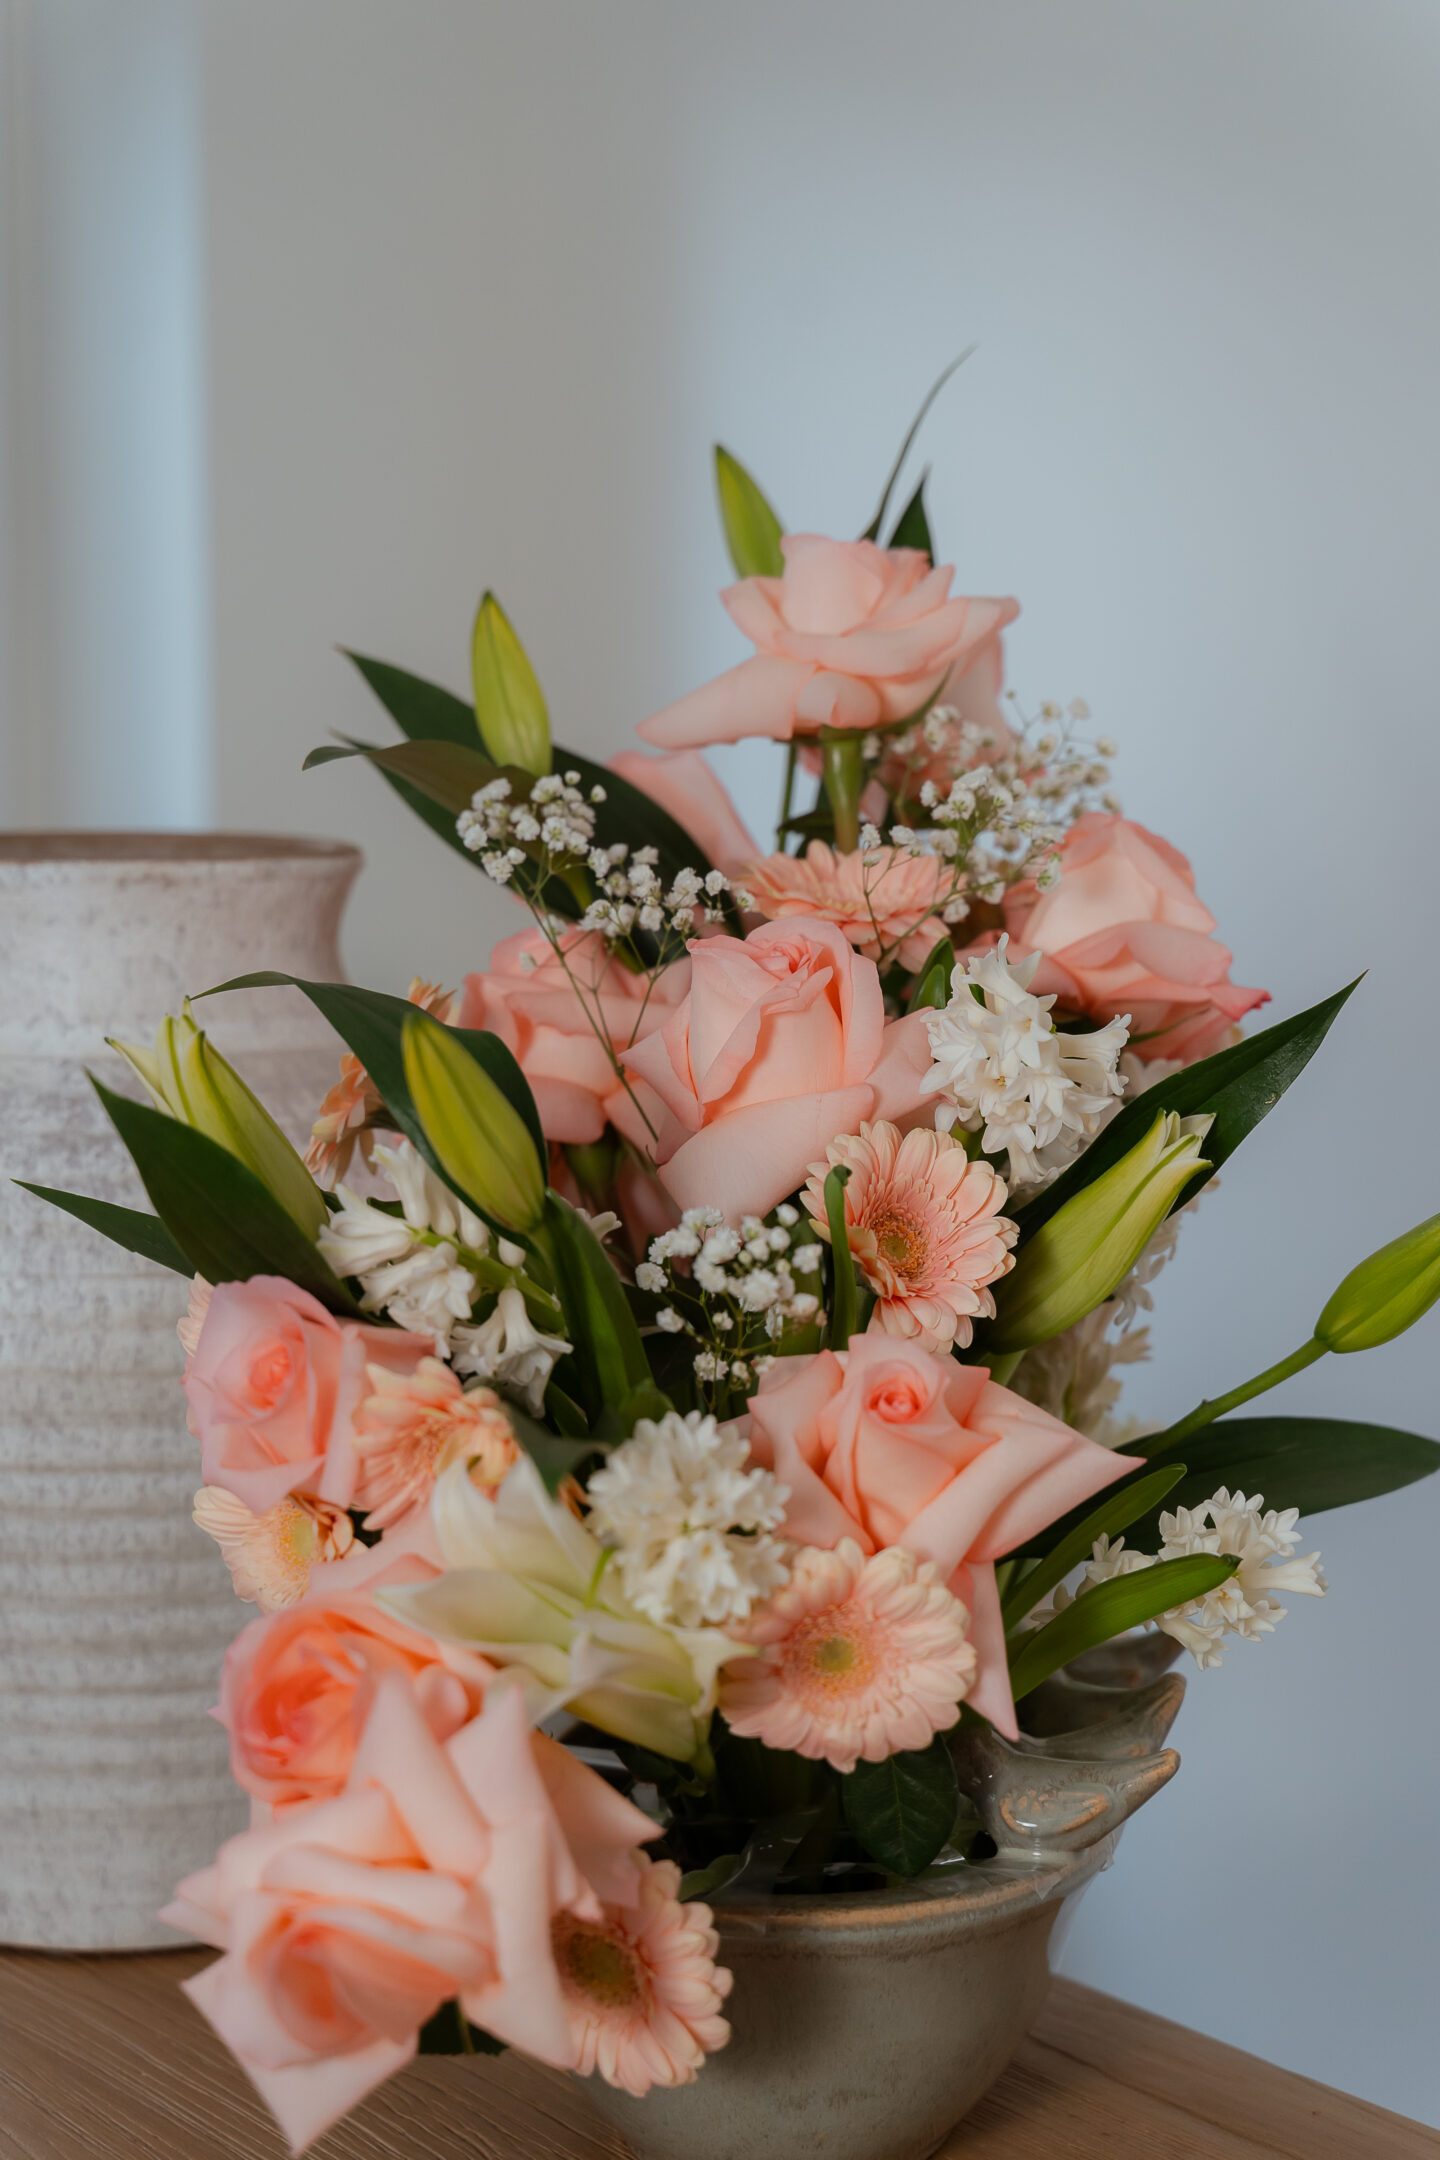
For this arrangement, I selected soft pink and white tones—a classic, girly Valentine’s Day palette. But of course choose whatever works best for you or the person you are thinking of!
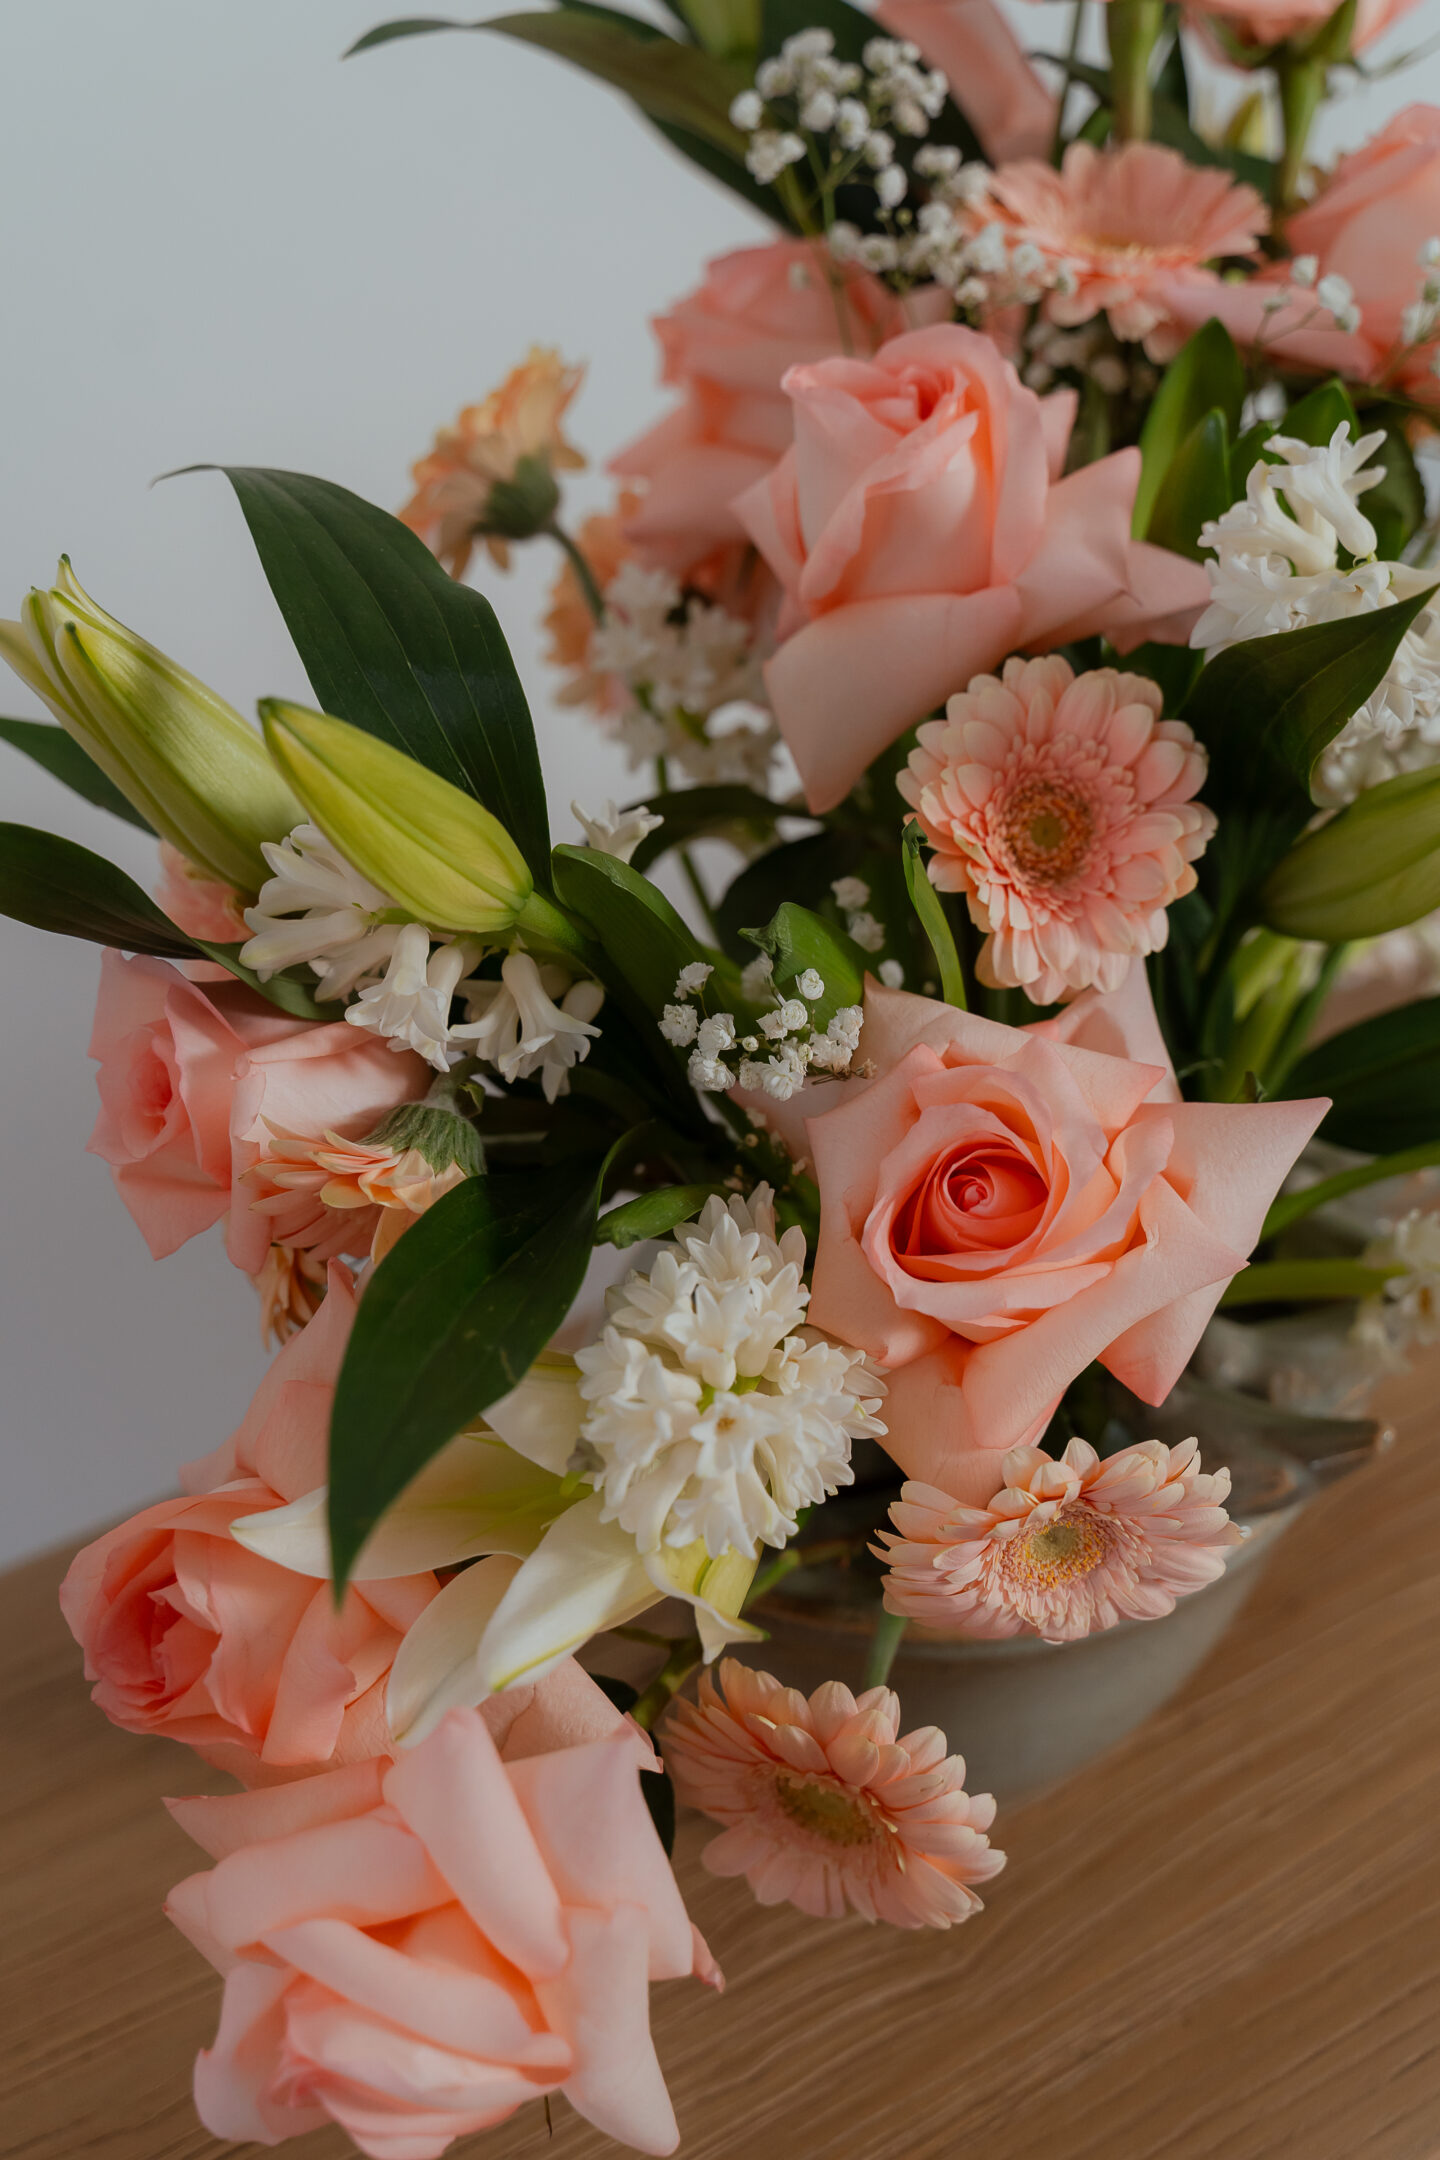
The Flowers I Used:
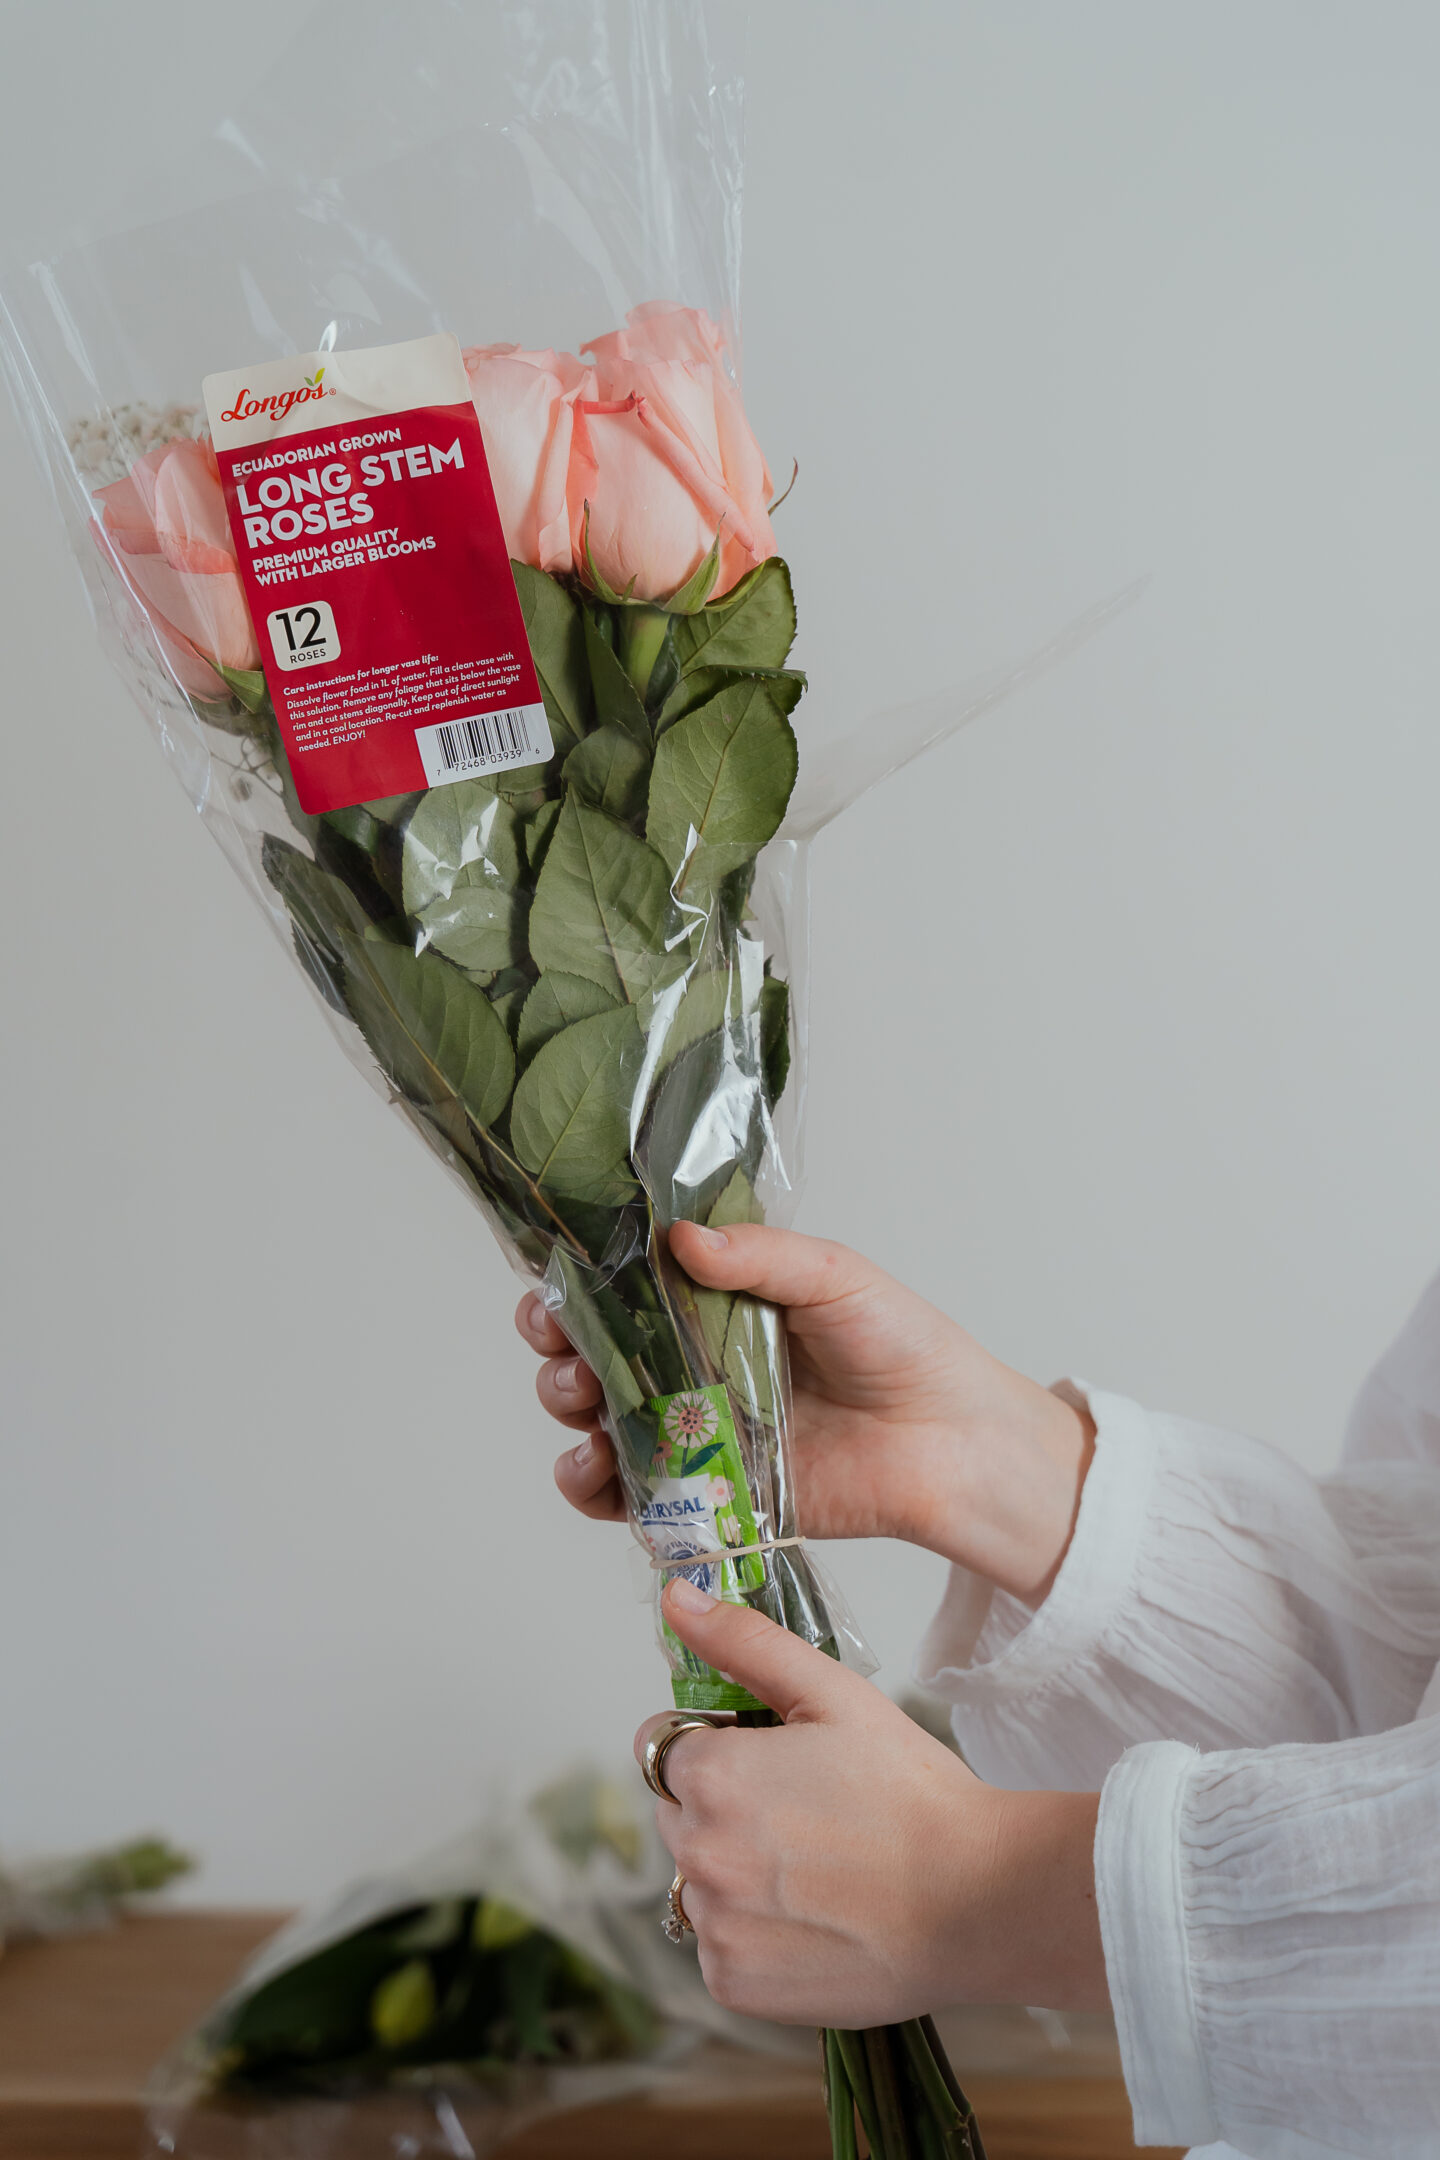
- Roses – A timeless Valentine’s flower that adds structure and elegance.
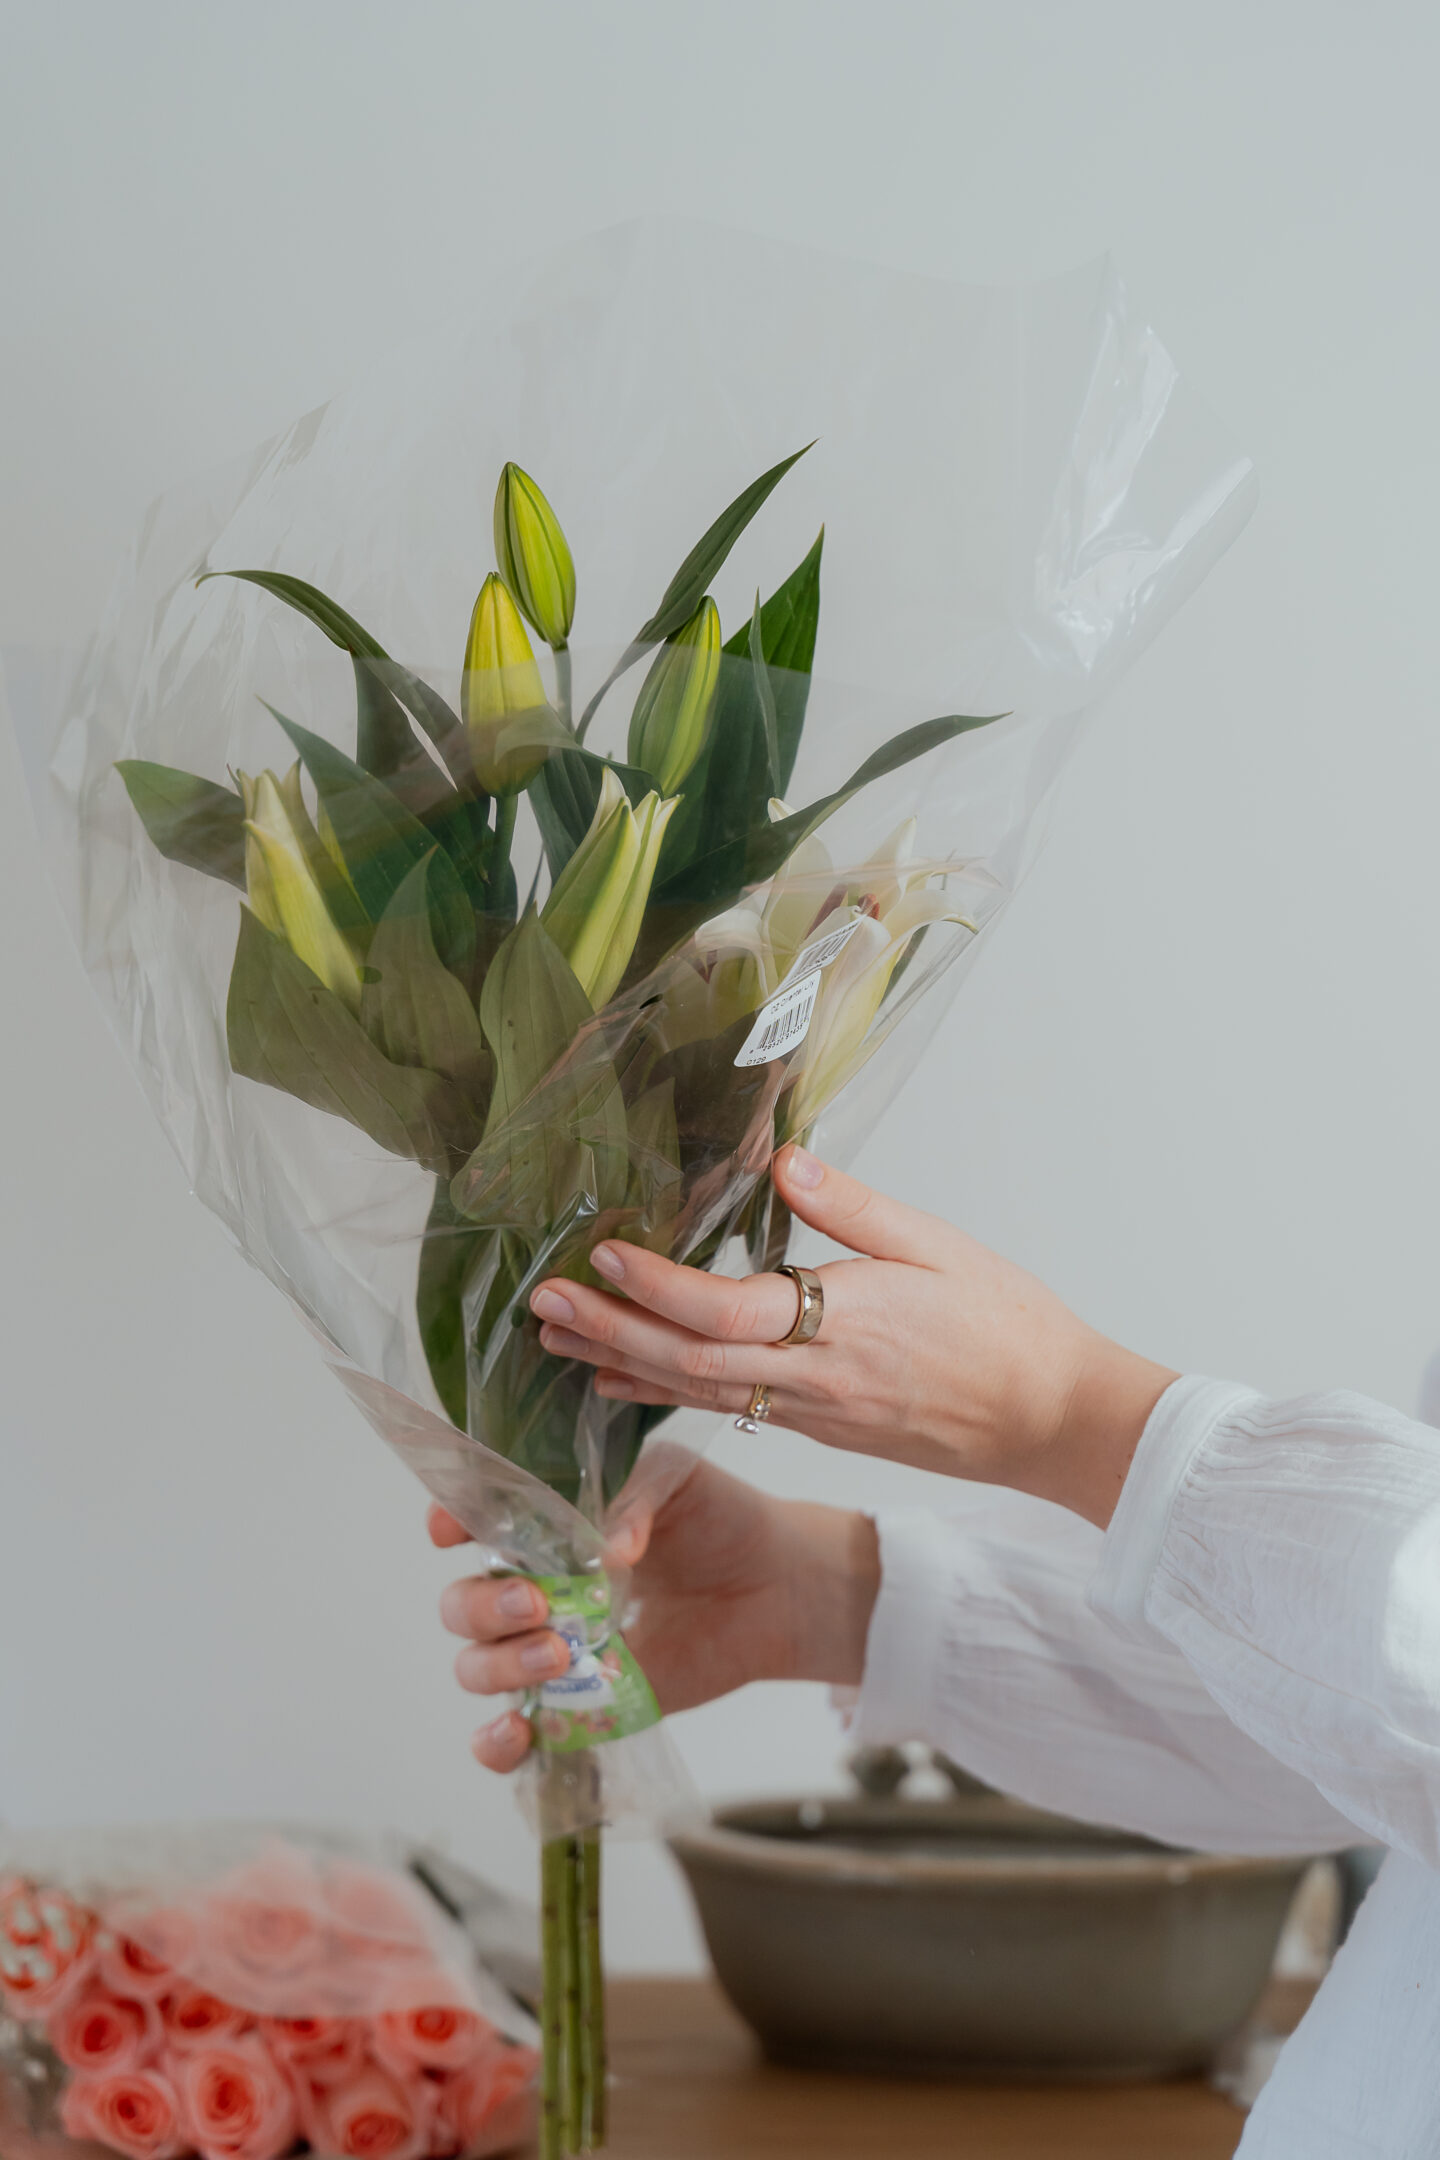
- Day-Lilies – Beautiful and dramatic, these add height and fragrance to the bouquet.
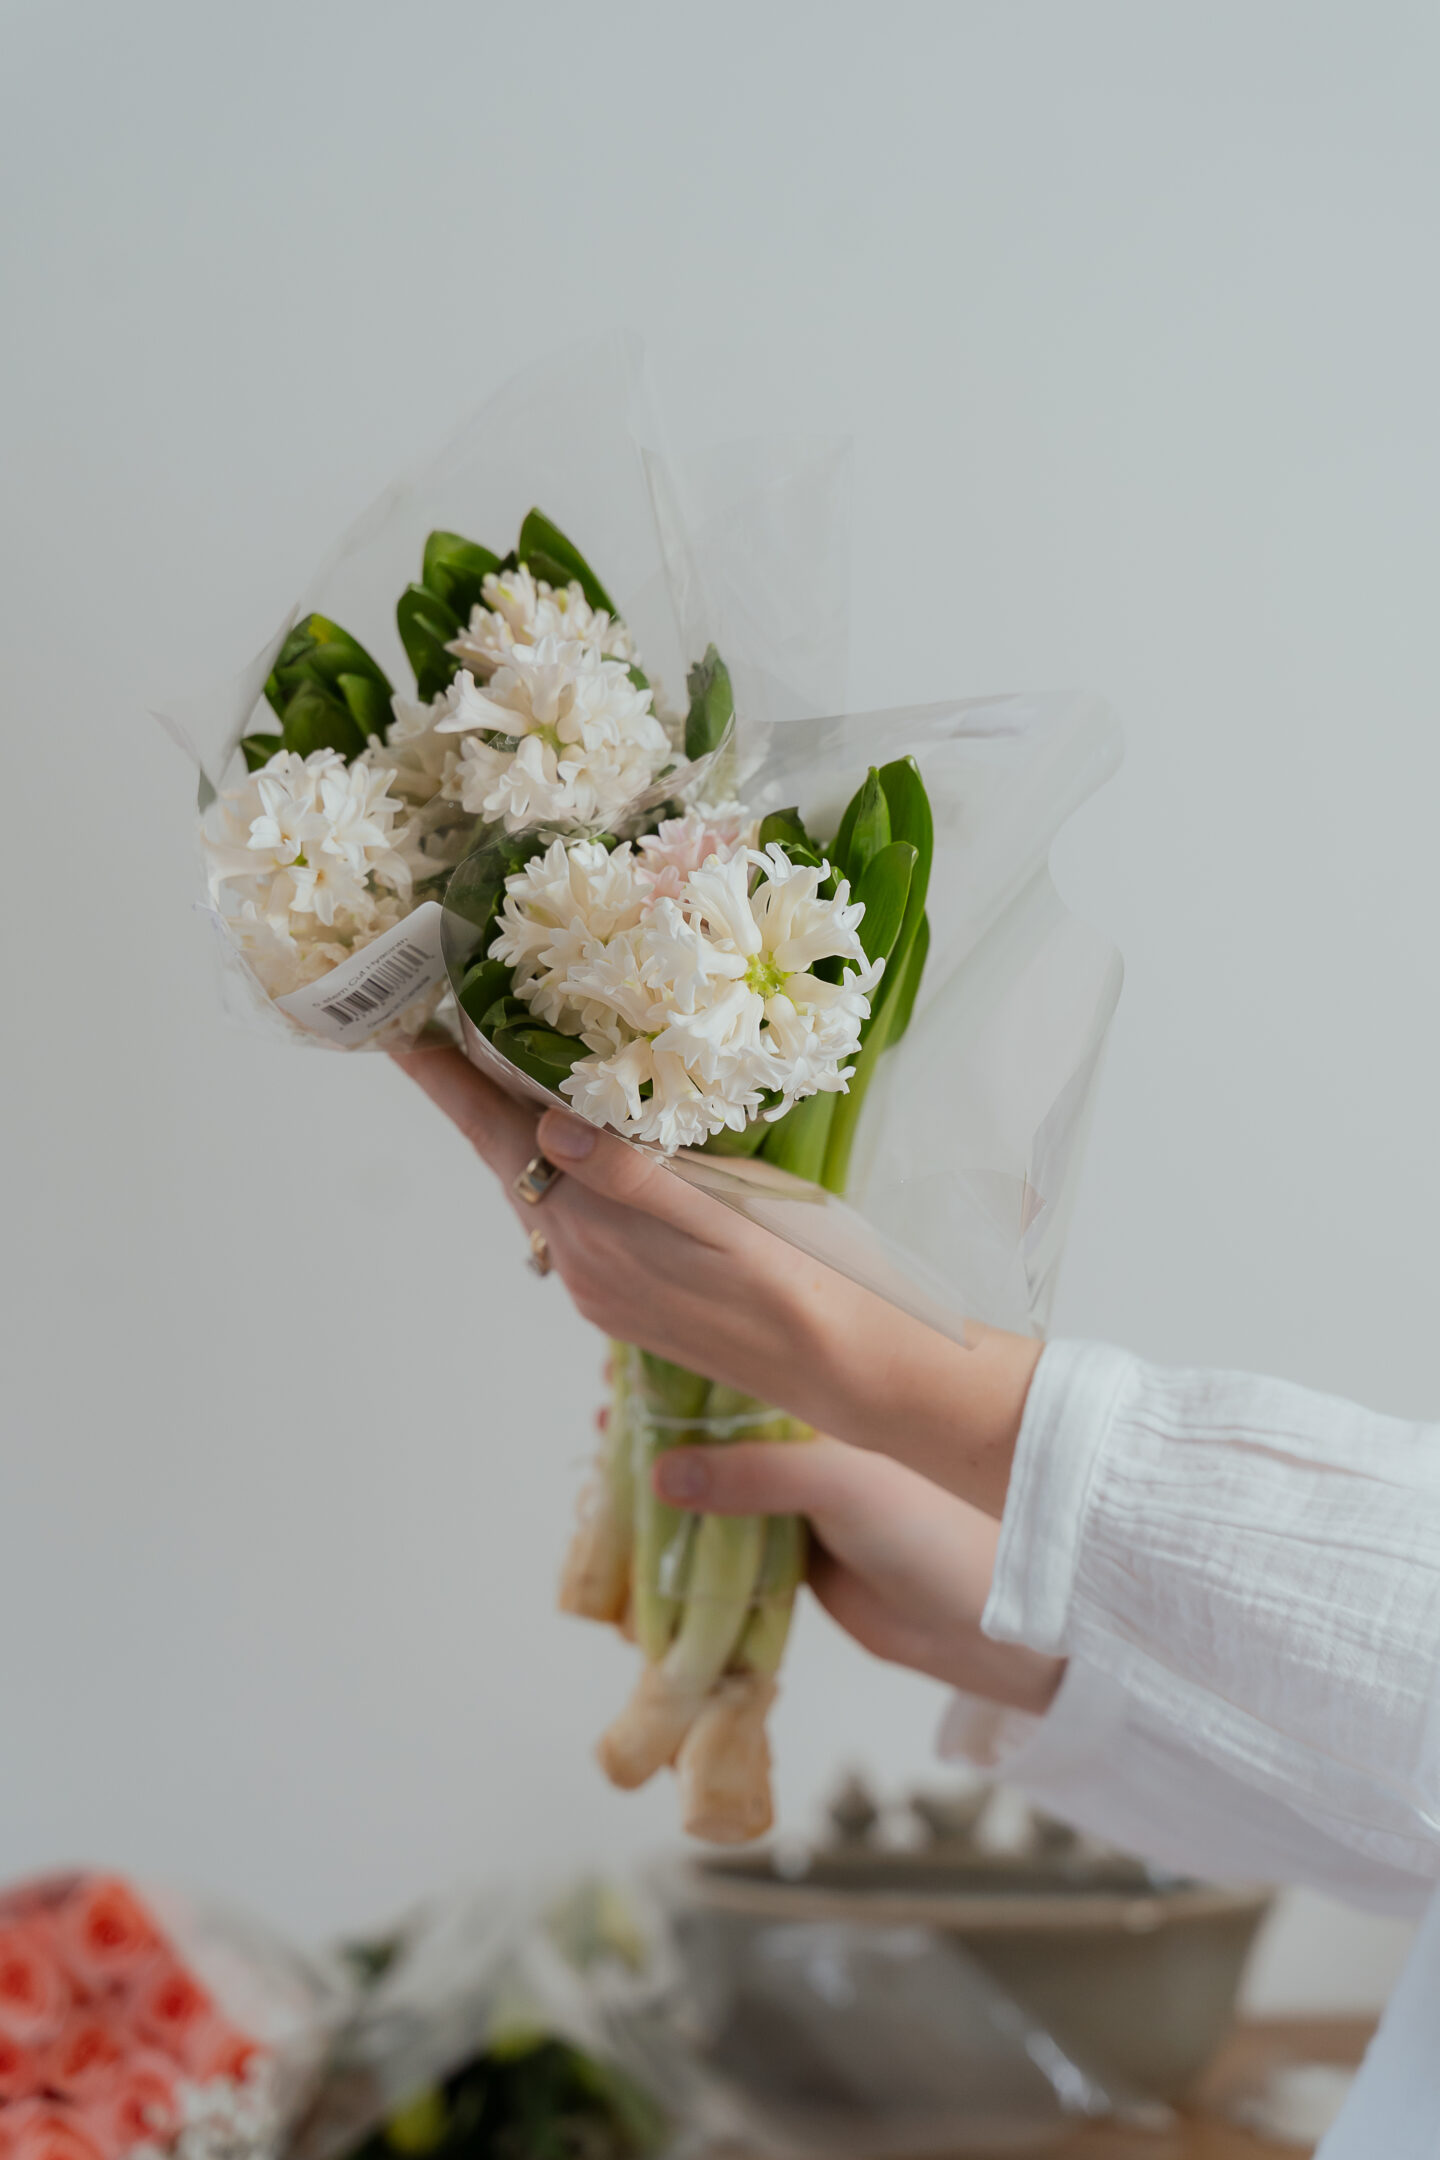
- Hyacinth – A springtime favourite with a lovely scent that enhances the entire arrangement.
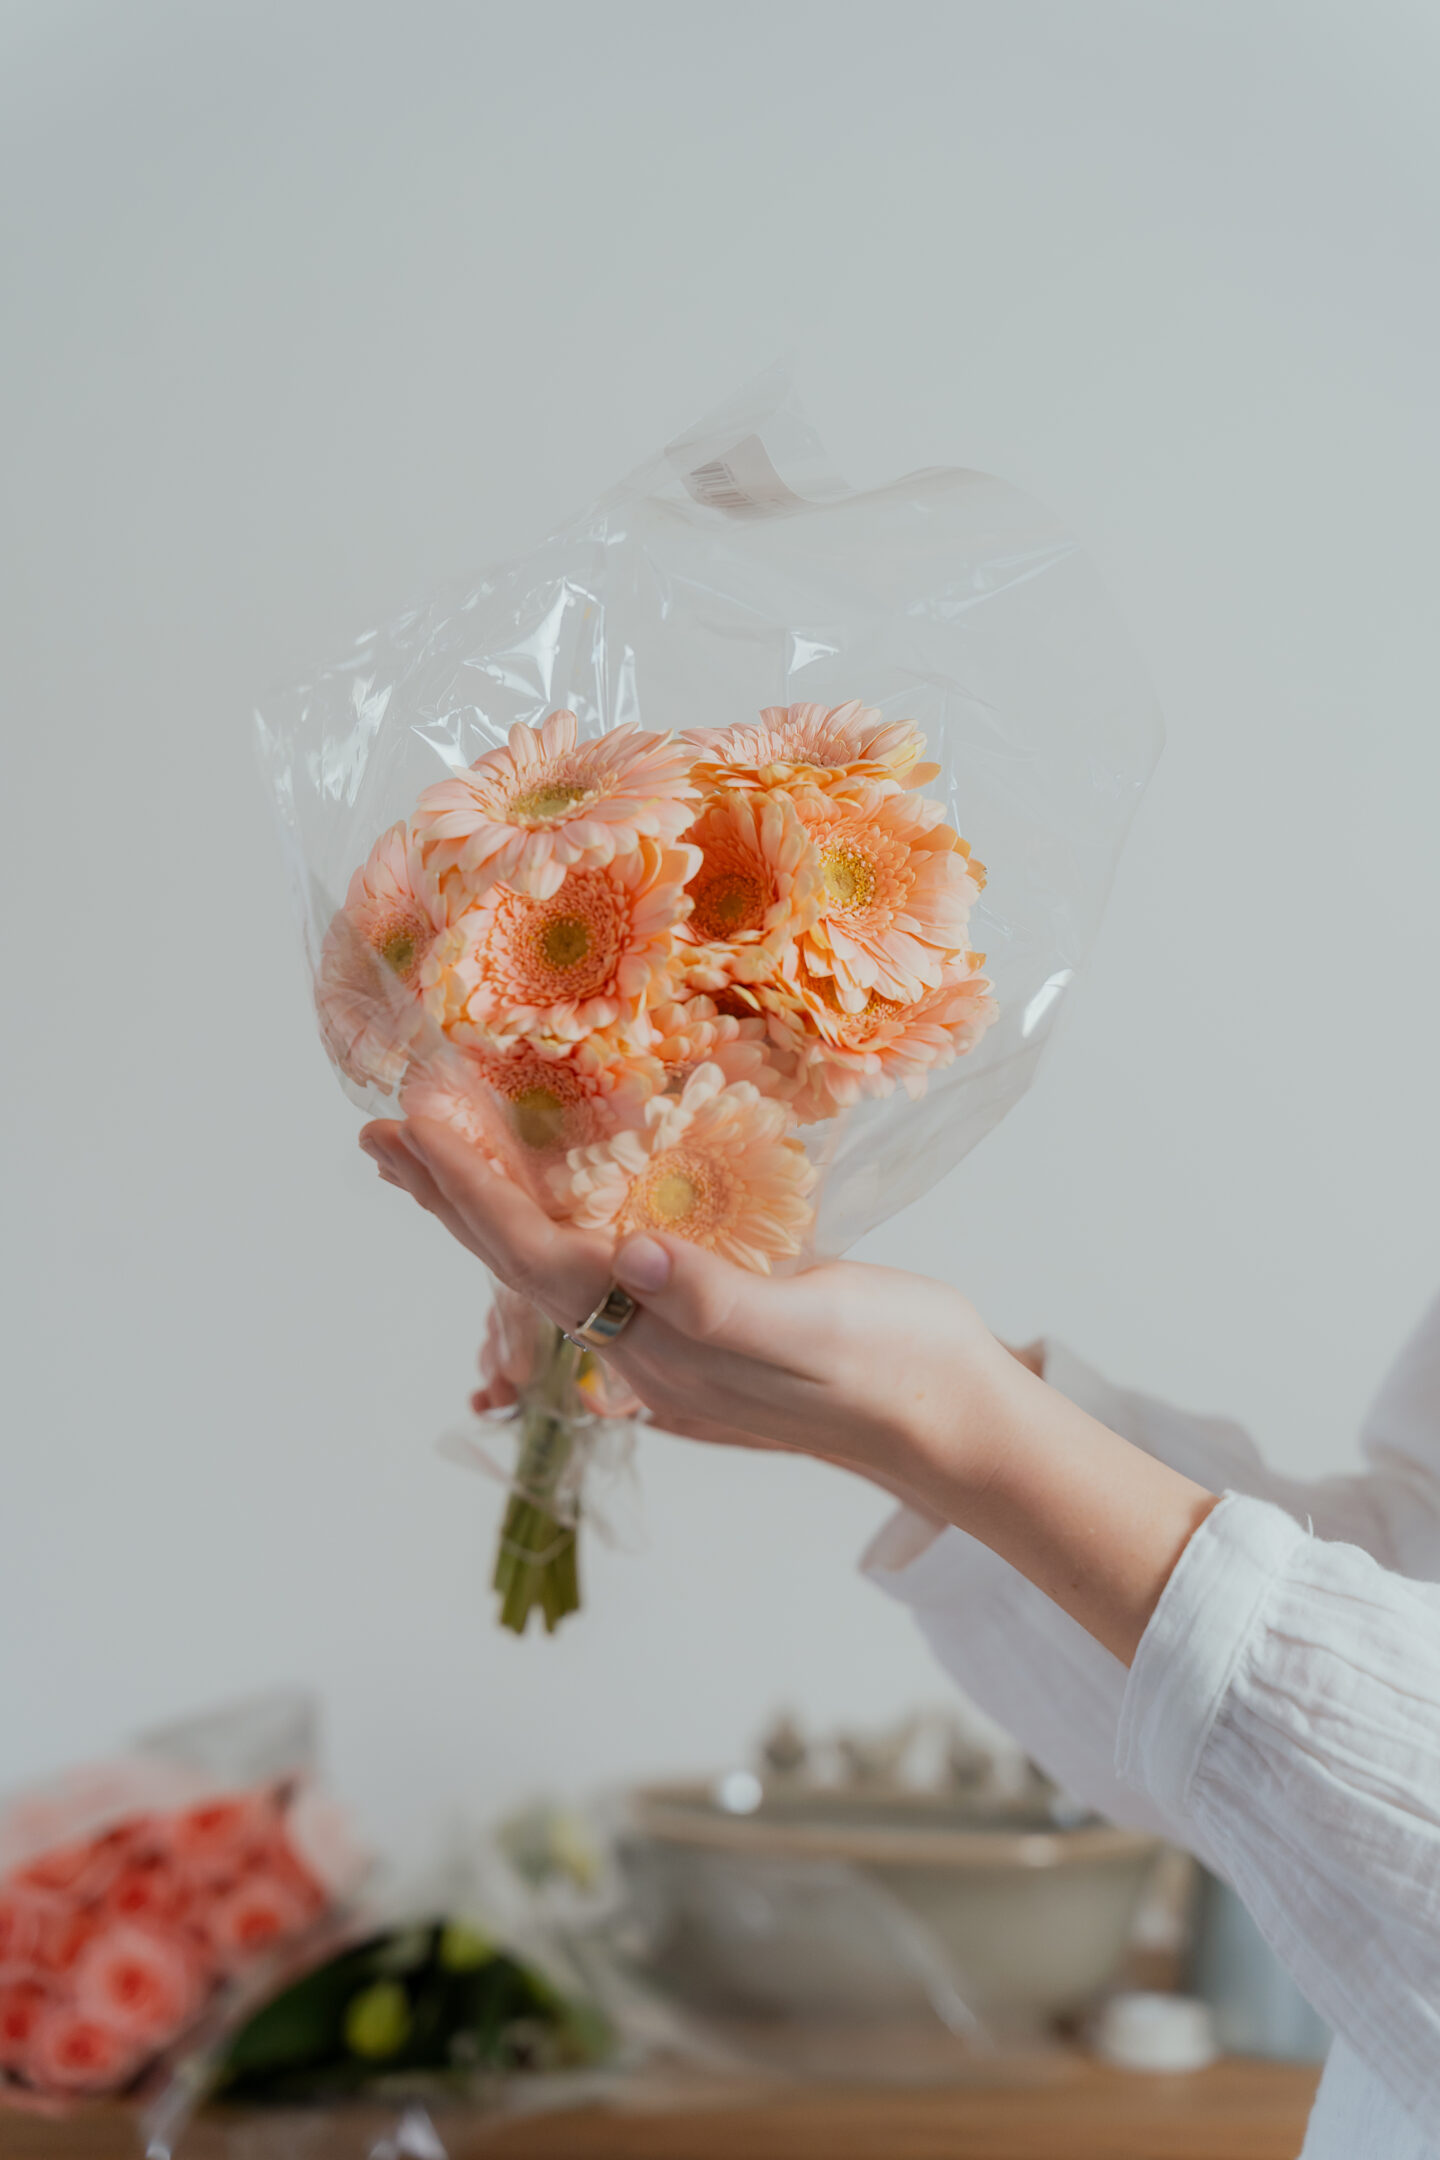
- Gerbera Daisies – These bring a cheerful, bold pop of colour and a whimsical touch.
- Baby’s Breath – Delicate and airy, these tiny flowers add softness and volume.
When choosing flowers, I recommend picking one to two larger focal flowers and two to three smaller flowers to add texture and balance.
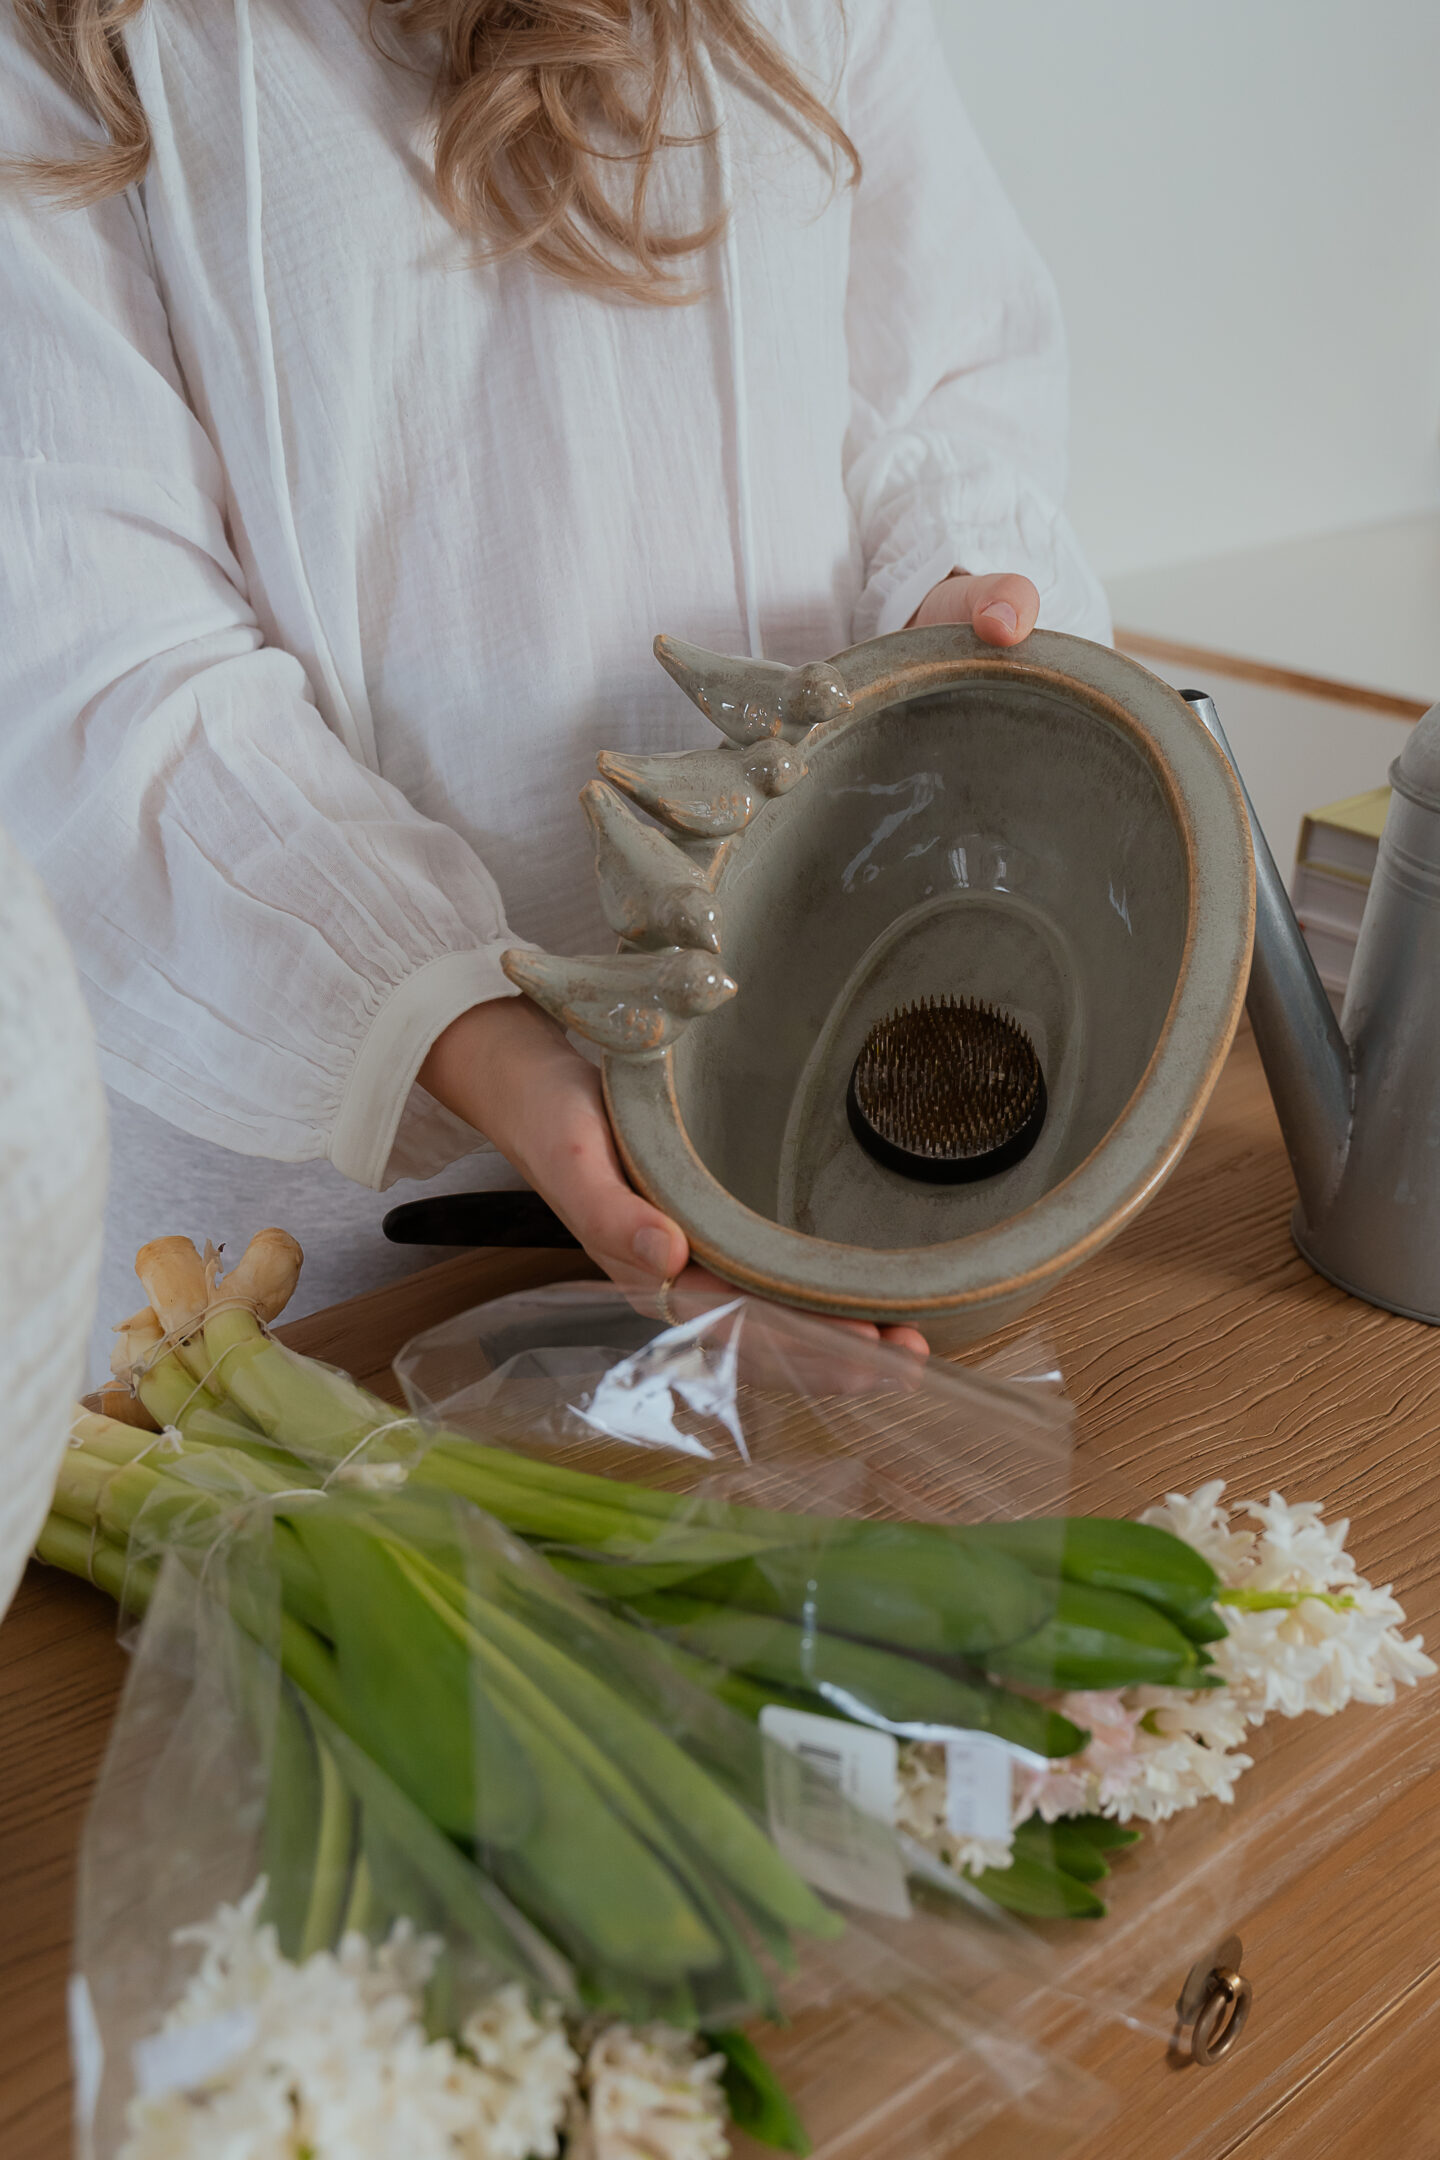
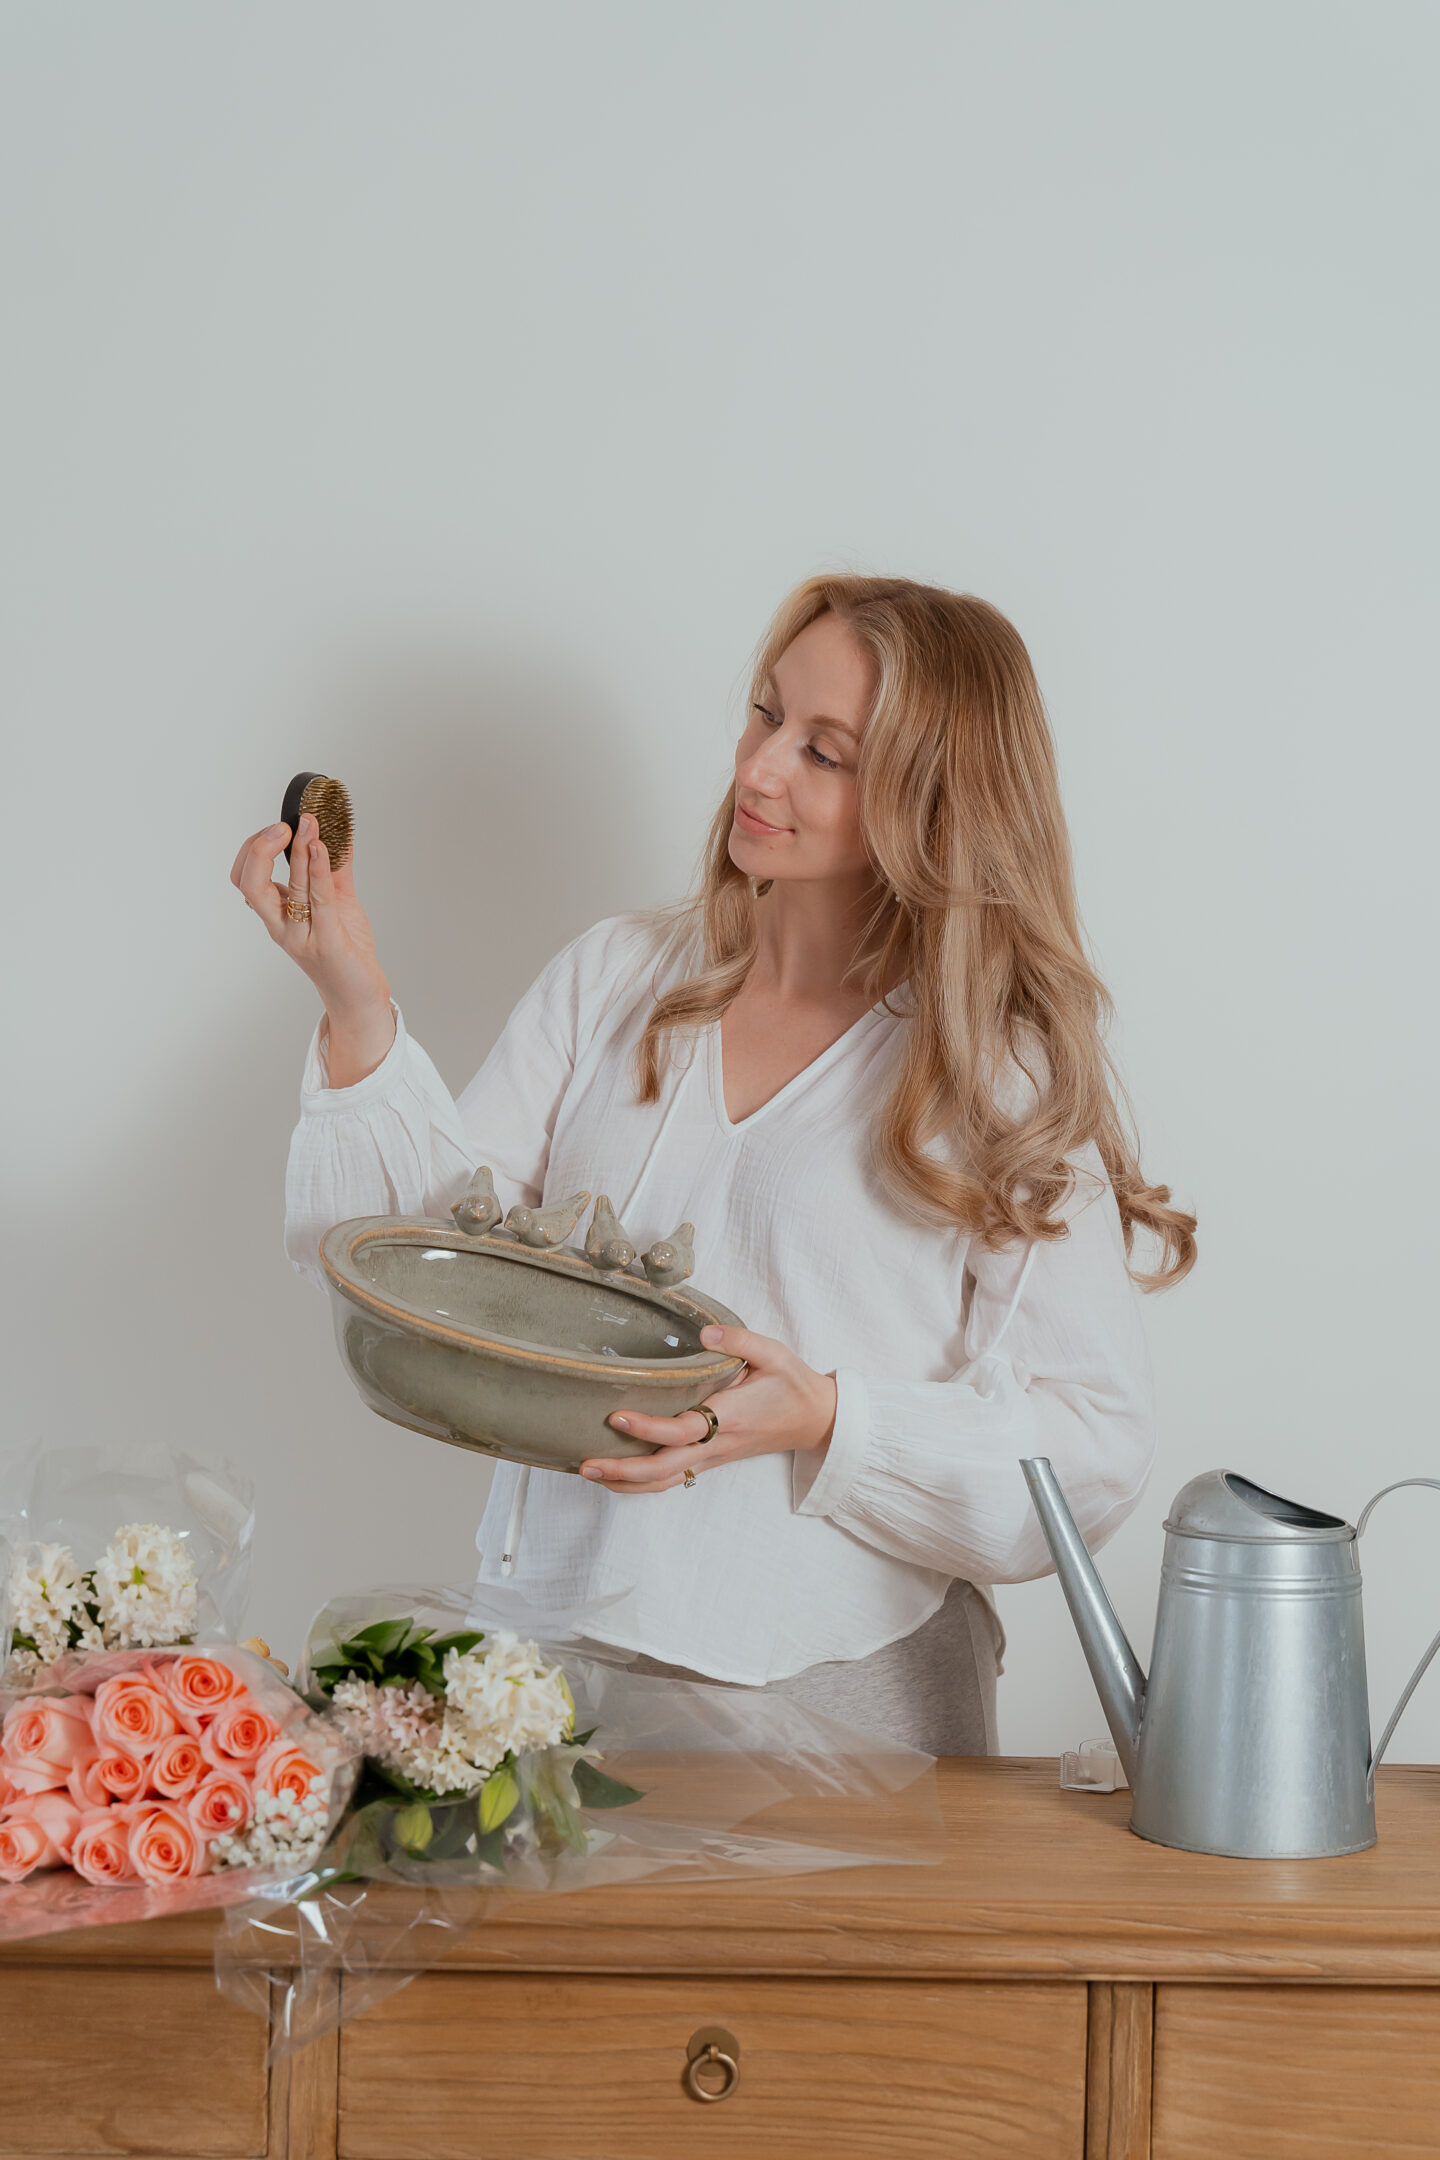
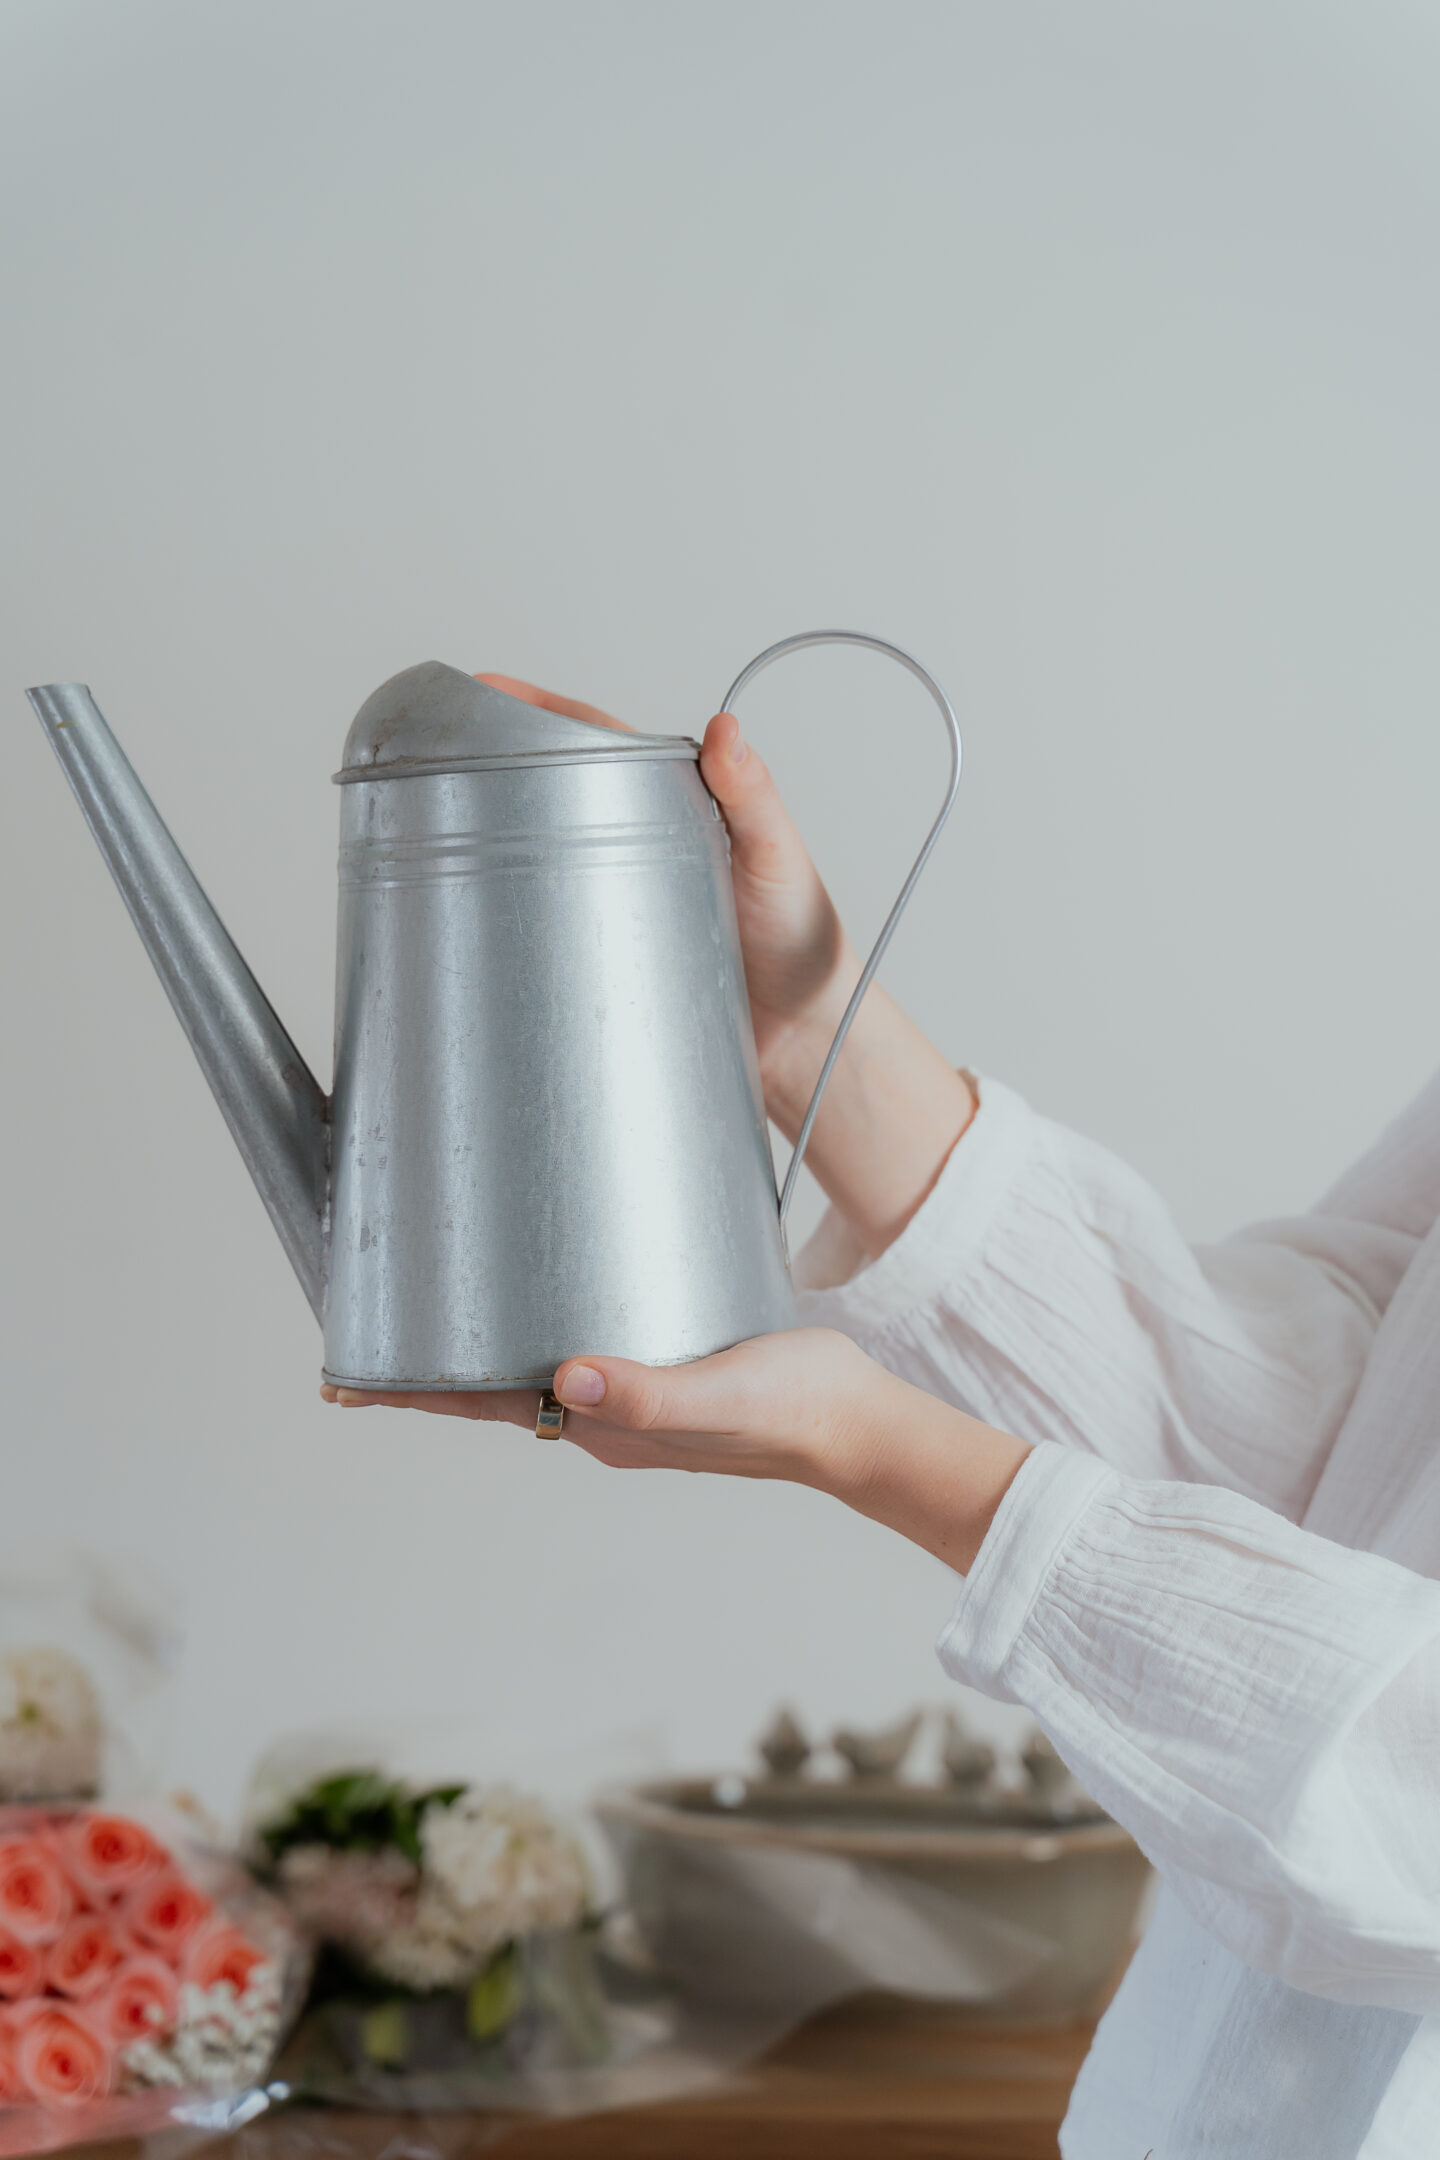
Preparing Your Vase and Tools
Before arranging your flowers, it’s important to set up your vase properly! A well-prepared base ensures that your bouquet stays secure, structured, and long-lasting.
What You’ll Need:
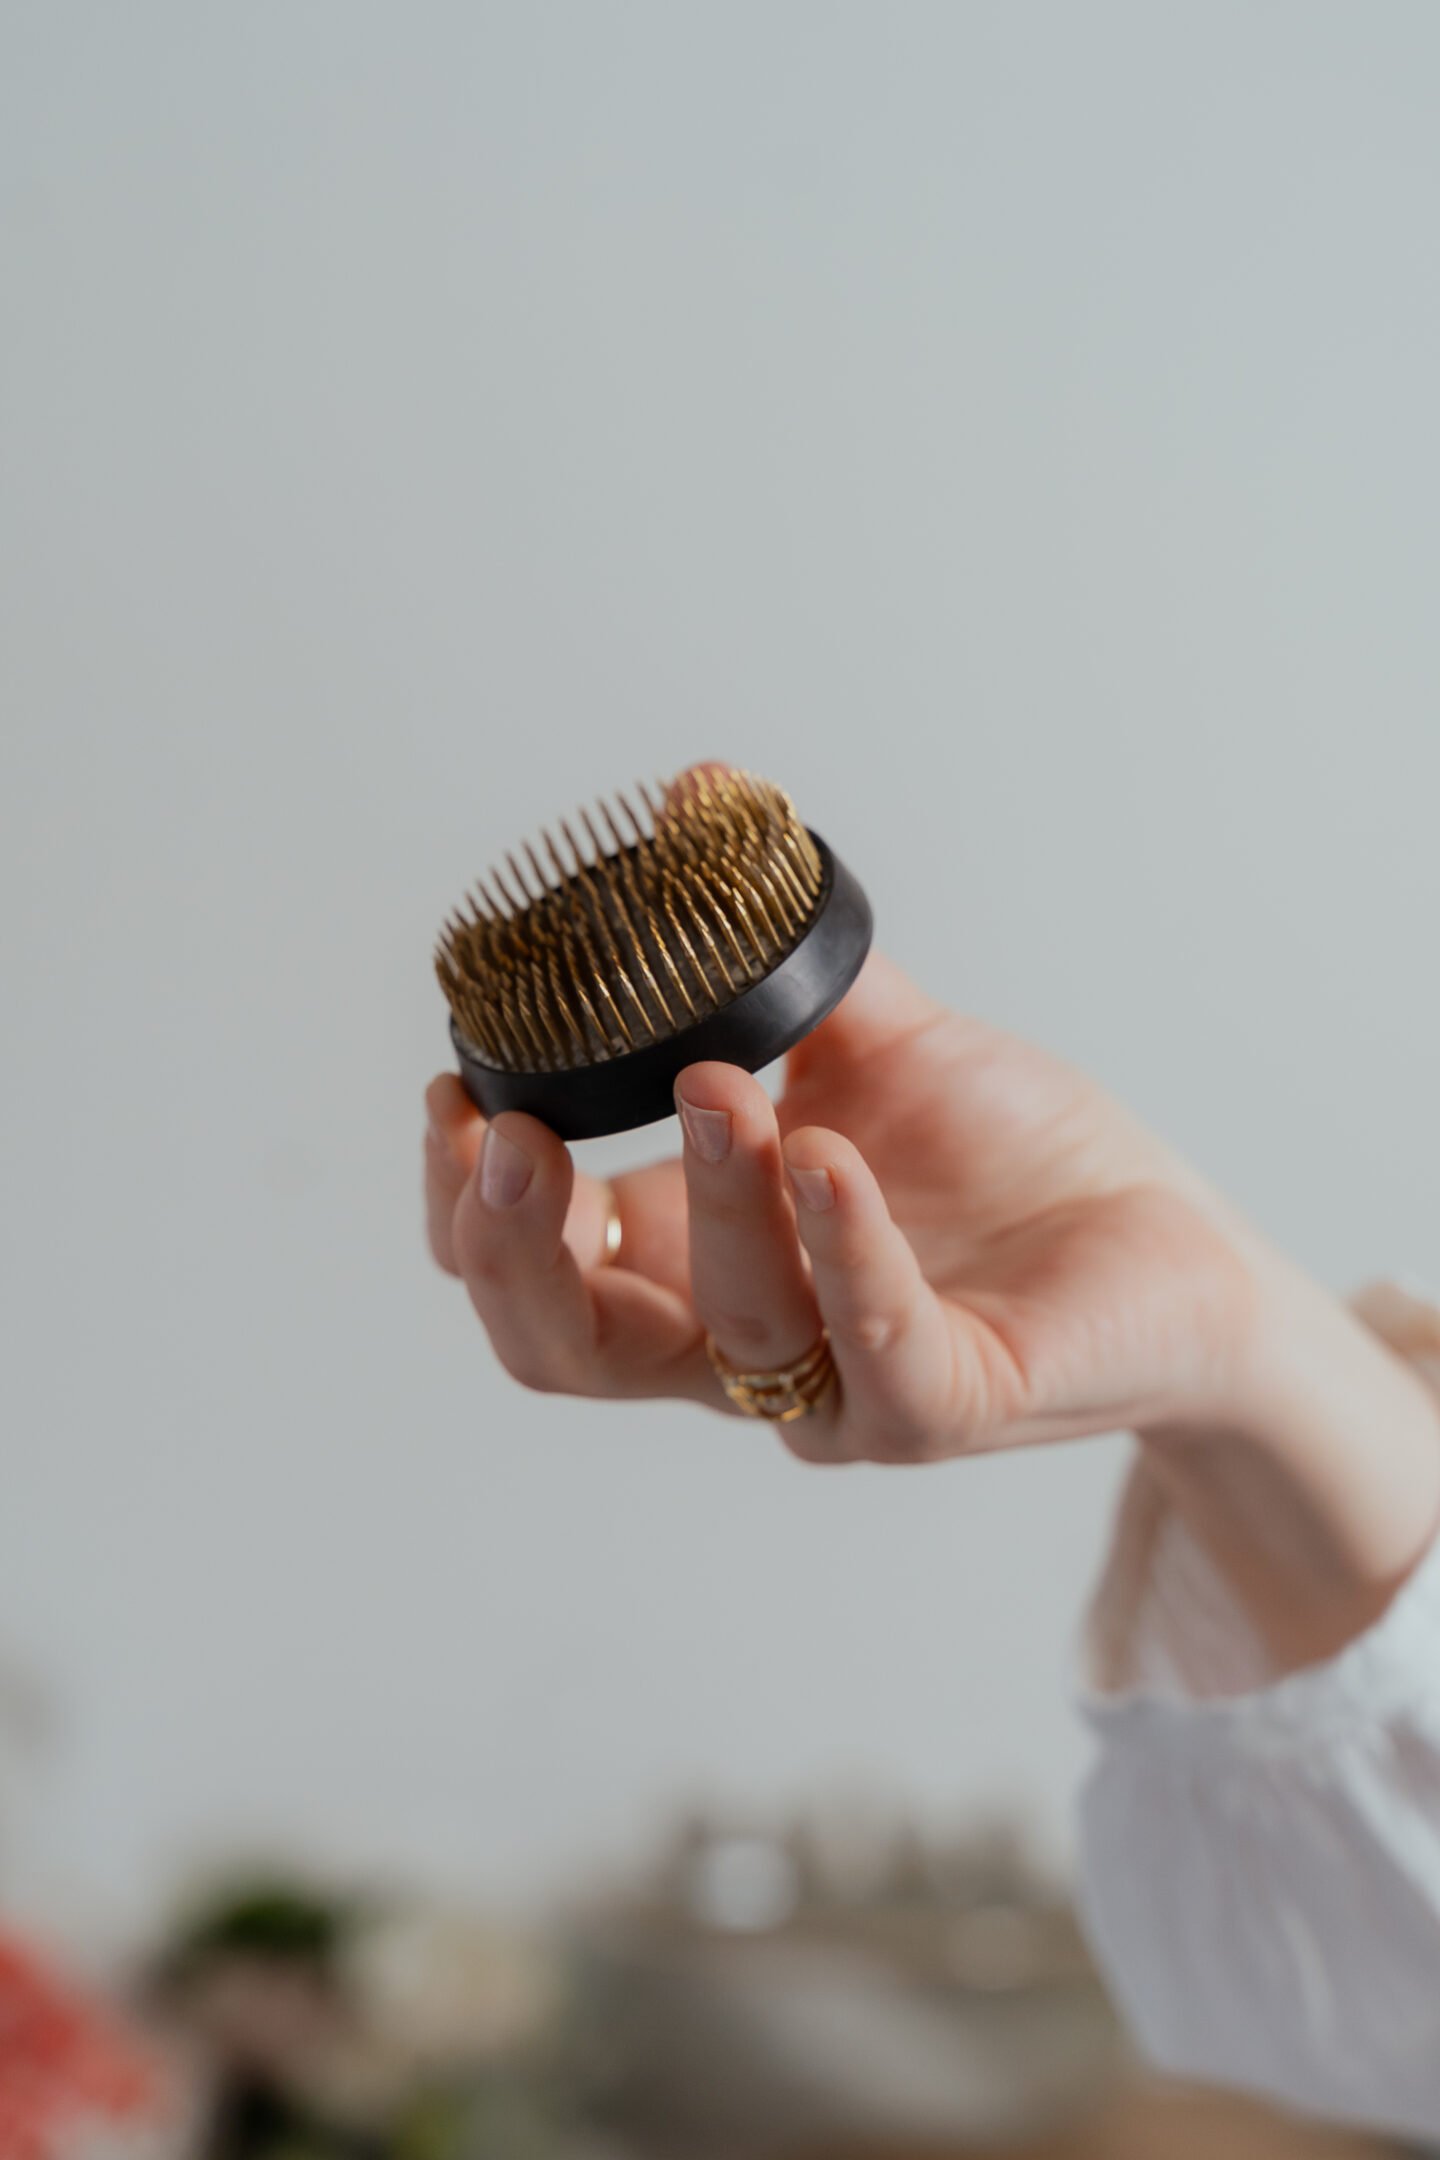
- A flower frog – This helps keep stems in place and provides structure. If you don’t have one, a floral grid made with tape works too (This is the set I purchased for medium and small arrangements)
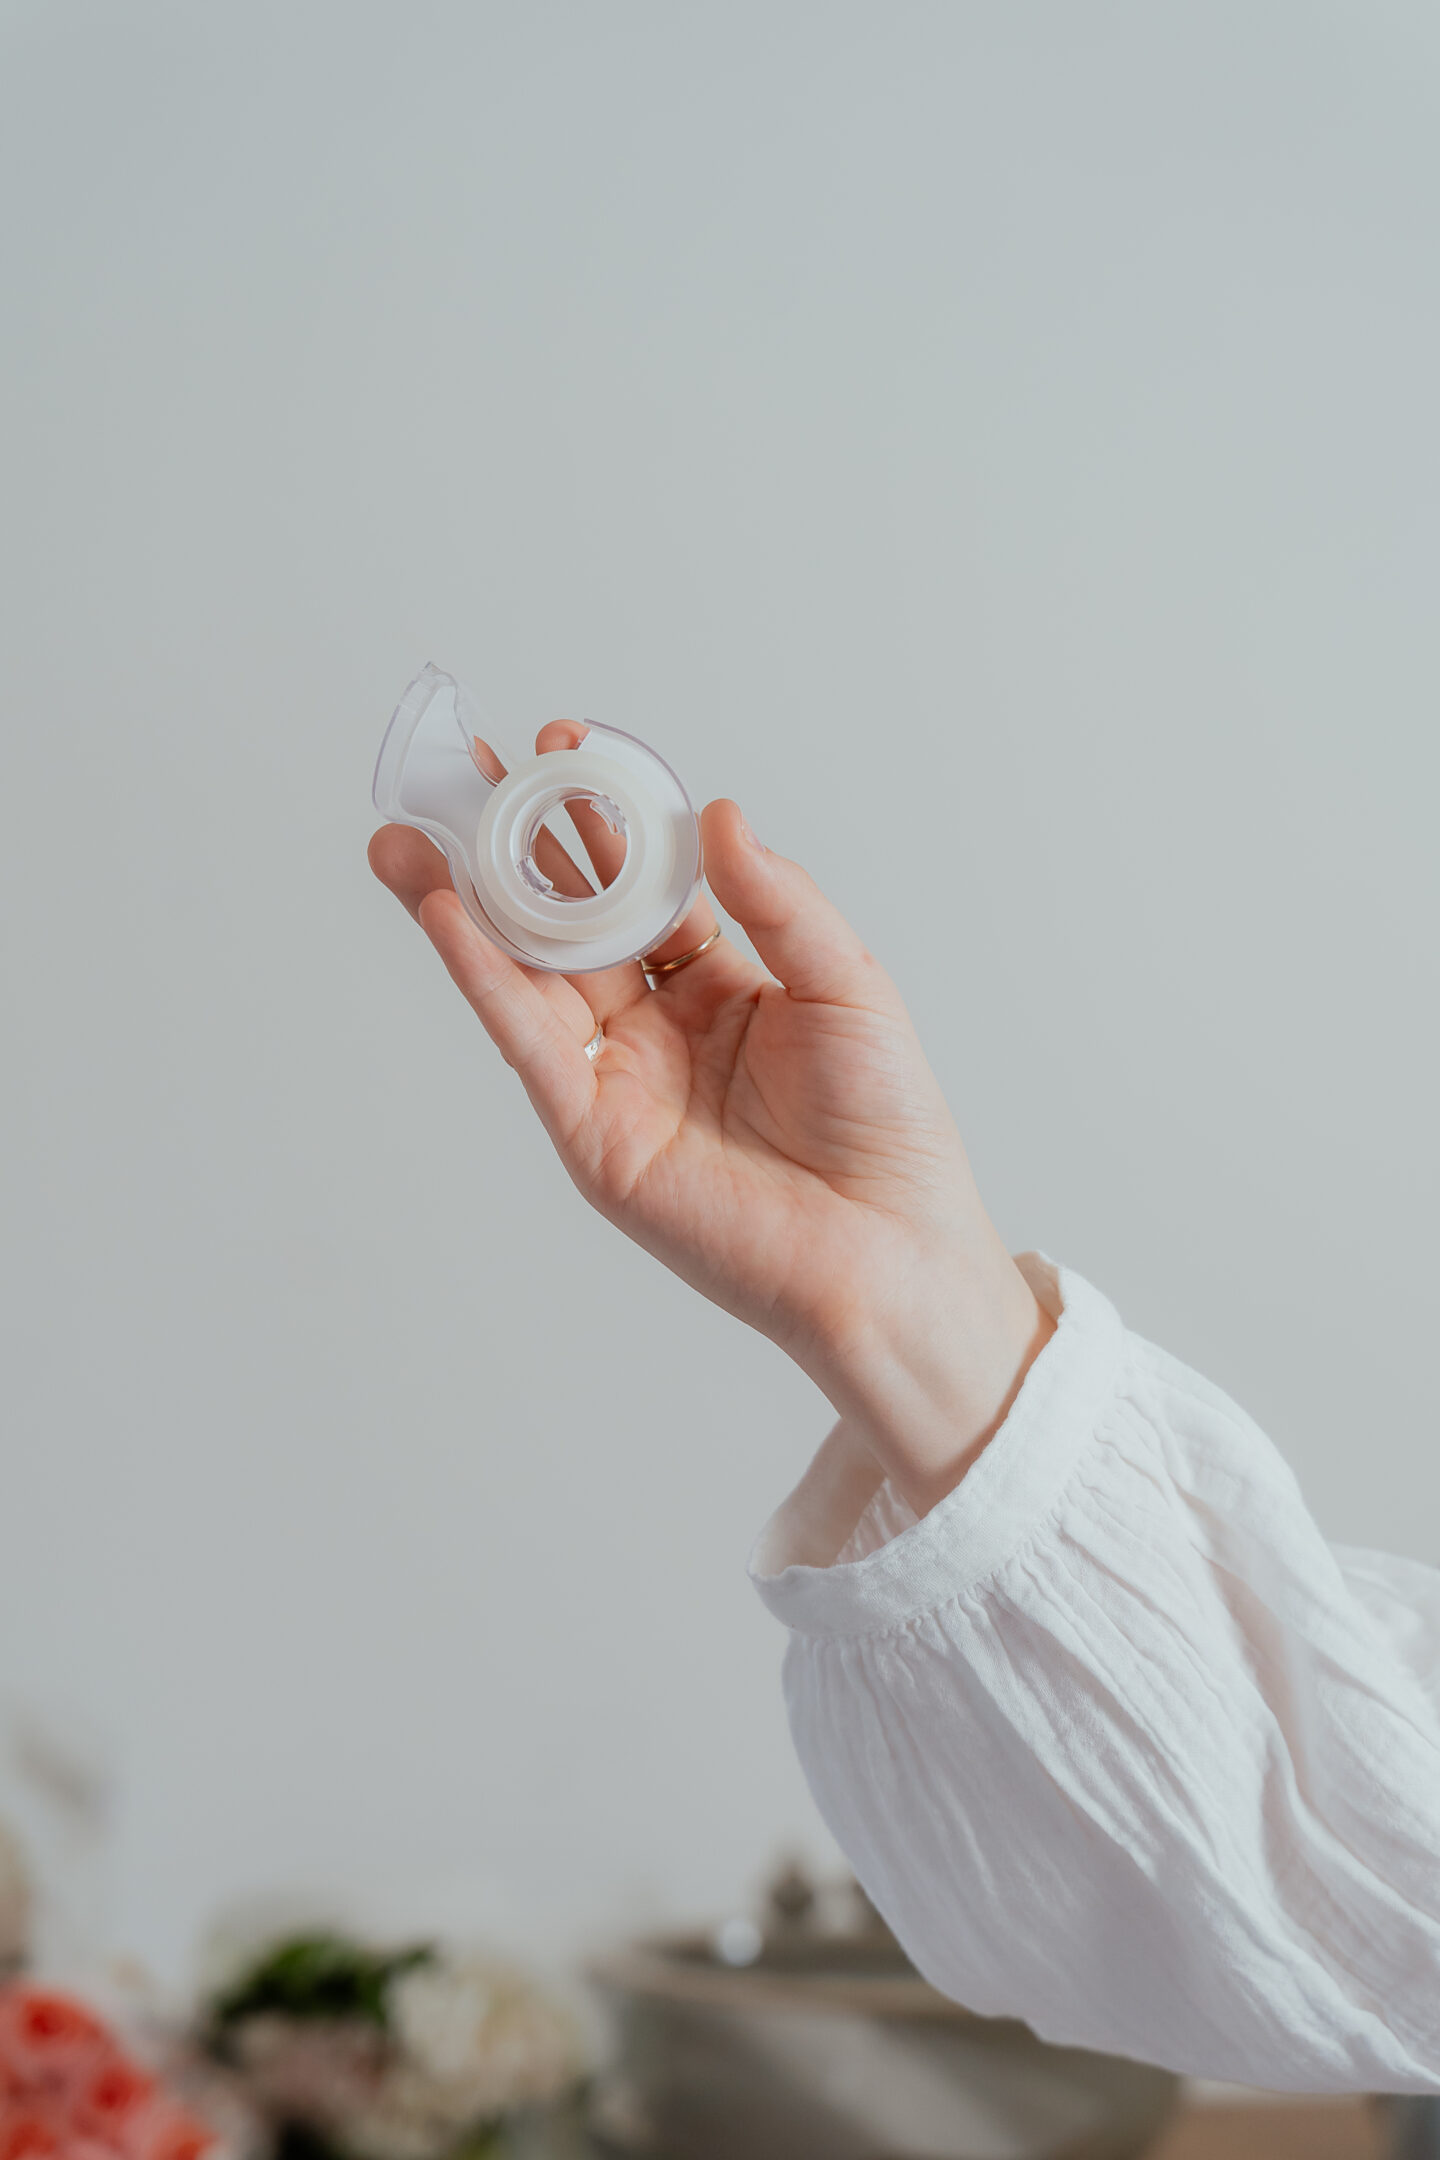
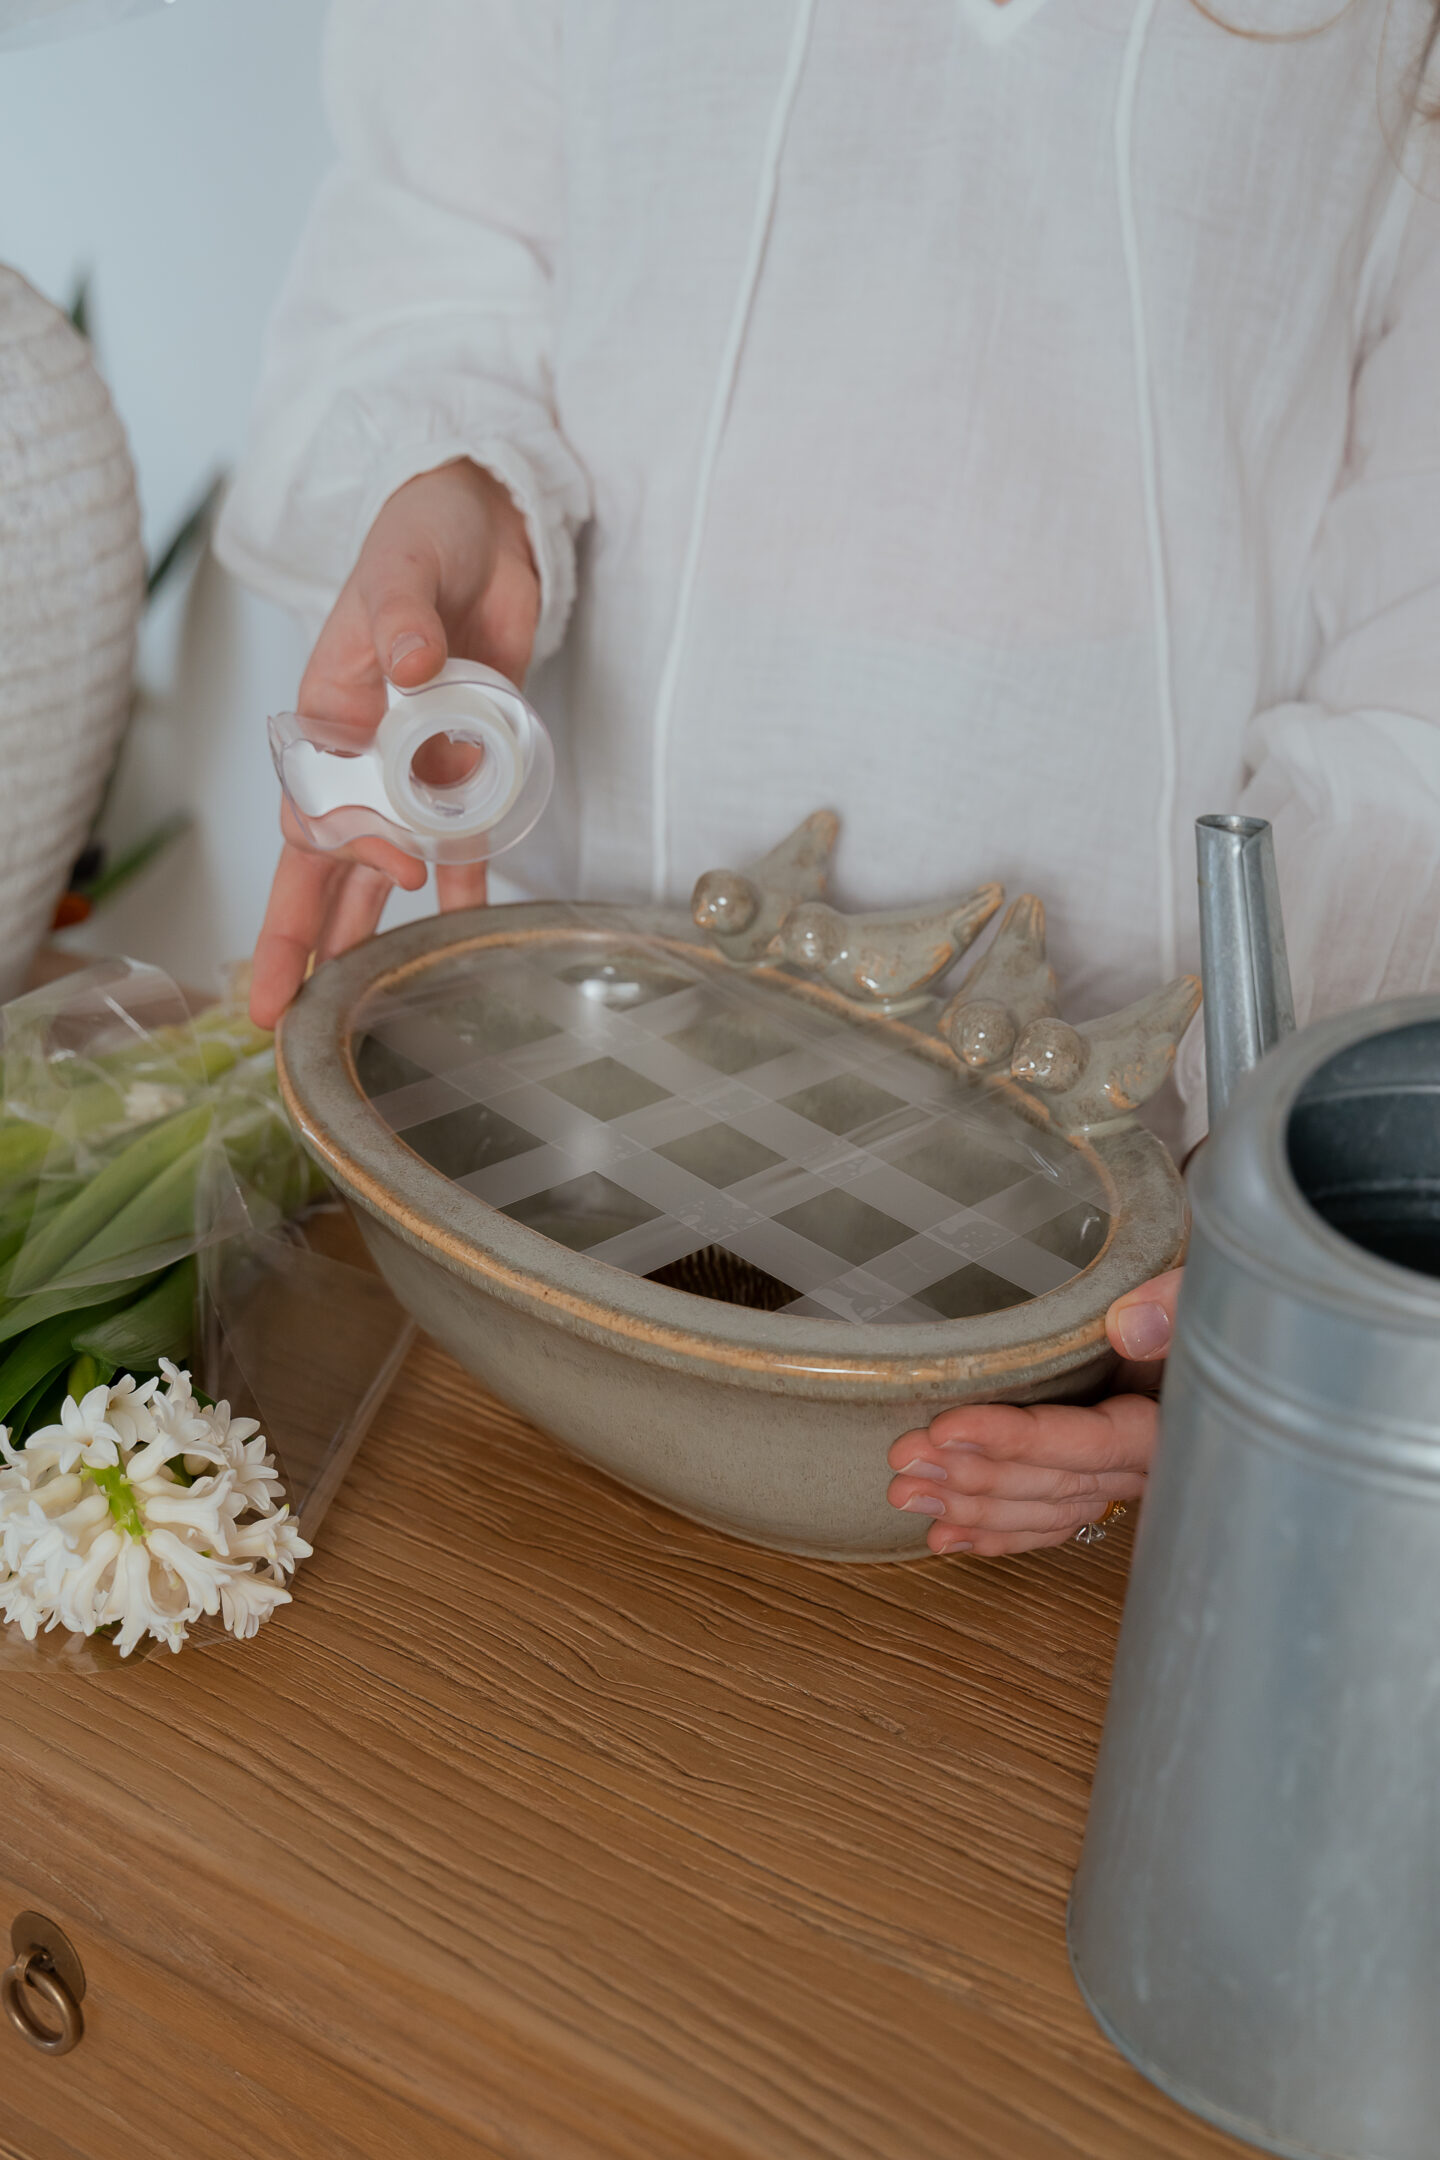
- Floral tape – Create a grid over the top of the vase to help support the flowers. If you don’t have floral tape like me feel free just to use some clear tape! I had some left over from Christmas wrapping and it worked the trick nicely! (I did find some on Amazon that looks promising!)
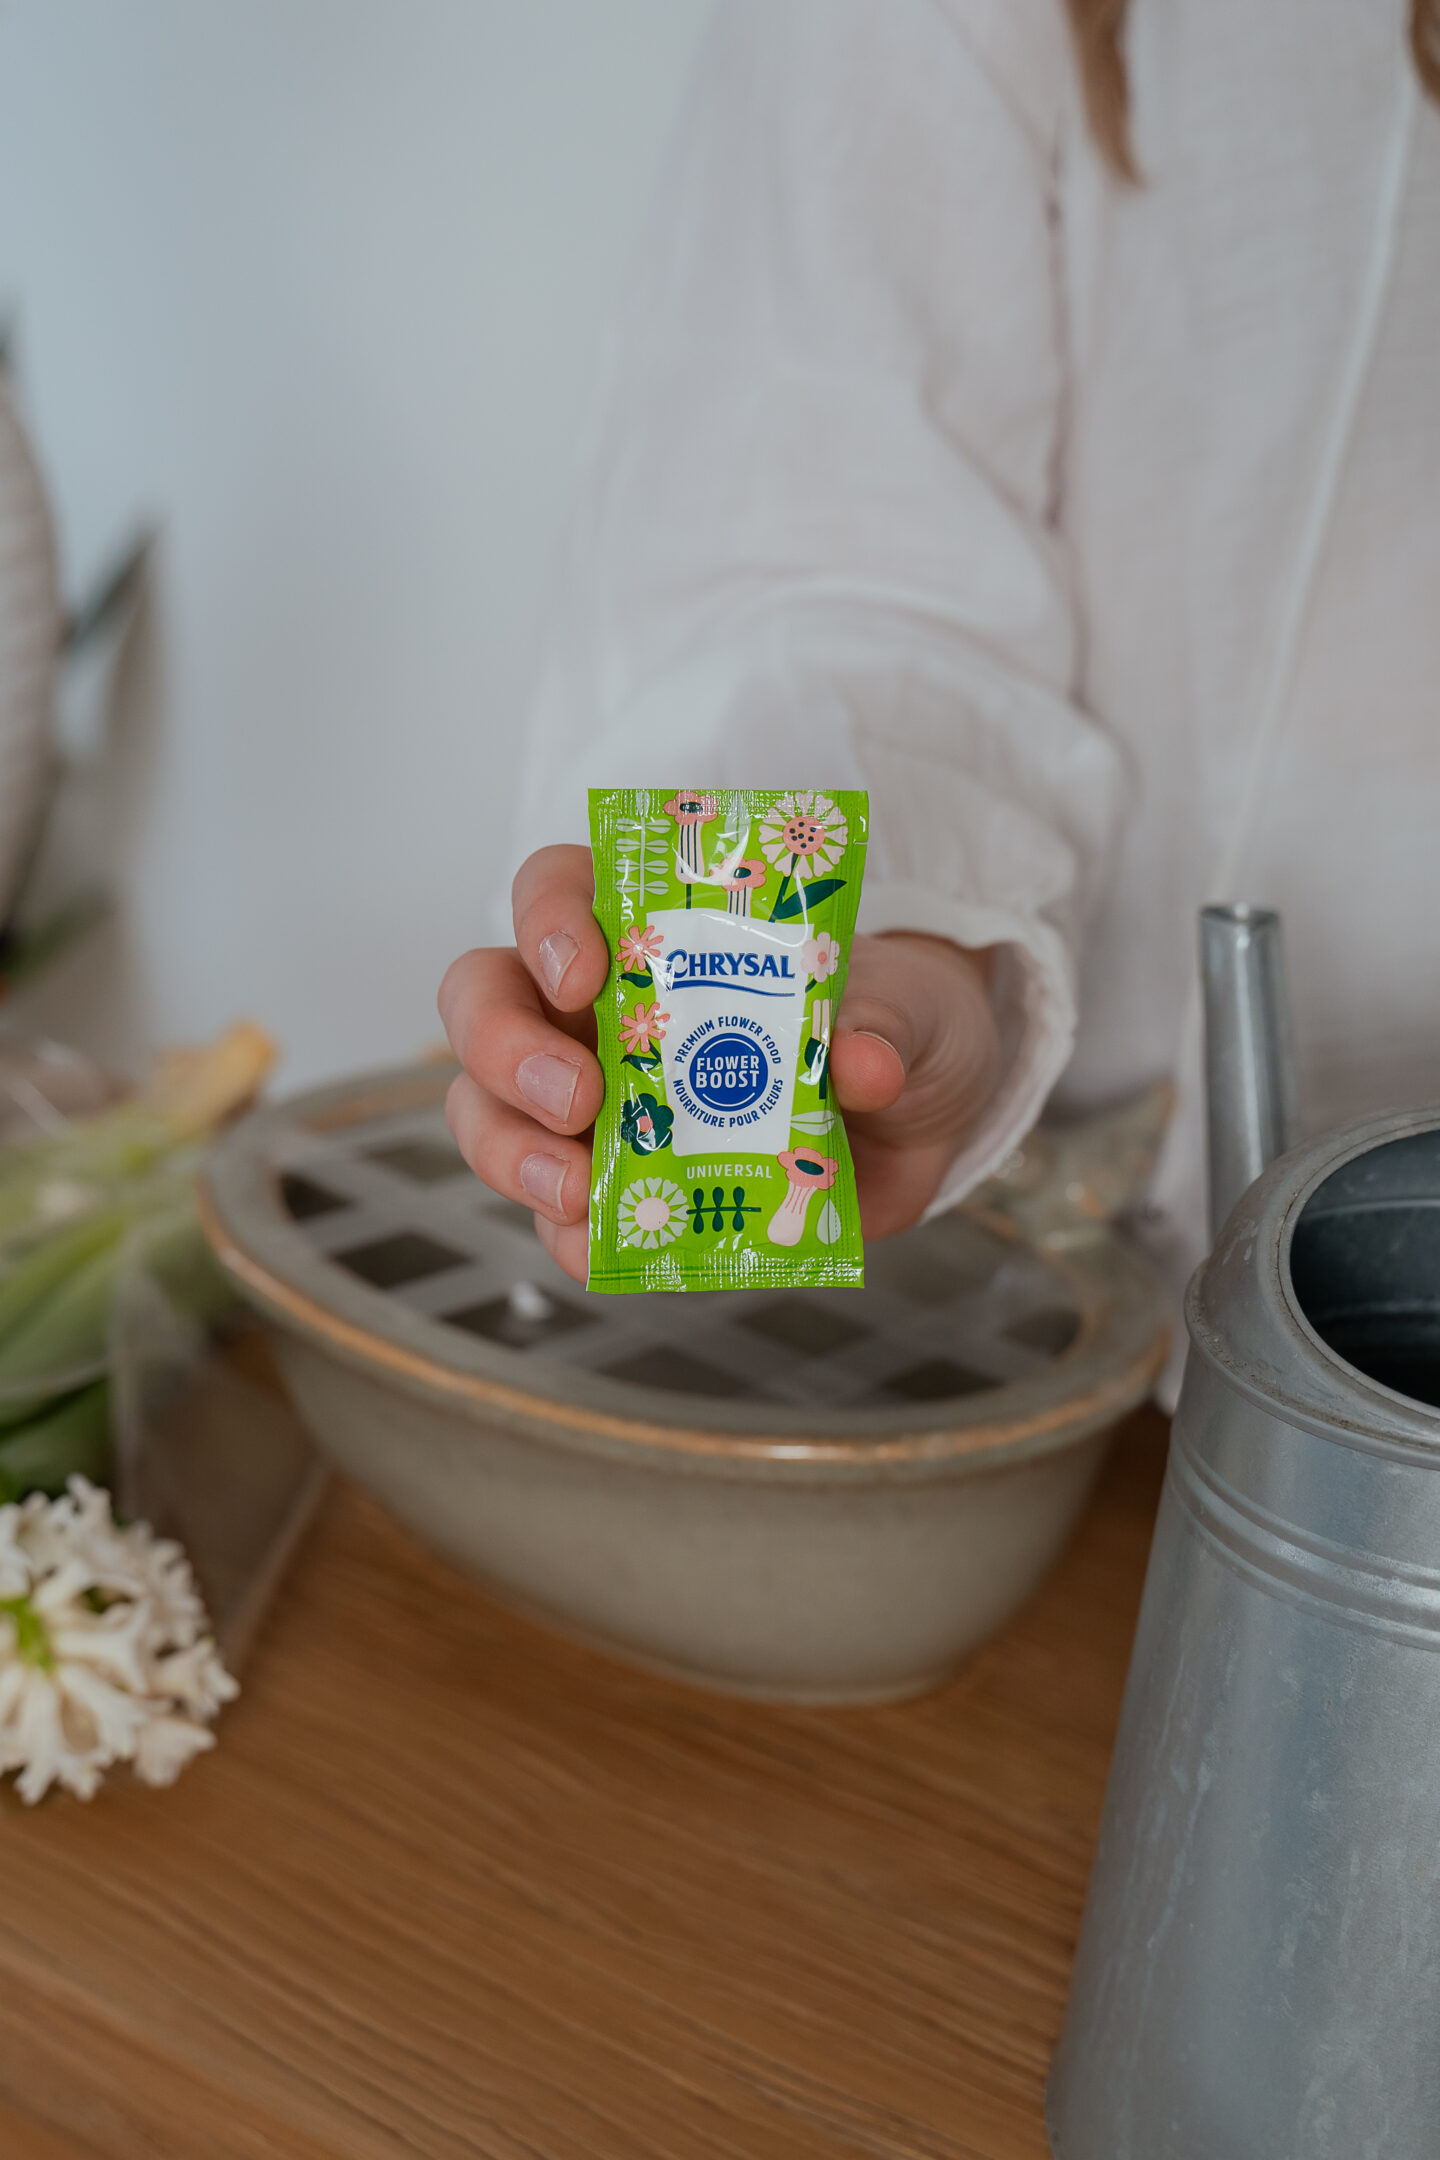
- Fresh water and flower food – Alternatively, a teaspoon of bleach helps keep bacteria at bay and extends the life of your flowers! Thankfully when you purchase these bunches from Longo’s they come with flower food. So you will already be set.
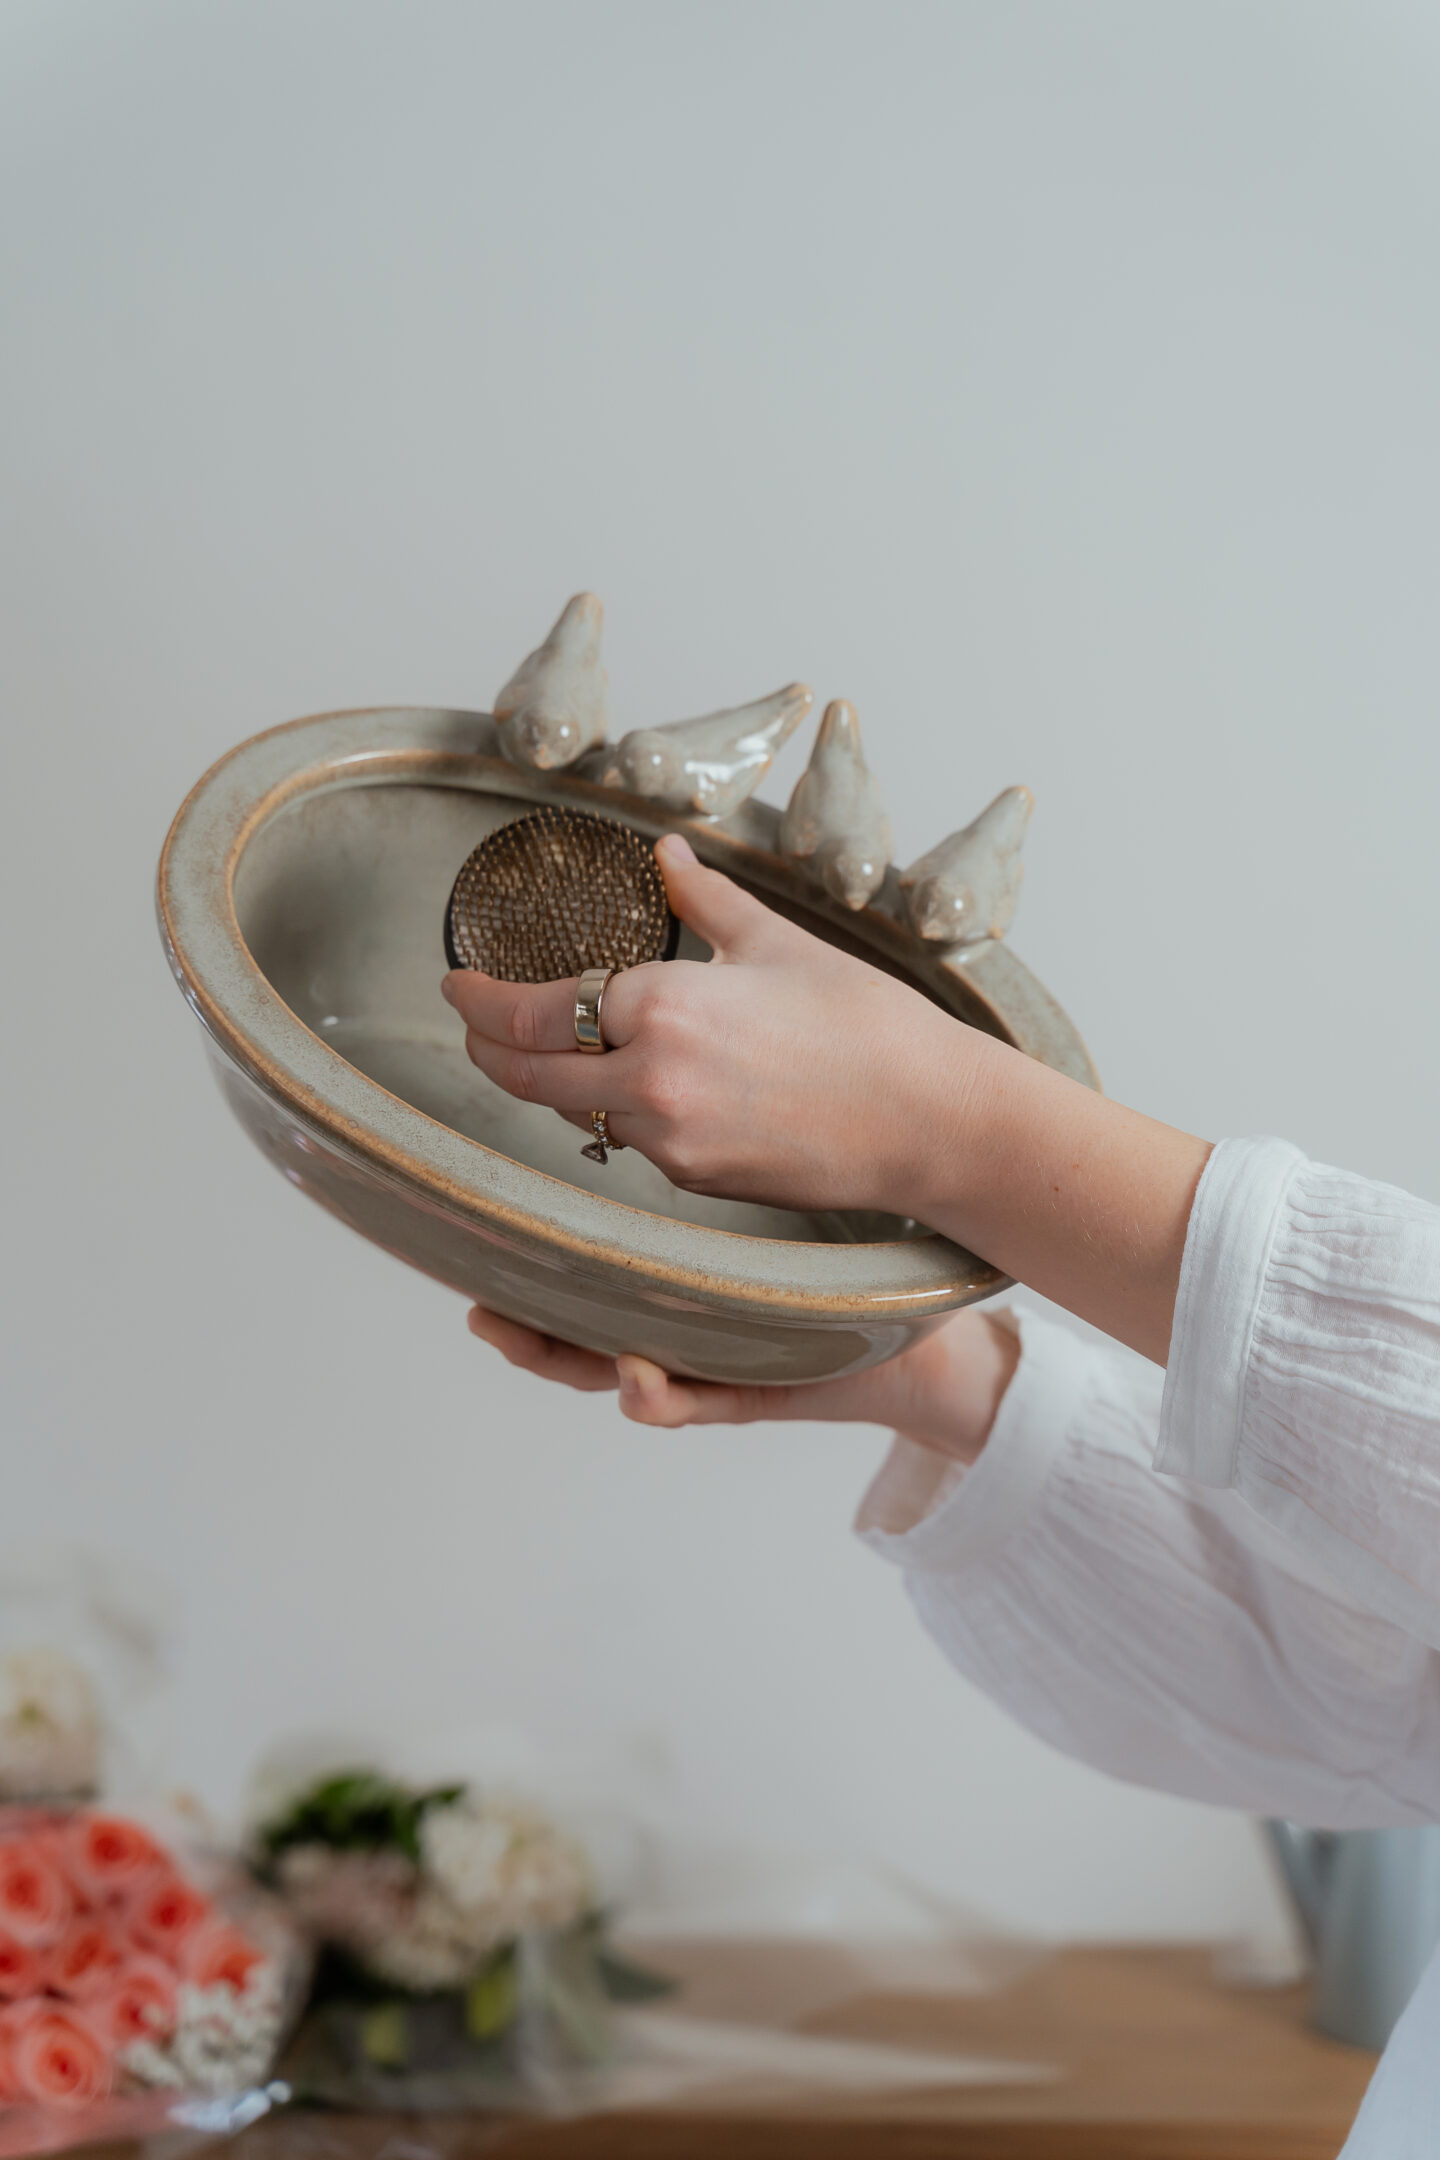
💡 Tip: If using a flower frog that doesn’t seem to stay in place, secure it to the bottom of your vase with waterproof floral adhesive or floral clay to keep it from moving as you arrange your stems. I just worked around this by using opposing tension from stems already inserted while I went along.
Prepping the Flowers
Properly preparing your flowers before arranging them helps them last longer and stay fresh. Here’s what you need to do:
Trim the stems at a 45-degree angle:
This allows the flowers to absorb more water and stay hydrated. Don’t worry this won’t prevent you from using your flower frog.
Remove any leaves below the waterline (or that are undesired):
Leaves in water cause bacteria growth, which shortens the lifespan of your arrangement. And to be honest can create that skunky water smell. Best to avoid it all together – careful when taking the leaves from the roses though!
Hydrate your flowers:
Place them in fresh water for at least 30 minutes before arranging to ensure they are fully hydrated. This step is optional because you are going to be putting them in water but as soon as you get home put them in a vase of water if you don’t plan on arranging right away.


💡 Tip: To give your roses and lilies a more natural, full look, gently reflex the outer petals by folding them back slightly with your thumb and index finger. This creates a more open, organic shape.
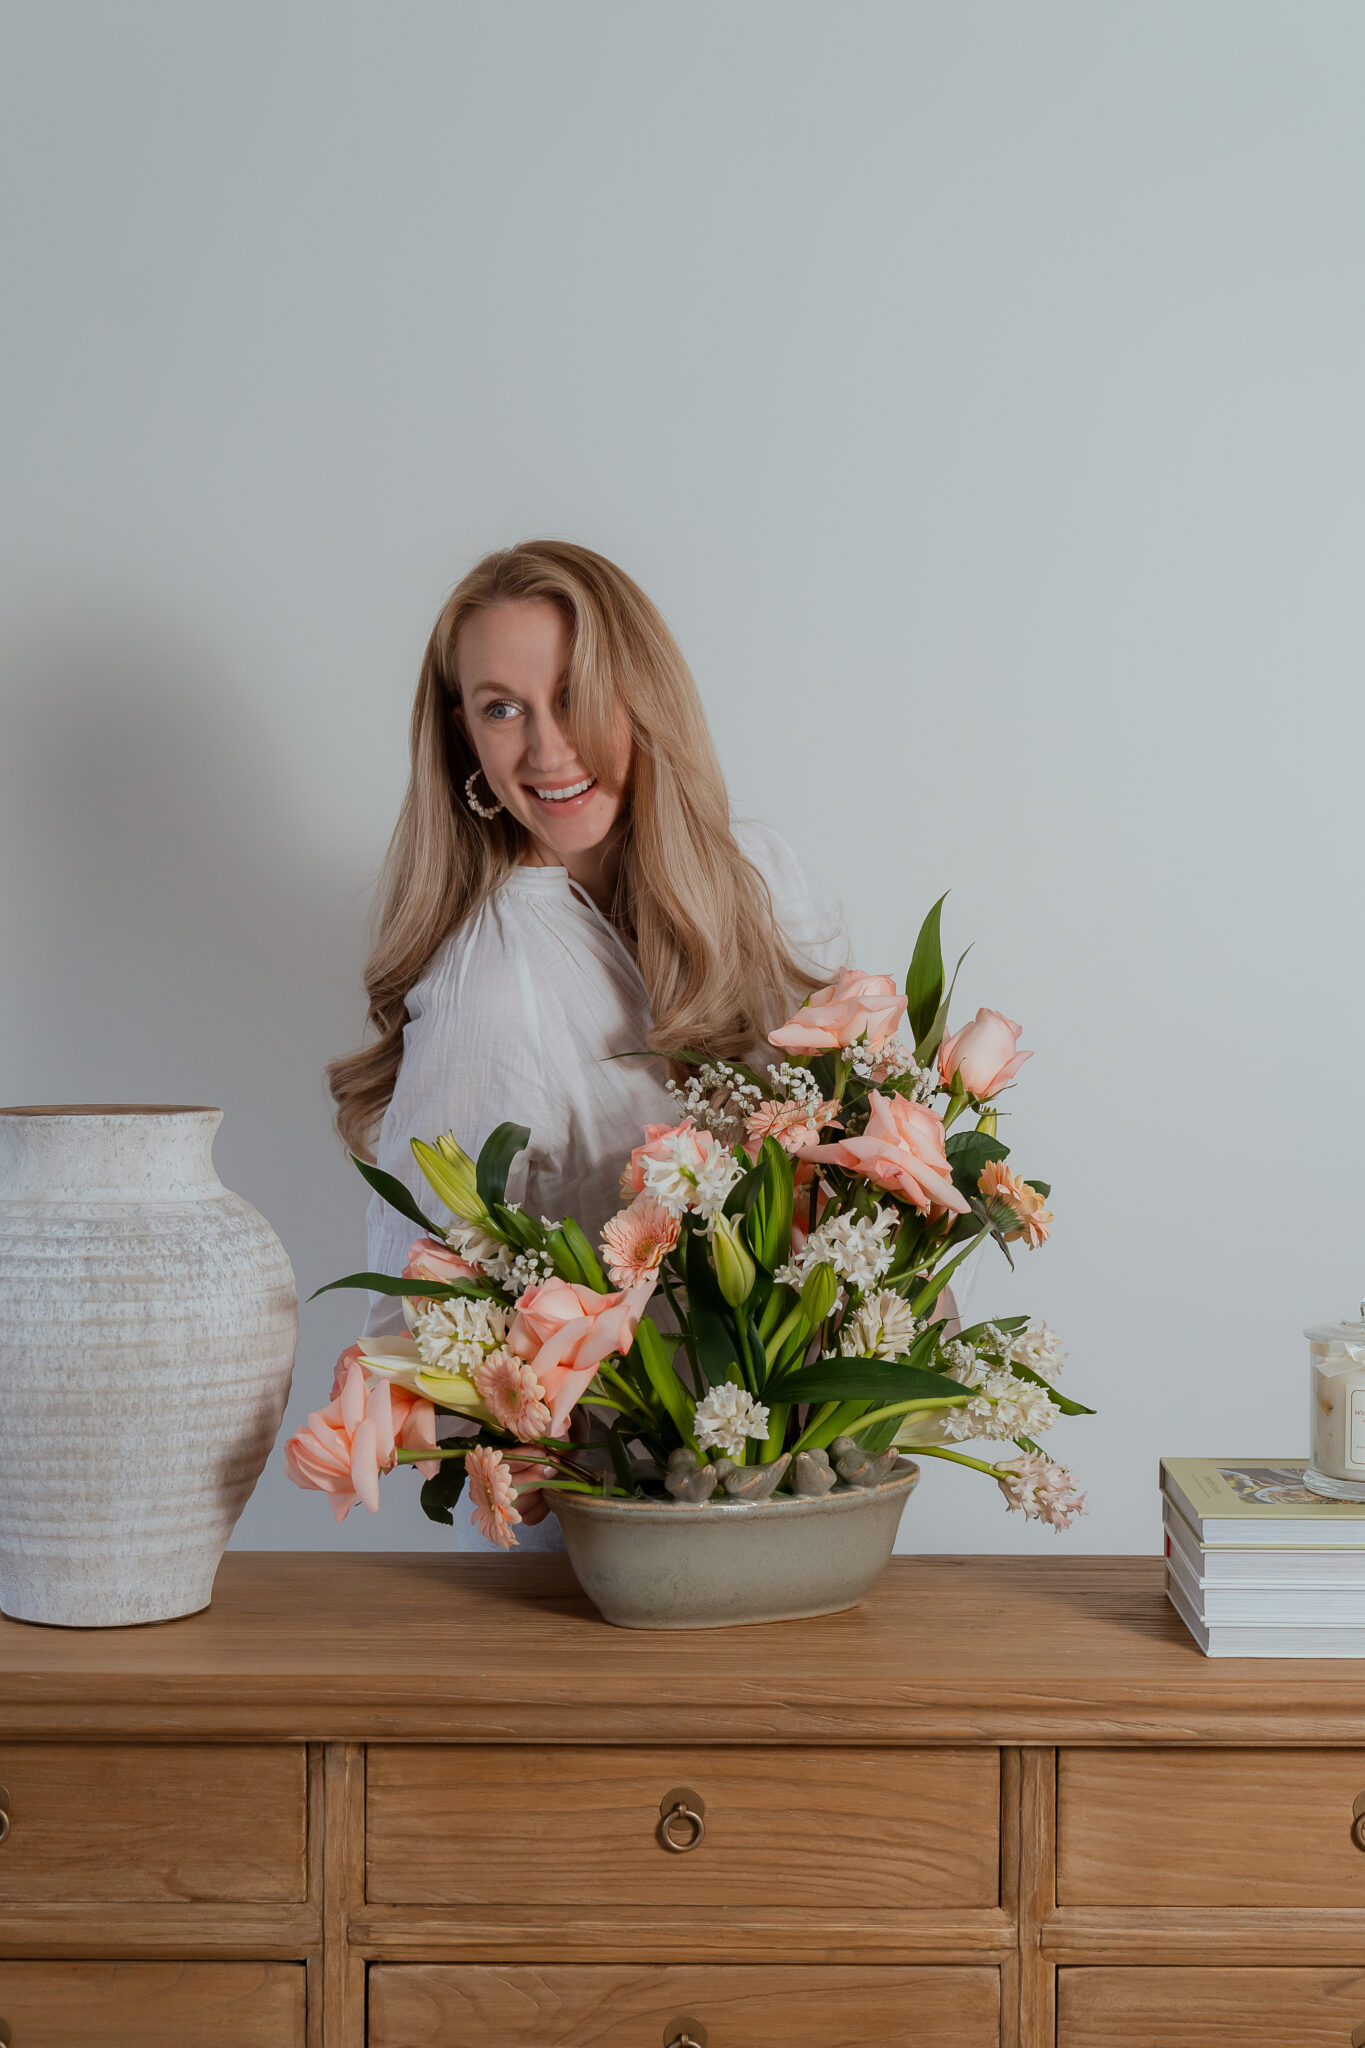
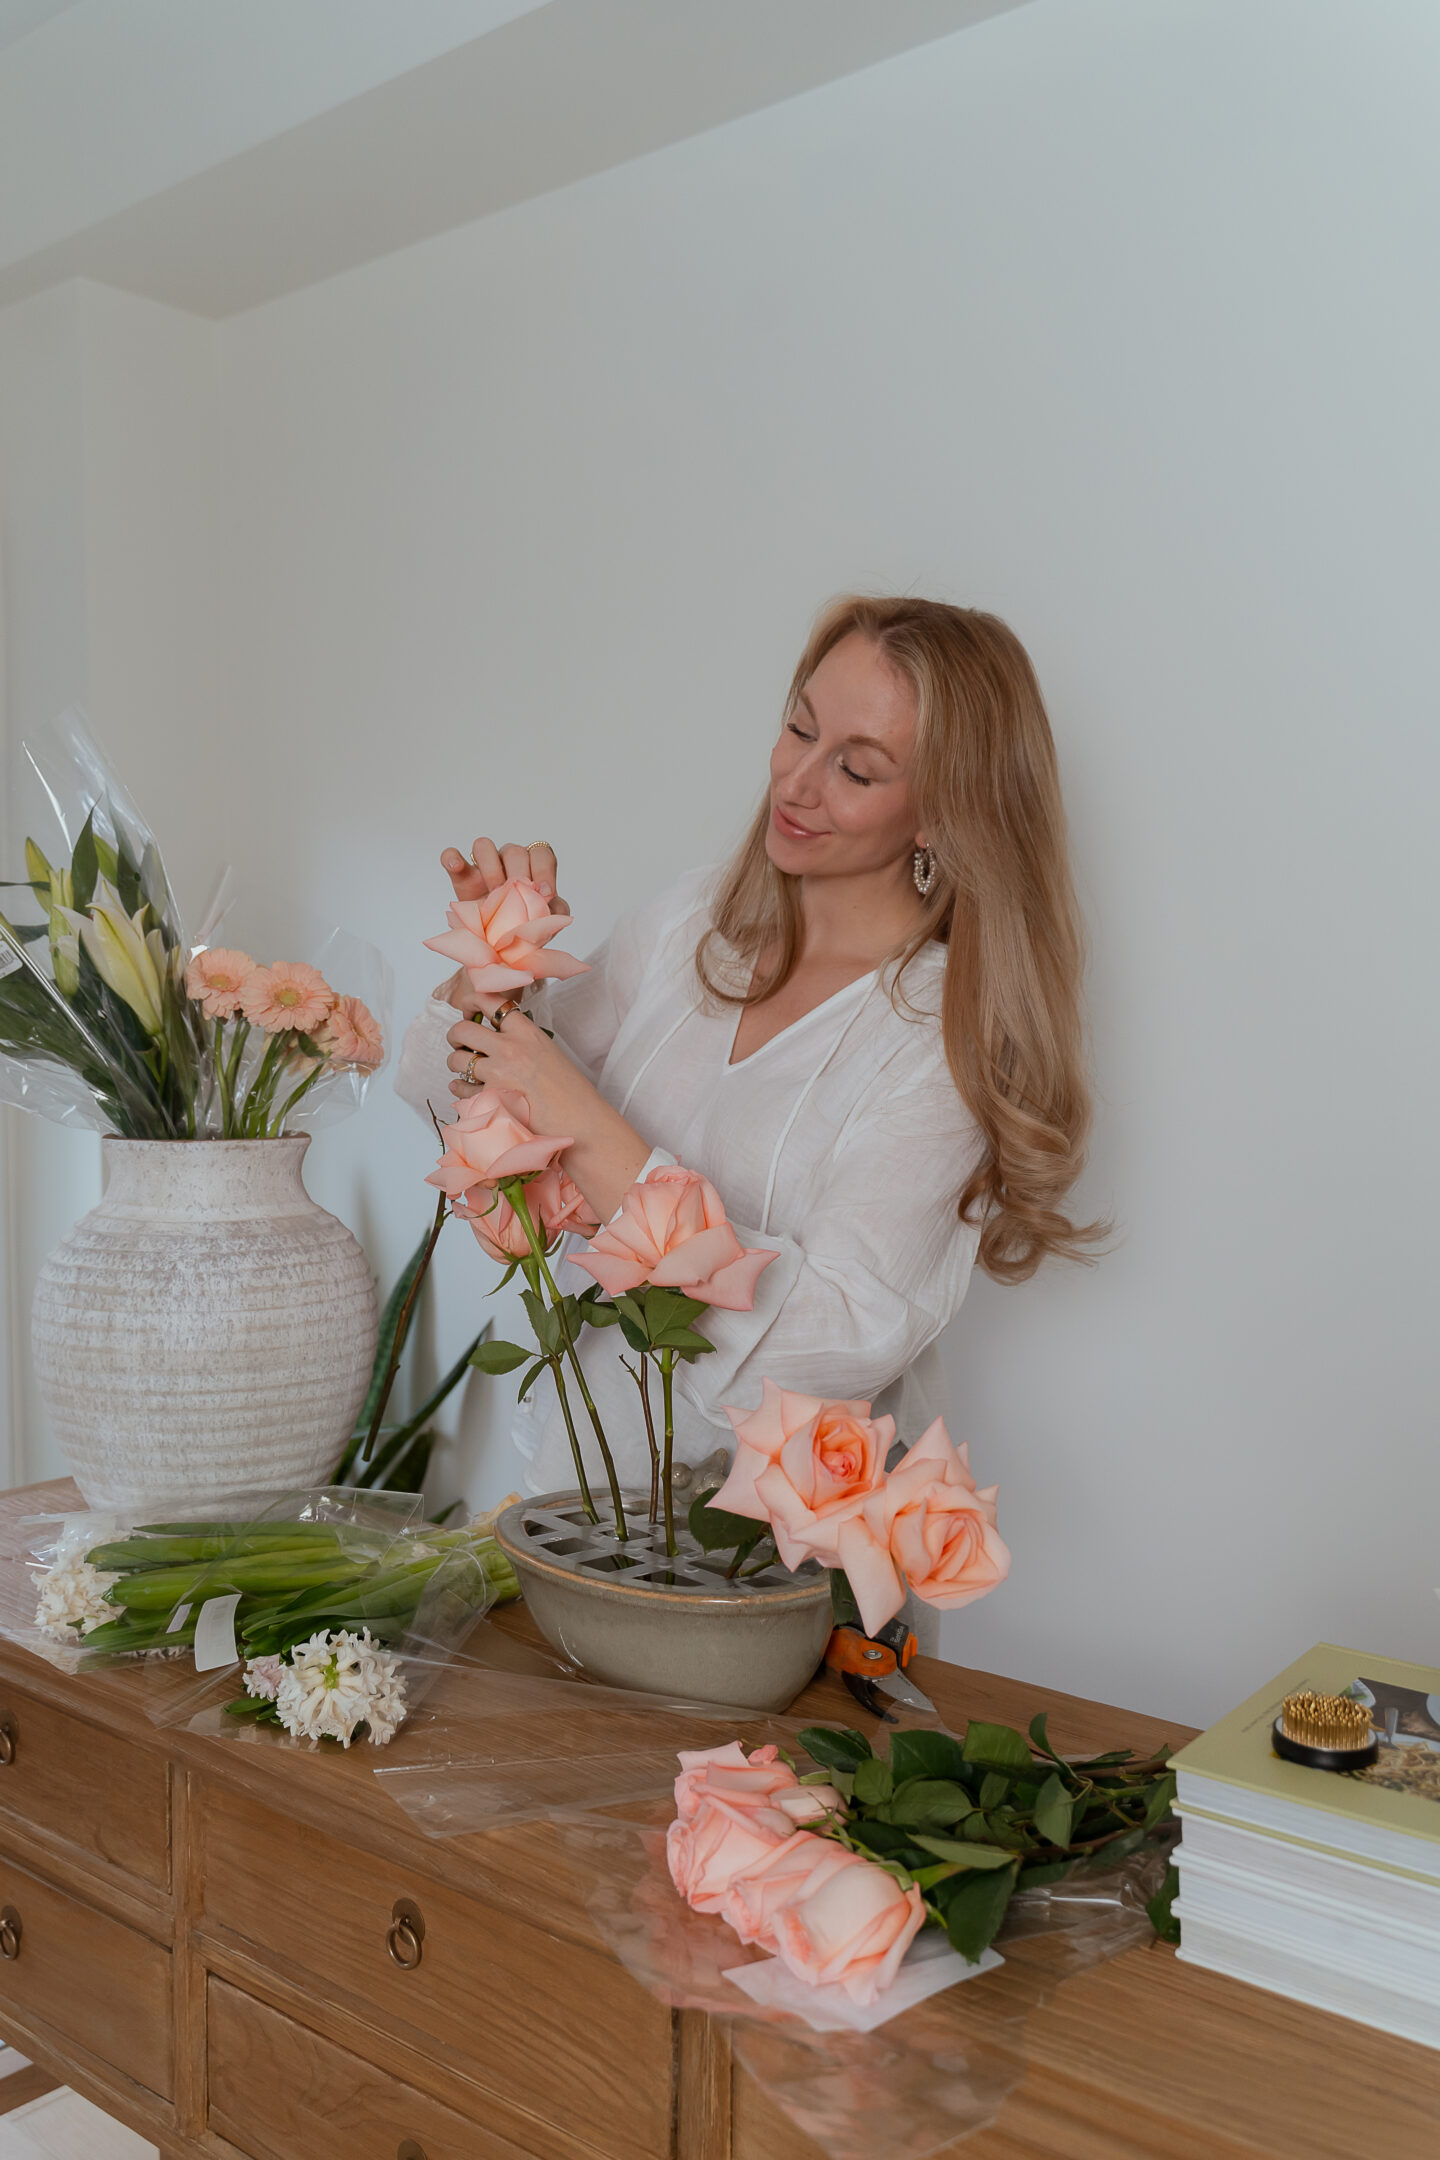
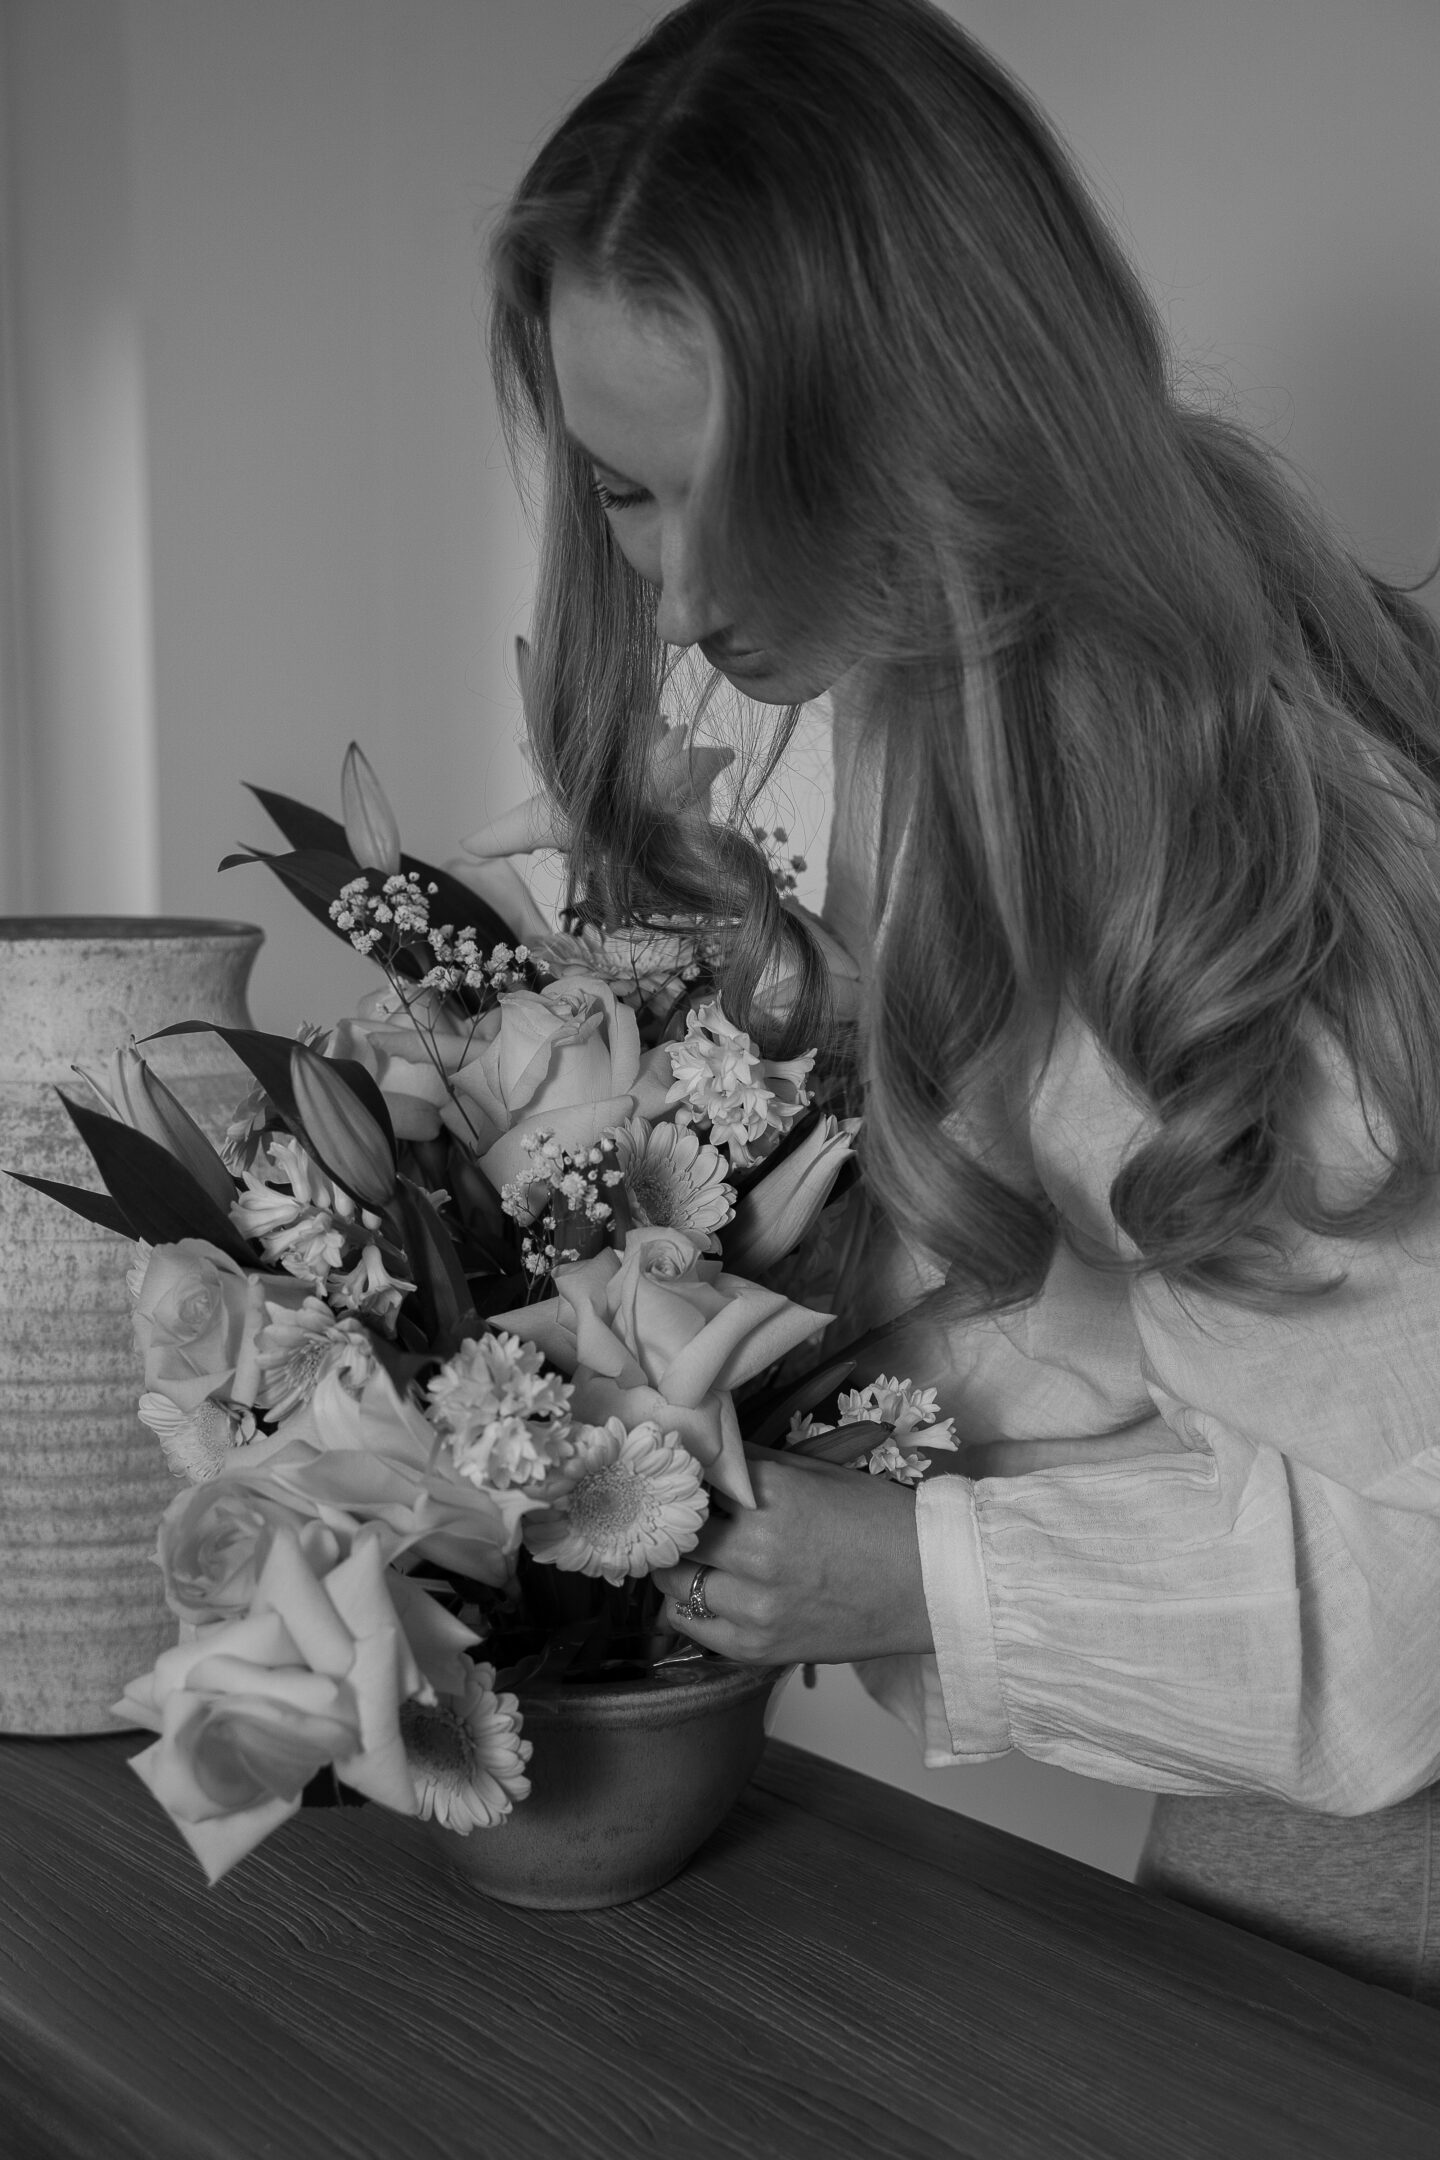
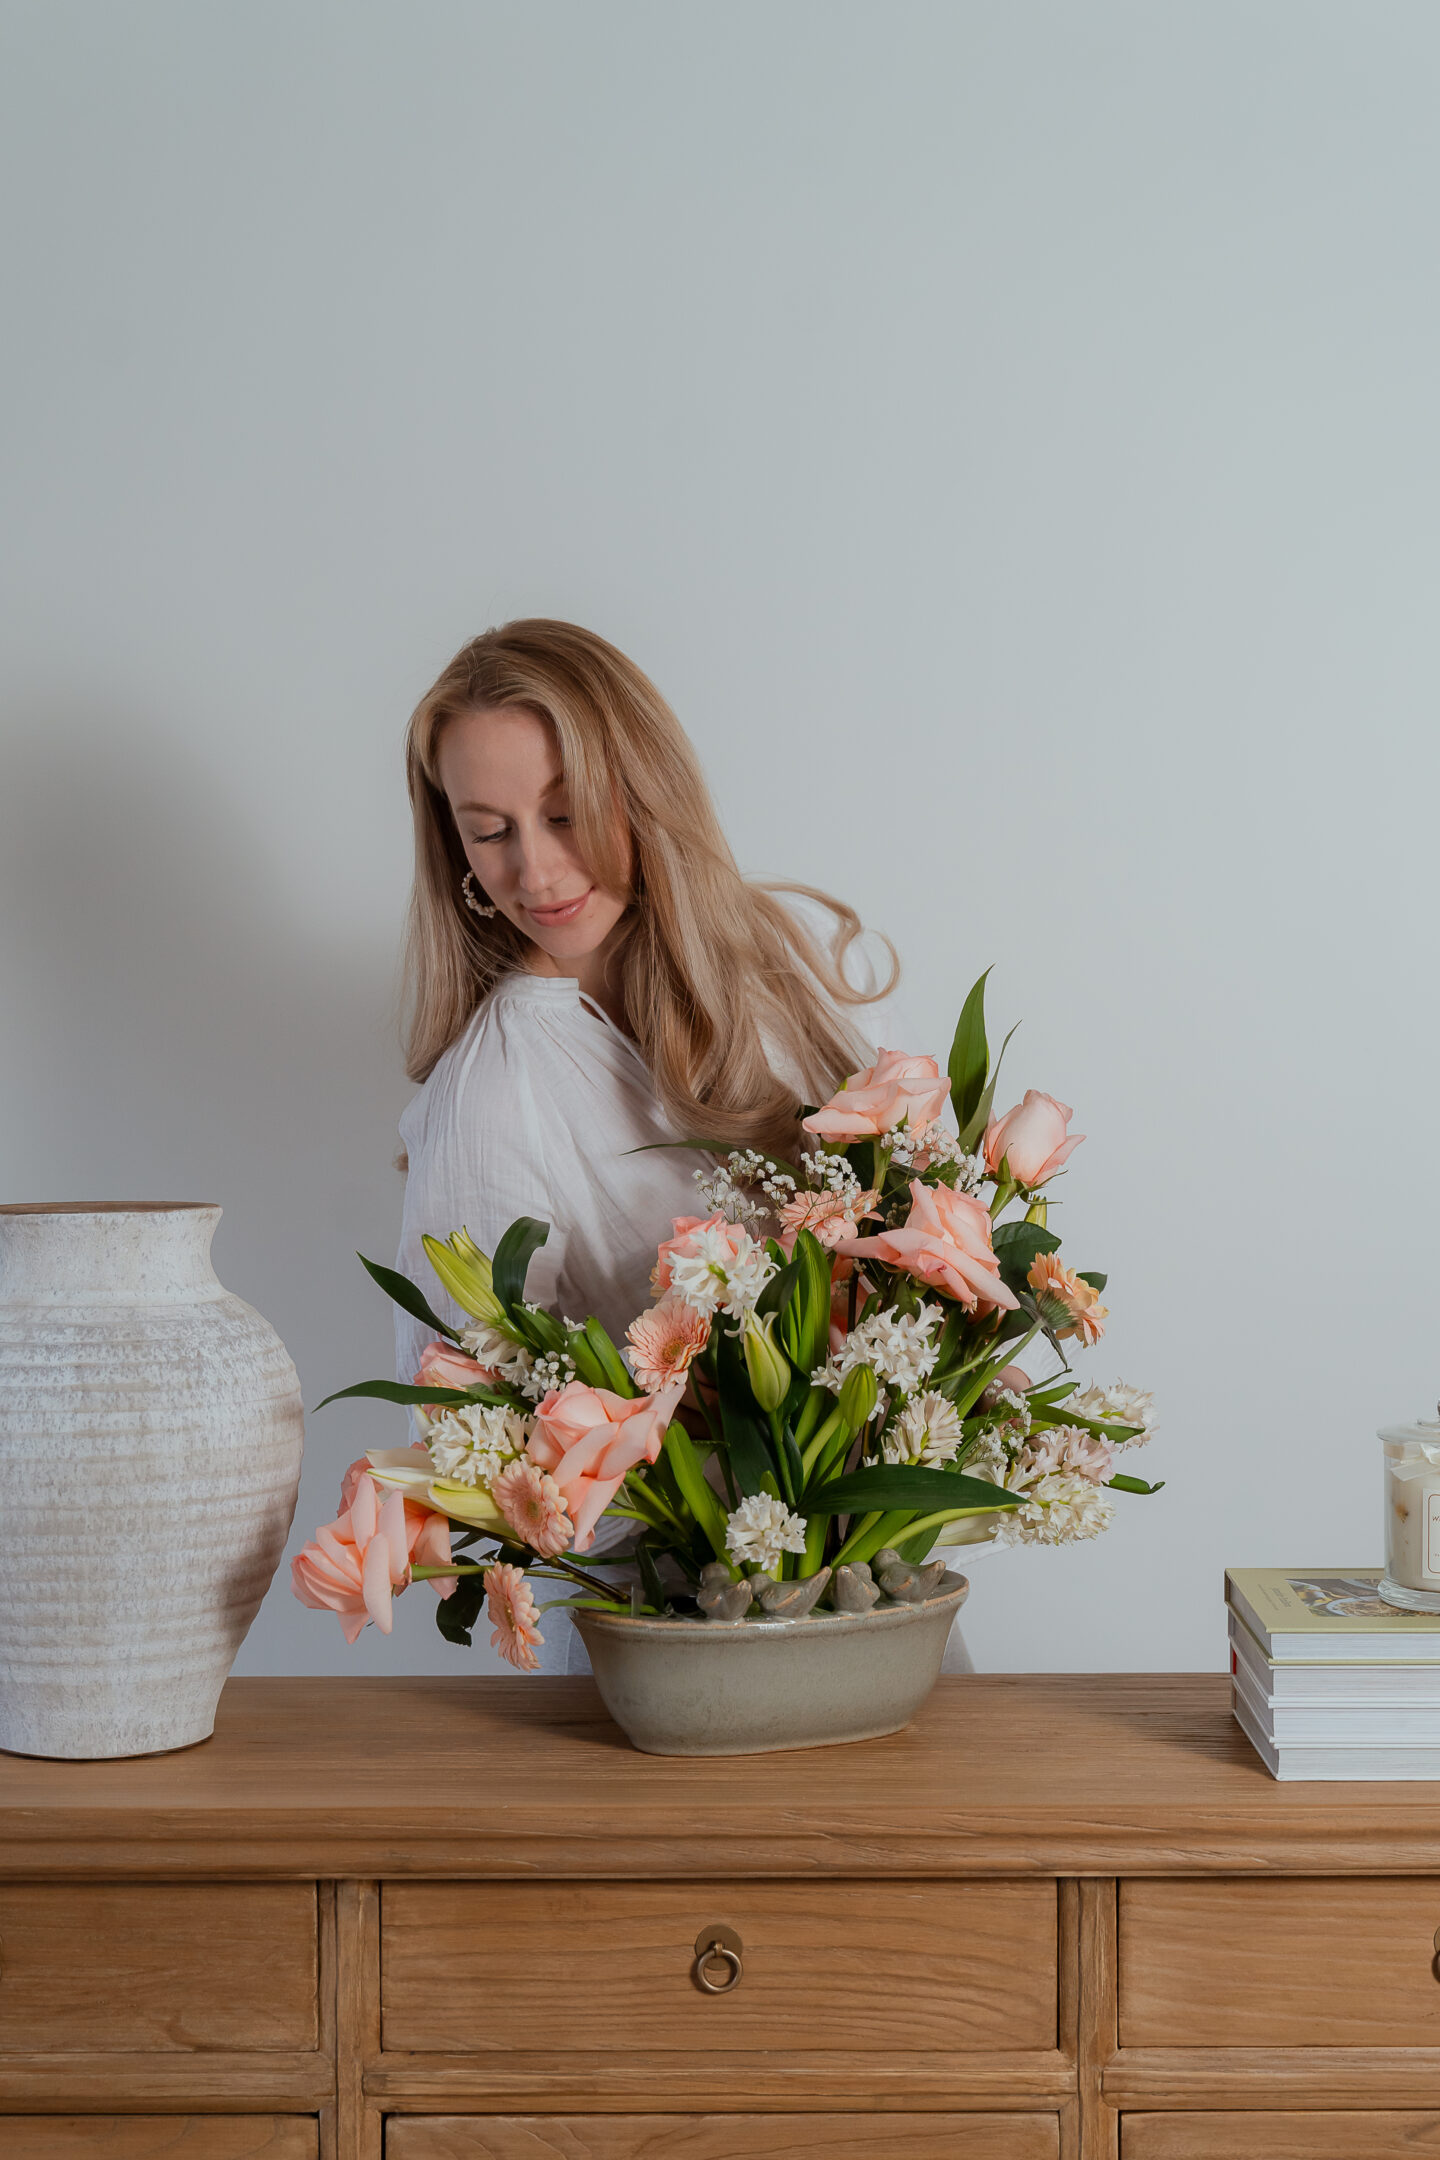
Arranging the Flowers
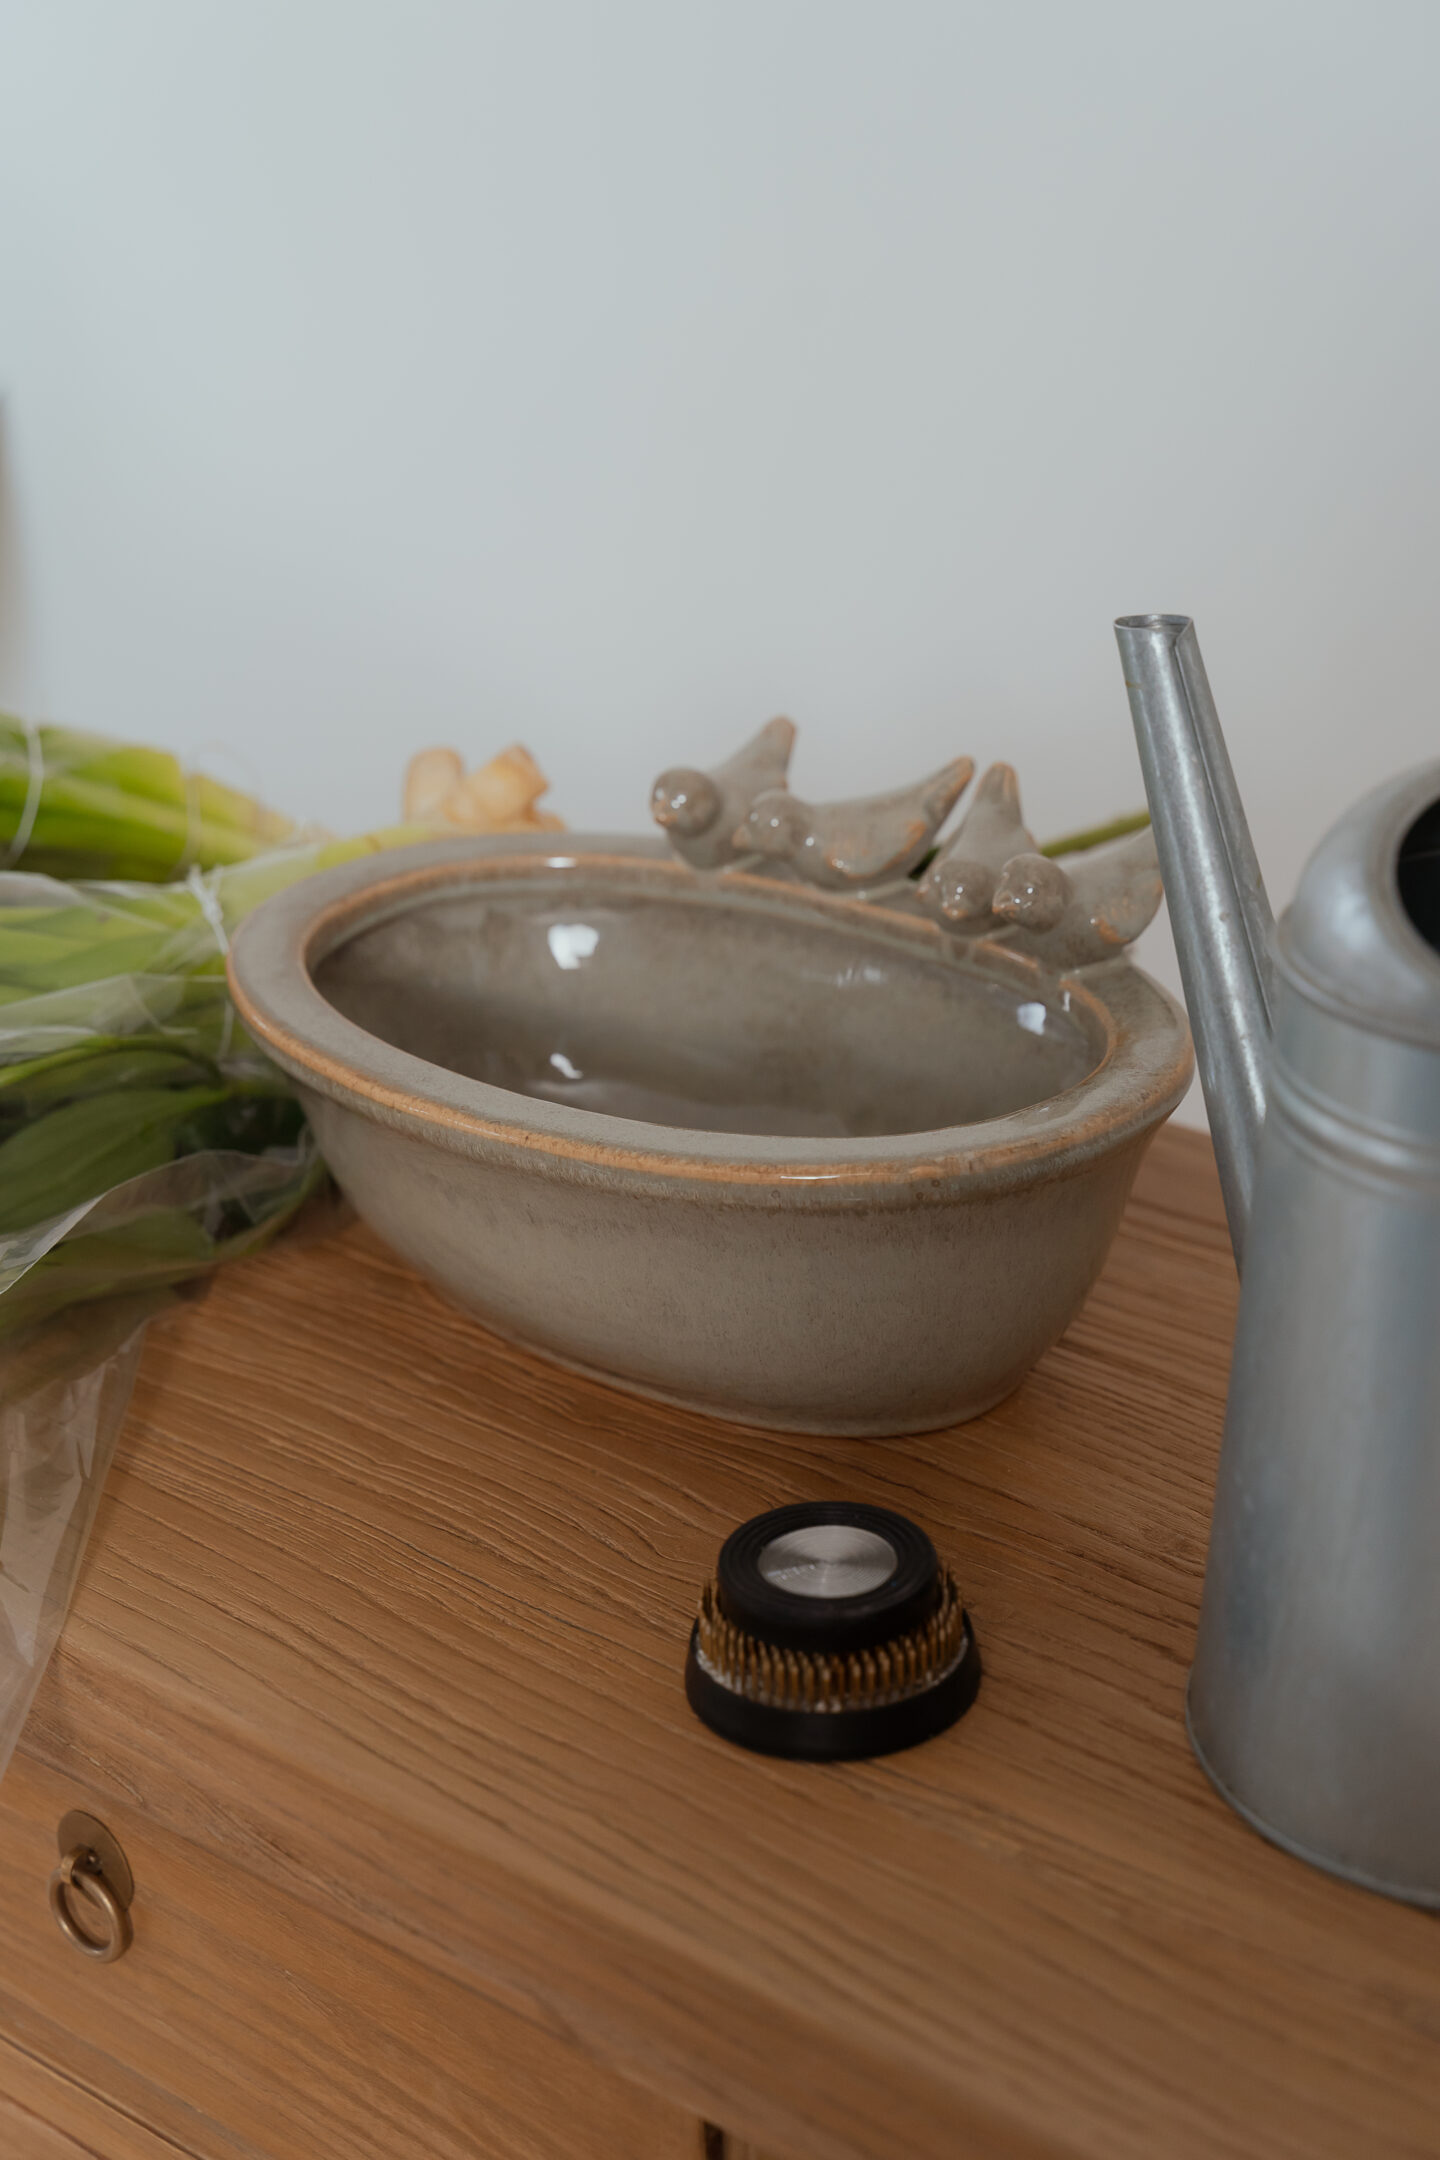
Now for the fun part—arranging your flowers into a beautiful, balanced display! Ps. I got my base from HomeSense and it’s the perfect open base for a flower frog. But no need to rush out to buy something new. I’ve even made mini arrangements using these handy bases in a regular kitchen bowl.
Step-by-Step Process:
- Start with your larger flowers – Begin with roses and lilies (or your larger flowers!) to create the base and structure of your bouquet. These will define the shape of your arrangement. For a more architectural feel I just had a play around with height and bend of the stems. I wanted one side to slope into the other!
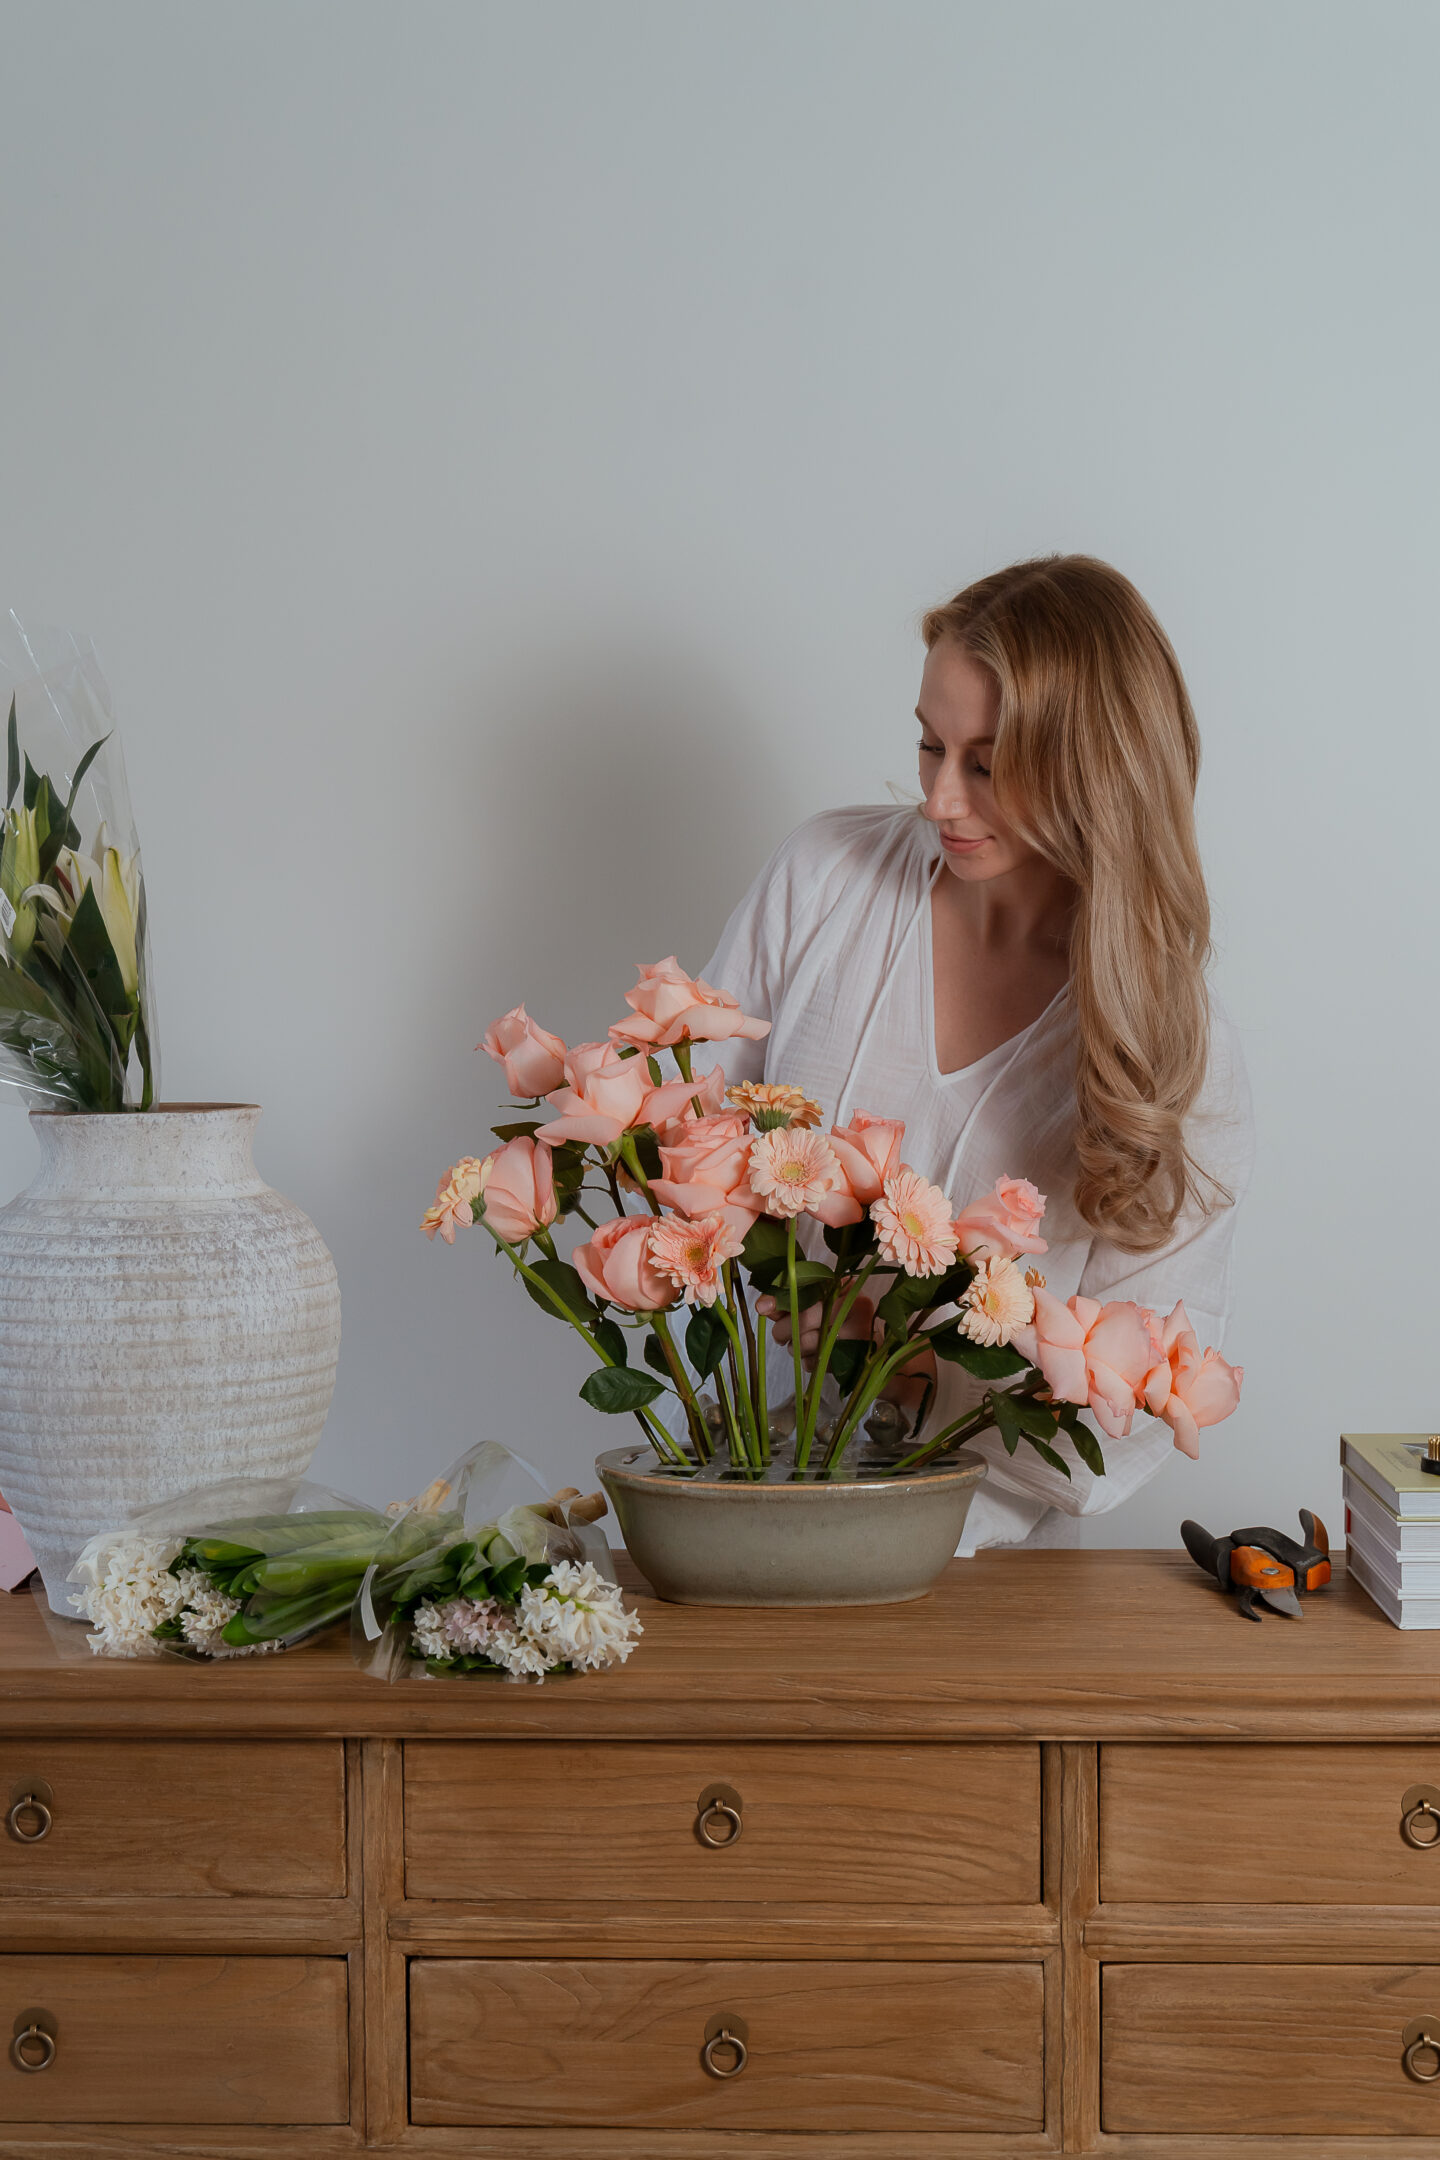
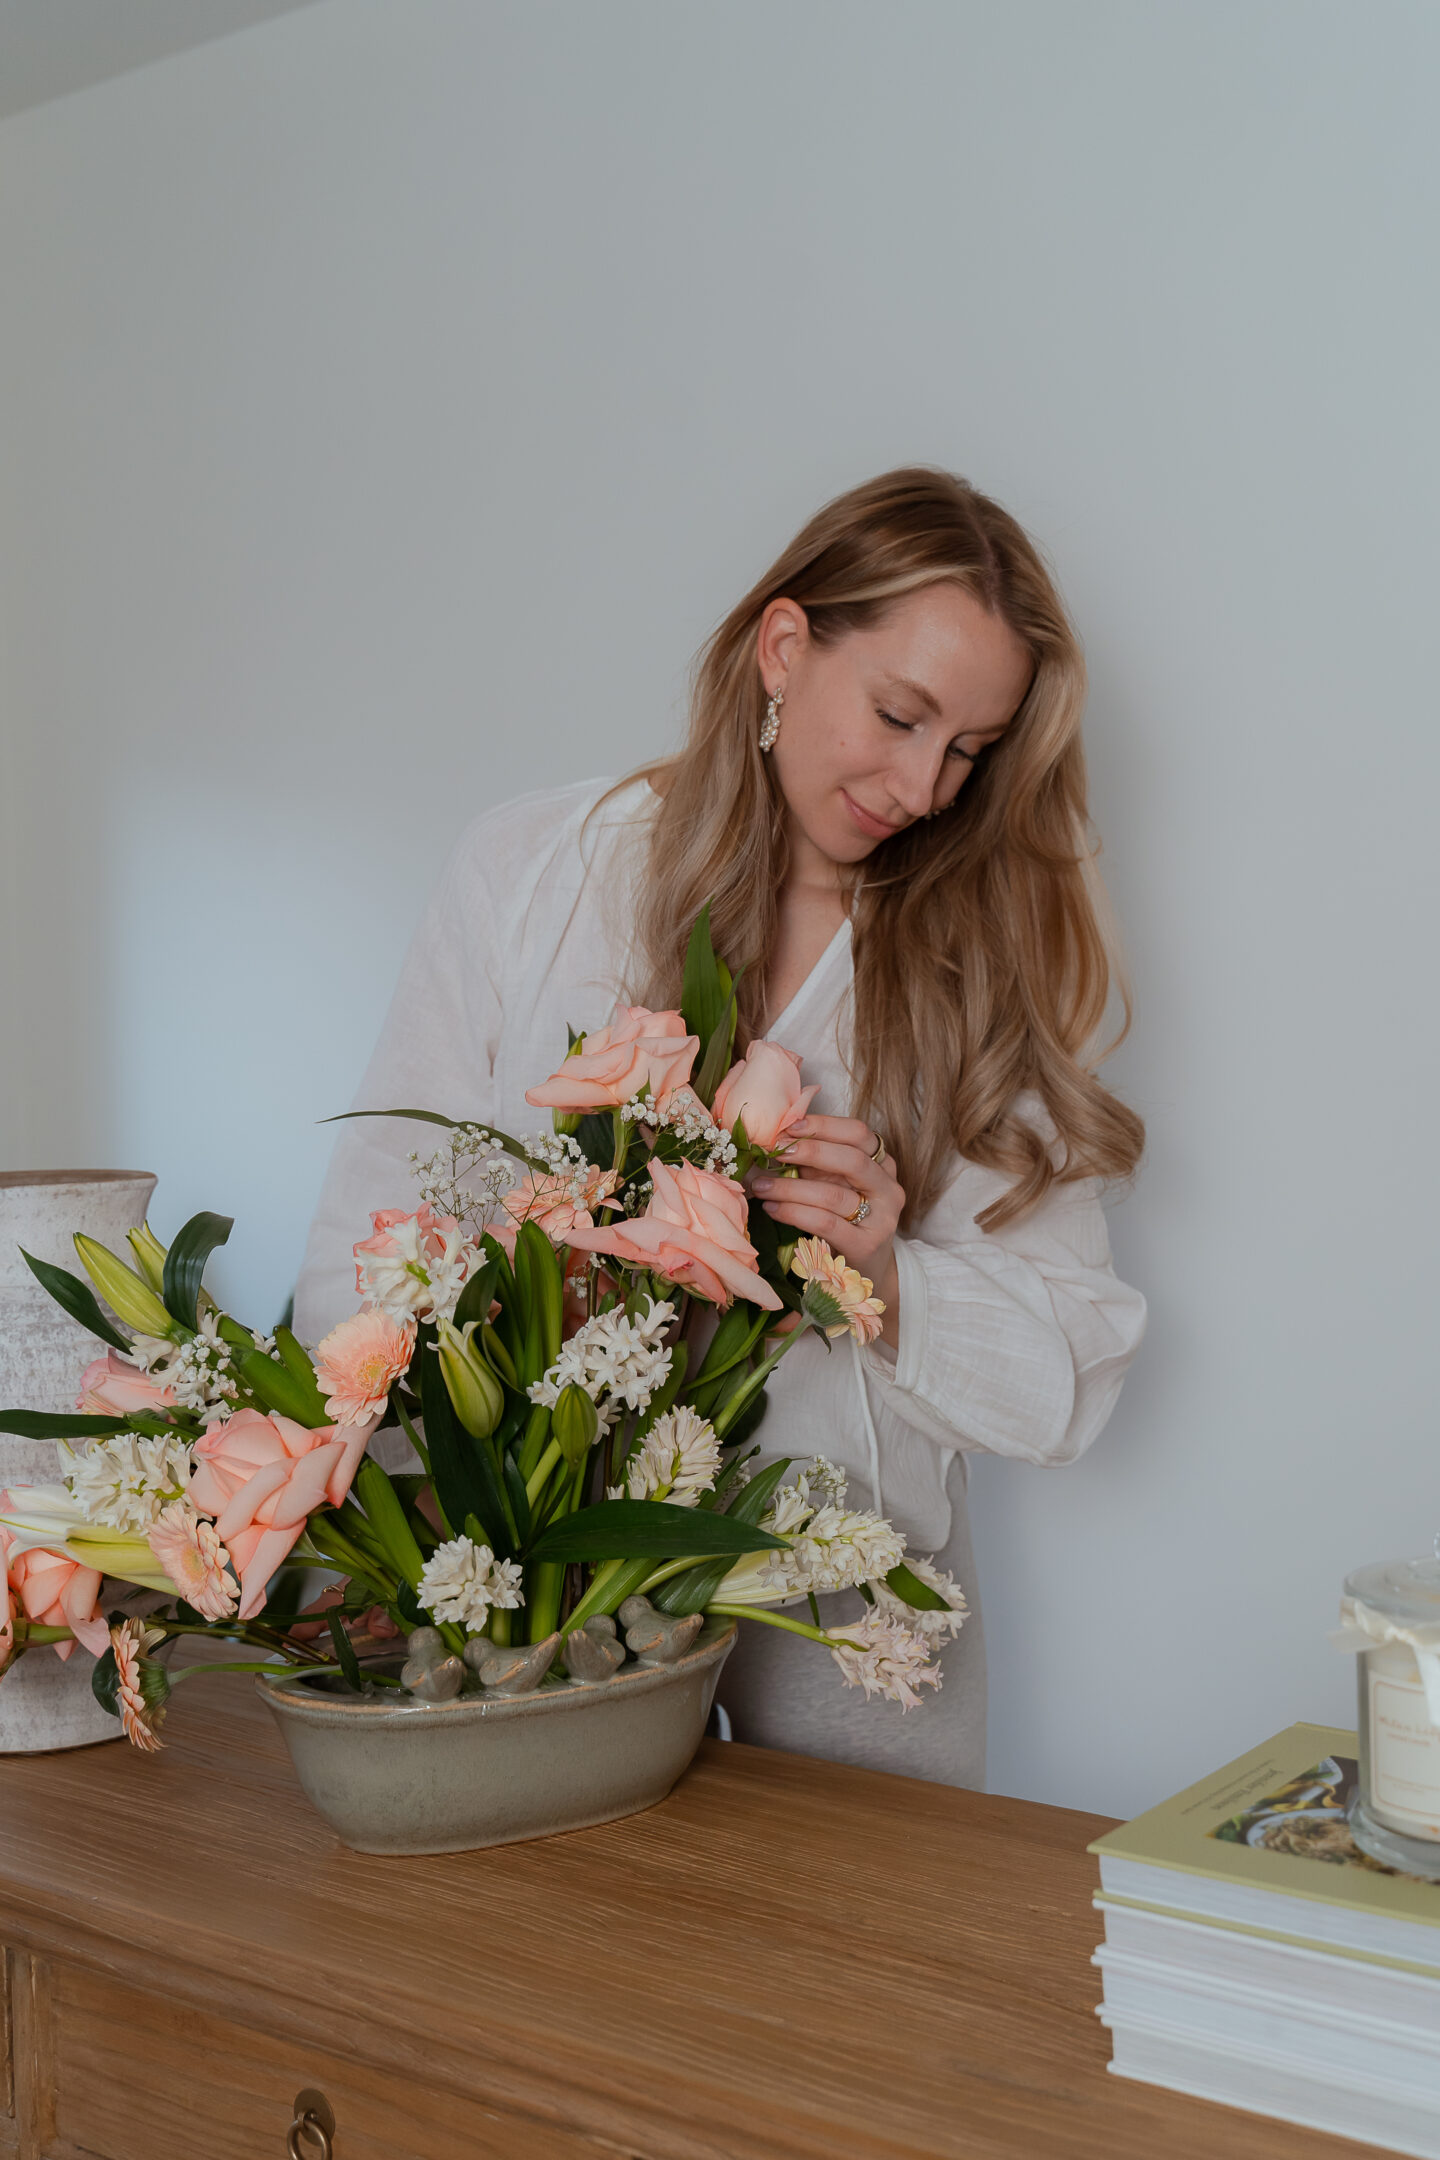
- Layer in your secondary flowers – Add gerbera daisies and hyacinths for pops of colour and movement. The hyacinth will also bring a beautiful fragrance! Probably one of my favourite scents of the season to come. (Because hyacinth have such a flexible stem I used them to hide the base where the tape was and also took advantage of the stronger rose stems for support)
- Fill in gaps with baby’s breath – This delicate filler flower softens the overall look and adds an airy, whimsical touch. With the Longo’s roses you seem to also get a couple of added baby’s breath! I added these in for that delicate feel even though my supplies were limited they still made impact.
- Keep it loose and organic (if you like! But also no pressure) – I like to avoid over-arranging. It’s so nice to let the flowers fall naturally into place (within reason of course), and gently reflex the petals of some blooms to add dimension!
- Step back and adjust – Once all the flowers are placed, take a step back to ensure everything looks balanced and full. Adjust any gaps as needed. Trust me every florist will need to do this so no stress if you have to just *trust the process* along the way.
💡 Tip: Try not to touch the petals too much, as the oils from your hands can cause them to brown faster.

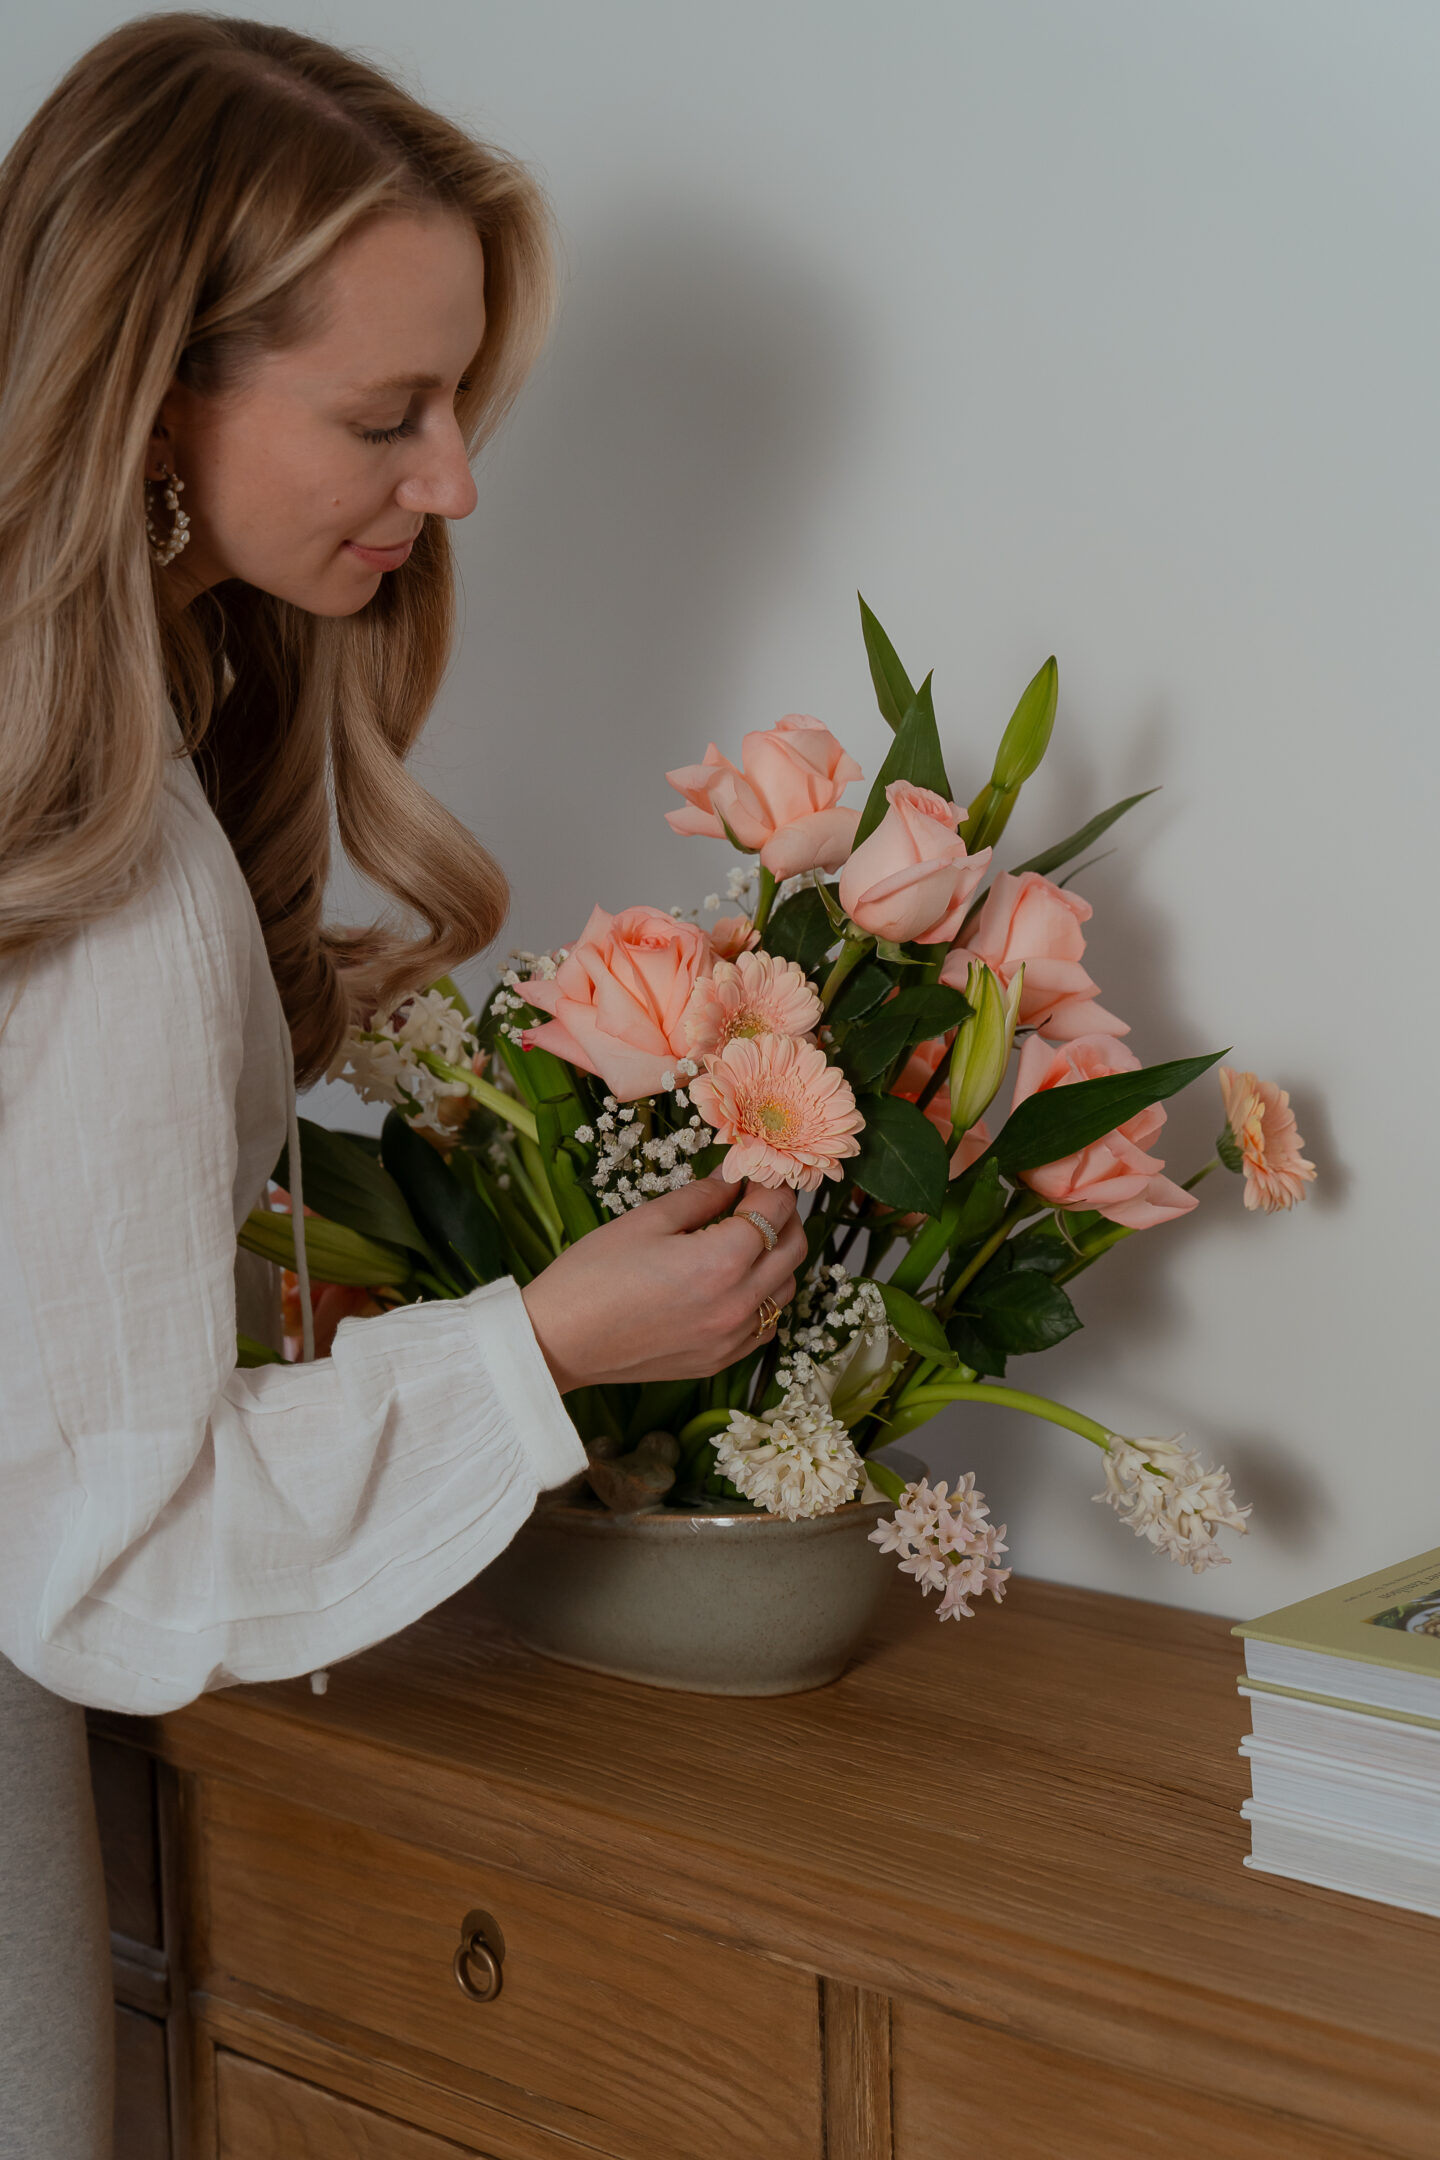
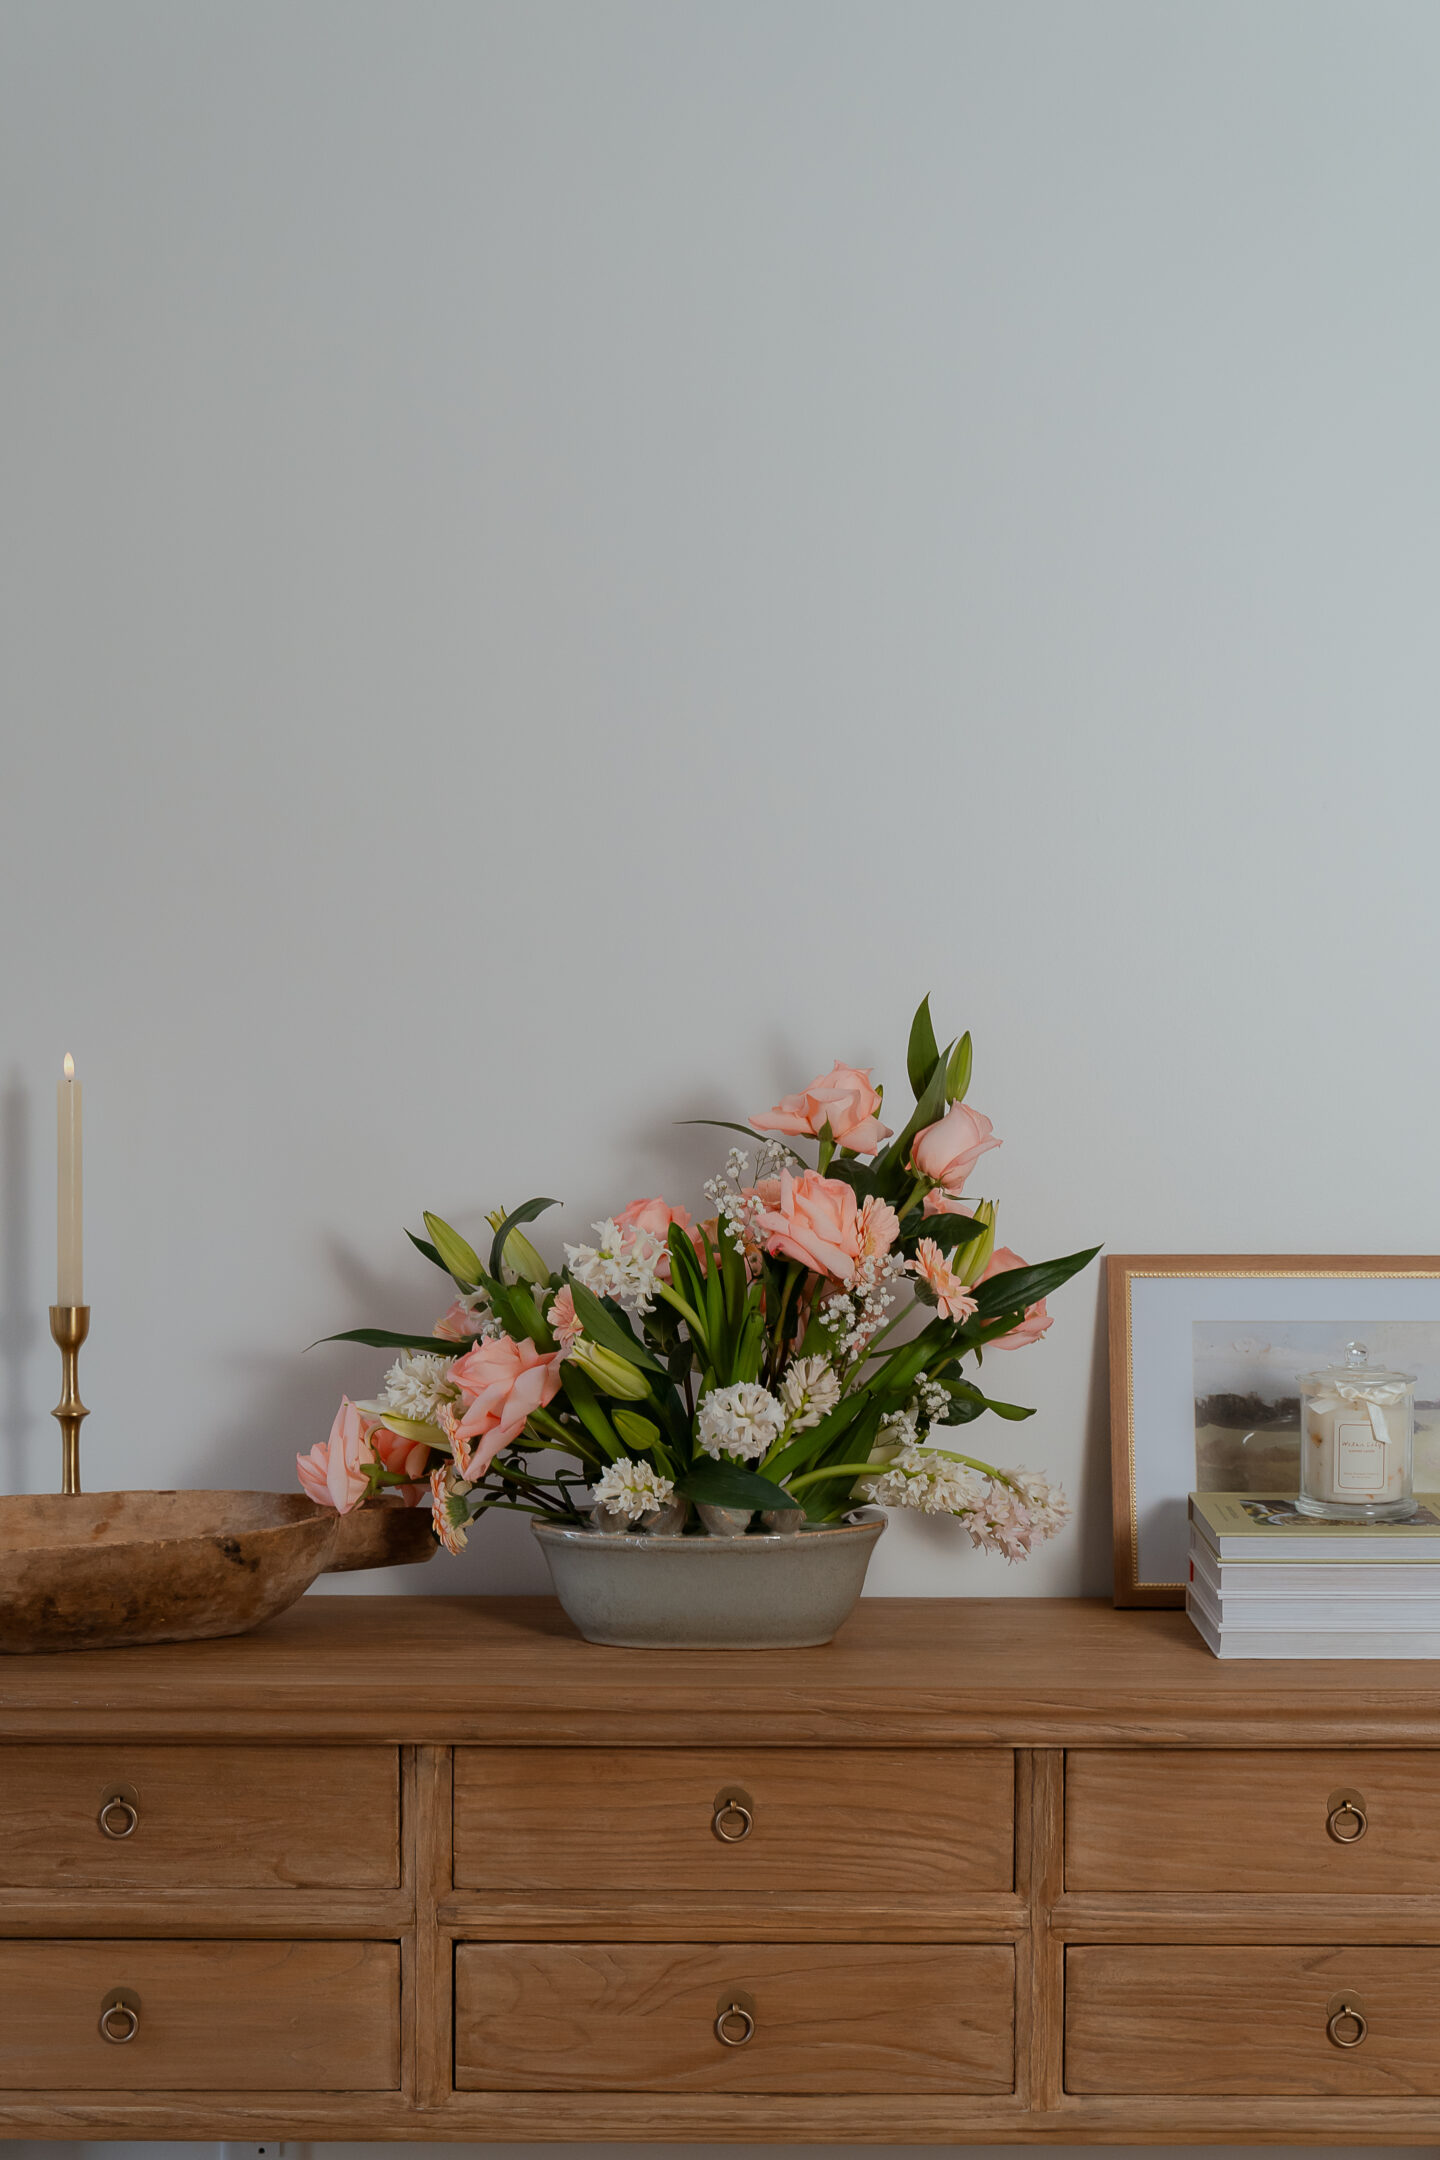
The Final Touches
Once your flowers are arranged, step back and check for any gaps. Adjust the placement of the blooms as needed to create a well-balanced, cohesive look. At this point unless it’s a centrepiece you likely have a favourite side so just place accordingly.
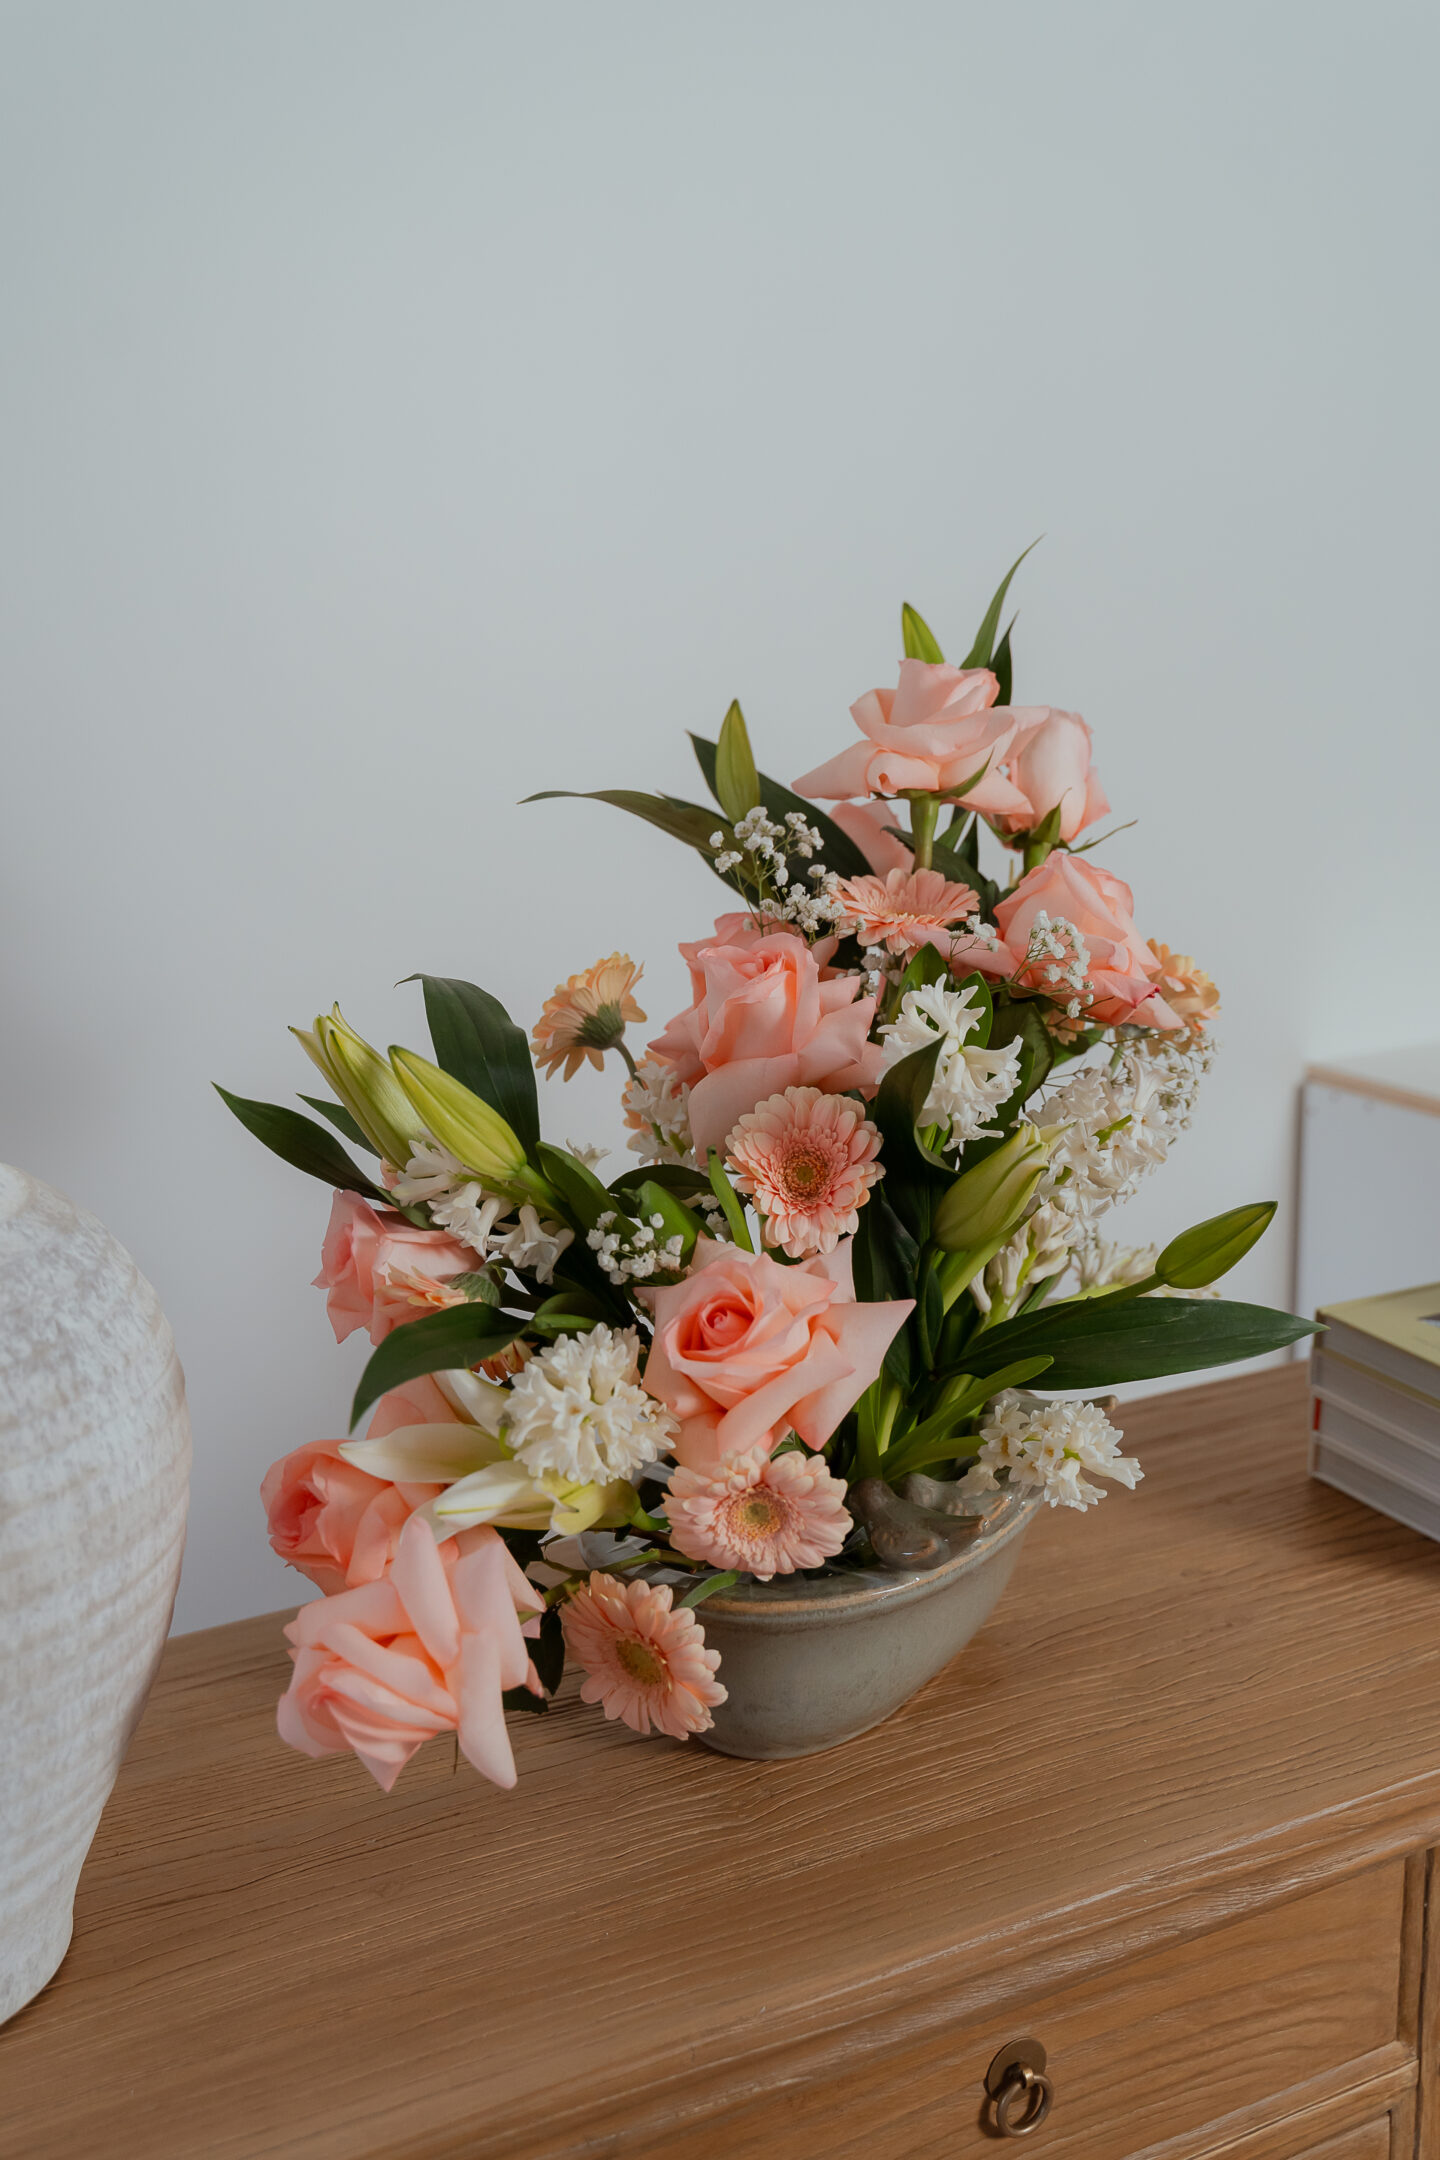
I believe this arrangement stands out because of:
- A mix of large and small flowers for visual interest
- Soft pink and white tones for a classic girly Valentine’s feel (and spring!)
- Reflexed petals for an organic, effortless look
- Fragrant flowers like hyacinth and day-lilies to elevate the sensory experience
With this method, you can create a professional-looking floral arrangement at home without the high price tag! I can’t imagine what this arrangement would have cost if it weren’t for Longo’s selection of cut flowers. Plus it was a bonus mini meditation to put this together for our home.
Why Choose Longo’s Floral Selection?
Longo’s offers a wide selection of fresh, high-quality flowers, making it easy to build a custom bouquet at home. I loved browsing what they had and truly want to make a tradition of this every month! With their variety of blooms, you can personalize your arrangement to match any occasion—without spending a fortune. Be sure to check the water levels and even cut down blooms you think could use a little extra TLC as the days pass just like any other arrangement.
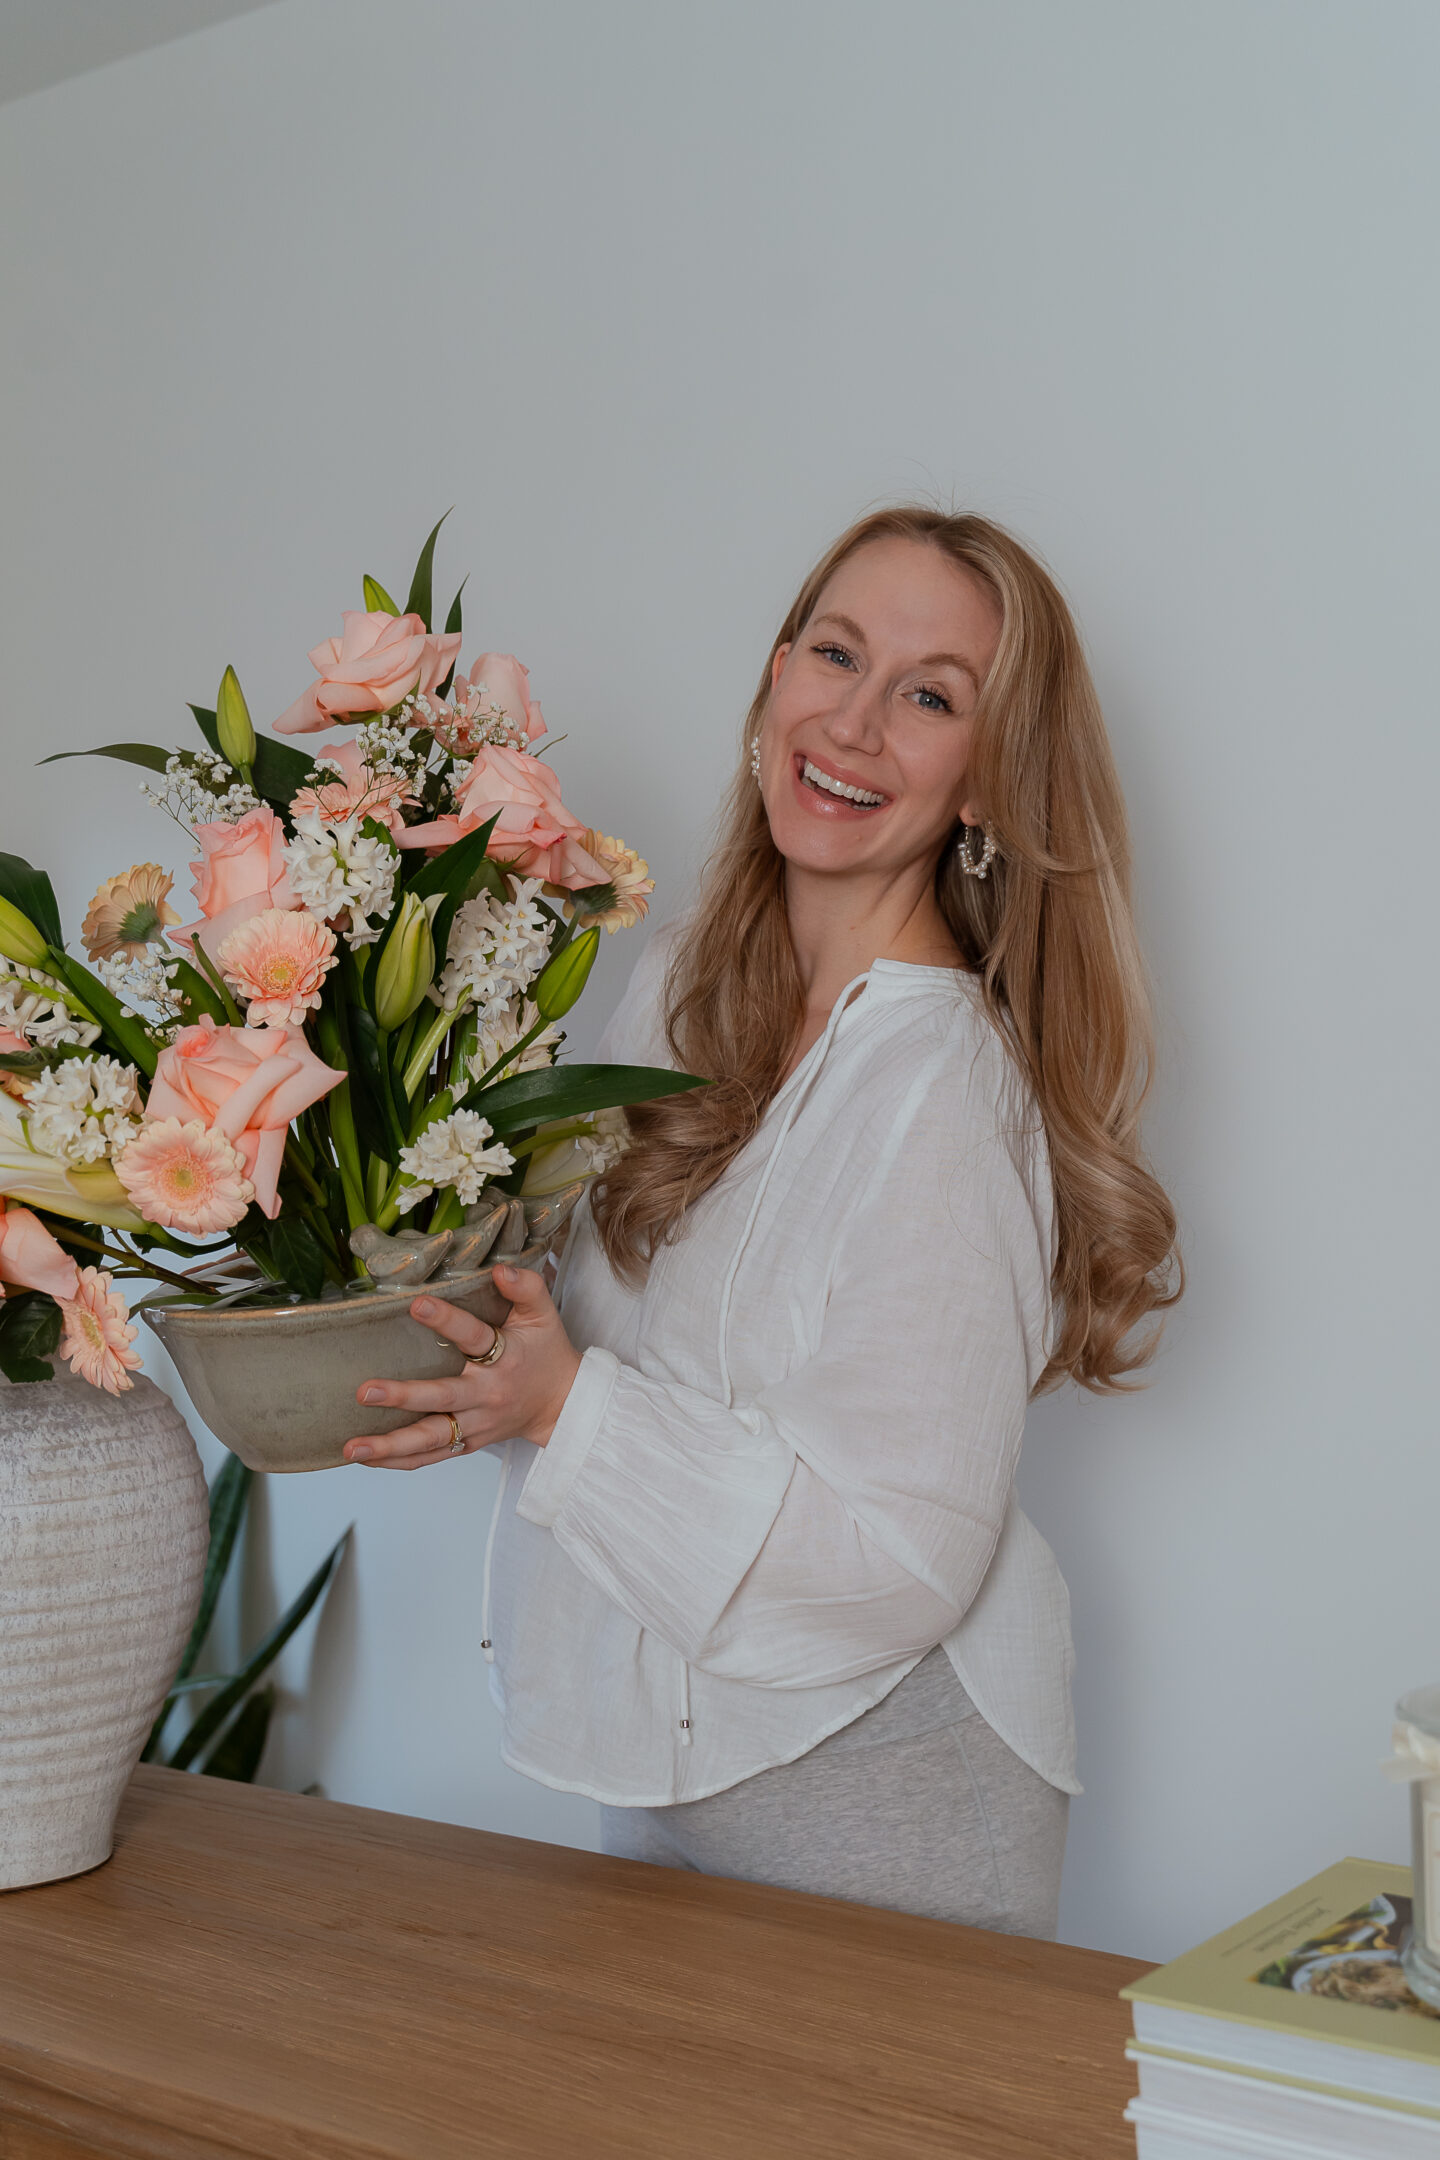
Whether you are gifting this arrangement to a loved one, creating a stunning centrepiece, or simply adding a touch of beauty to your home, this DIY bouquet is the perfect way to celebrate Valentine’s Day! I hope you love this process as much as I did!
Lots of Love this Valentine’s!
Amanda xo

Thank you to Longo’s for sponsoring this post over on Instagram – I just loved this process so much I wanted to share a little bit more here on this cozy little nook of the internet. I really appreciate you supporting my small business!

LOOKING FOR MORE HOME CONTENT?